Adding clickstream data to a customer profile
6 Tasks
30 mins
Intermediate
Decision Management
Next Best Action
English
Scenario
U+ Bank uses Pega Customer Decision Hub™ to present personalized credit card offers to its customers on its website. The data scientists want to leverage customers' web activity data to empower their existing AI models. As a system architect, you want to install the Customer Profile Designer Accelerator component from Pega Marketplace, extend the customer profile with financial services clickstream summary, and test the clickstream service shipped with the component. Then, as a data scientist, you want to use the financial services clickstream summary attributes as new predictors in the AI Models.
Note: In the exercise system environment, the U+ Bank website can track and send customers' web click activity to Customer Decision Hub.
Use the following credentials to log in to the exercise system:
| Role | User name | Password |
|---|---|---|
| System architect | SystemArchitect | rules |
| Data scientist | DataScientist | rules |
Your assignment consists of the following tasks:
Task 1: Download Customer Profile Designer Accelerator component
Download the Customer Profile Accelerator component here.
Caution: In a real-life project, use Pega Marketplace to download the latest components as they are updated frequently. For the purpose od this exercise, download the component manually.
Task 2: Set up Customer Profile Designer Accelerator component
As a system architect, add the accelerator component to the implementation application.
Task 3: Associate the financial clickstream summary with the customer context
From Customer Decision Hub, add the Financial clickstream summary to the allow list and build the association with the customer context by using Customer Profile Designer.
Task 4: Test the Clickstream service
Manually invoke the Clickstream service from Dev Studio by using the following sample JSON payload and validate that your configuration is successful.
{
"CustomerID":"14",
"InterestedIn":"",
"InterestLevel":"",
"Event":"PageView",
"PageType":"Card",
"DeviceType":"Web",
"PageViewActiveTime":"",
"CookieID":""
}
Tip: To verify the web click activity, browse the Financial services clickstream summary from Customer Decision Hub.
Task 5: Generate clickstream activity from U+ Bank
The U+ Bank website is configured to call the Clickstream service that you set up in previous tasks. Login to the U+ Bank website as Troy and navigate to the Credit Cards page to generate clickstream data in Customer Decision Hub. Review the generated data.
Tip: To verify the web click activity, browse the Financial services clickstream summary from Customer Profile Viewer.
Task 6: Add financial clickstream summary predictors to AI models
As a data scientist, introduce behavioral data predictors to AI models by using the newly associated financial clickstream summary attributes.
Challenge Walkthrough
Detailed Tasks
1 Download Customer Profile Designer Accelerator component
- Download the Customer Profile Designer Accelerator component here.
2 Set up the Customer Profile Designer Accelerator component
- On the exercise system landing page, click Launch Pega InfinityTM to log in to Dev Studio.
- Log in as the system architect:
- In the User name field, enter SystemArchitect.
- In the Password field, enter rules.
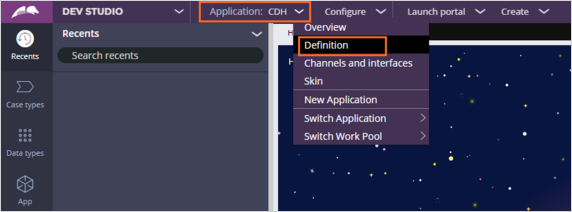
- In the header of Dev Studio, click Application > Definition to open the application rule.
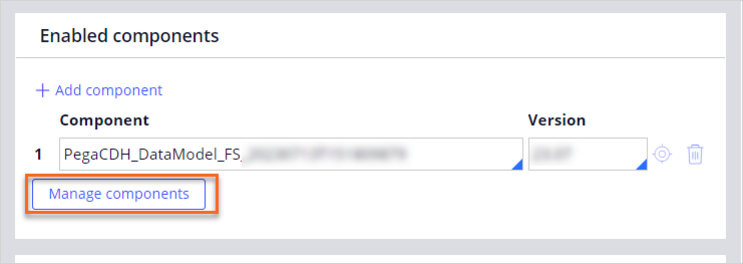
- In the Enabled components section of the application rule, click Manage components to open the Available components window.
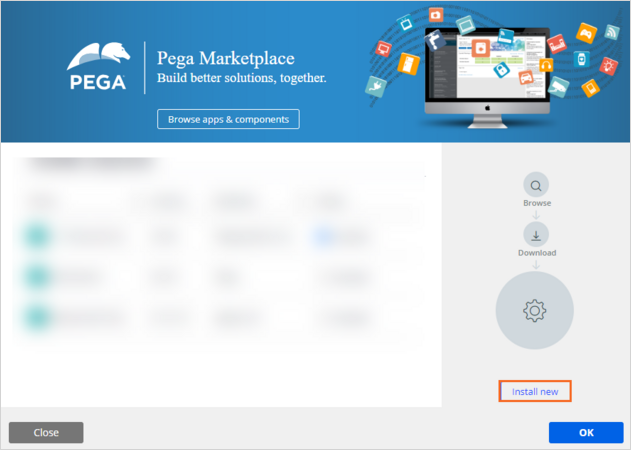
- In the Available components window, click Install new and select the downloaded .zip file from File Explorer to install the component.
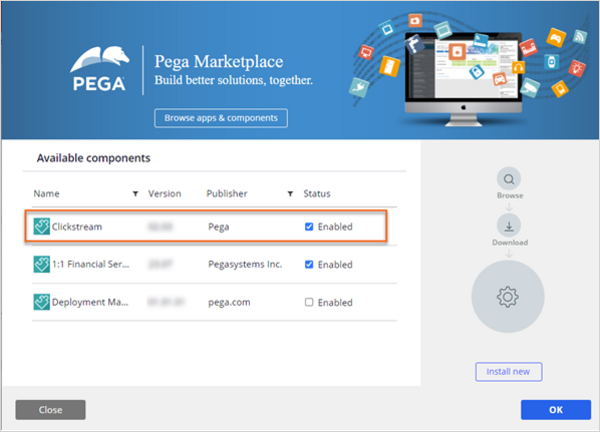
- Once the installation finishes and the Enabled check box is selected, click OK to dismiss the Available components window.
- In the upper-right corner, Save the application rule.
- In the navigation pane of Dev Studio, click App to open the Application Explorer.
- In the Application Explorer, search for the Rule-Decision-CPD-DataSource class.
- Click the Rule-Decision-CPD-DataSource class to list the summary instances.
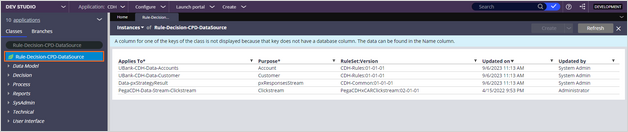
- Click the Clickstream instance and click Save as on the top right corner. In the Add to ruleset list, select CDH-Rules.

- In the upper-right corner, click Create and open.
- In the upper-right corner, select Check in, enter check-in comments, and click Check in.
- In the Application Explorer, search for the Rule-Decision-CPD-Summary class.

- Click the Rule-Decision-CPD-Summary class to list the summary instances.

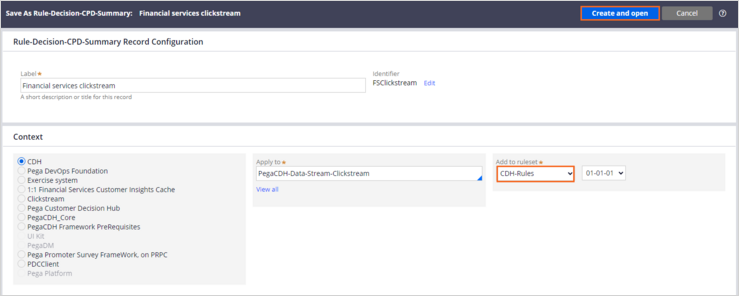
- Click the FSClickstream summary instance and click Save as on the top right corner.
- In the Add to ruleset list, select CDH-Rules.
- In the upper-right corner, click Create and open.
Note: As a best practice, save the summary rules in this "*-Rules" ruleset.
- In the upper-right corner, select Check in, enter check-in comments, and click Check in.
- Close the newly created FSClickstream summary and return to summary instances shown in step 10.
- Repeat step 16 to create the InsuranceClickstream and HealthcareClickstream summary rules in the CDH-Rules ruleset.
3 Associate the financial clickstream summary with the customer context
- In the header of Dev Studio, click Launch portal > Customer Decision Hub.

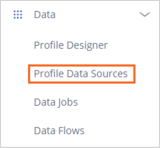
- In the navigation pane of Customer Decision Hub, click Data > Profile Data Sources.
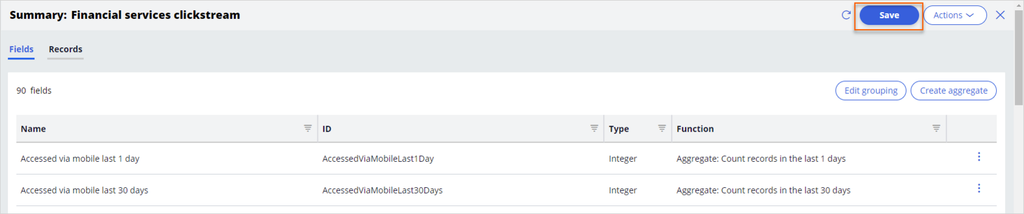
- On Summaries tab of Profile Data Sources, click the Financial services clickstream profile data source.

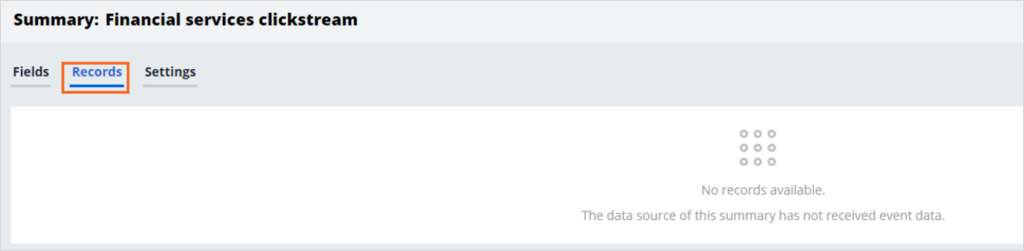
- On the Summary: Financial services clickstream rule form, click Save so that Customer Decision Hub automatically generates underlying artifacts in the background (summary attributes, output class structures, dataflows).
 Caution: This process can take up to one minute.
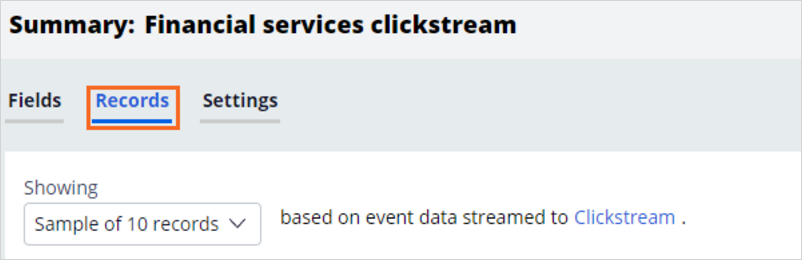
- On the Summary: Financial services clickstream page, click the Records tab to confirm that there are no records.
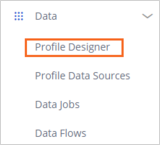
- In the navigation pane of Customer Decision Hub, click Data > Profile Designer.
- In the upper-right corner, click Edit.
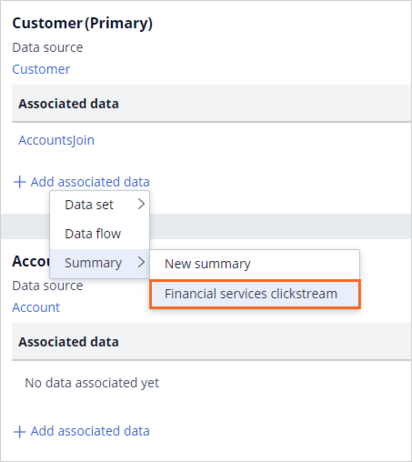
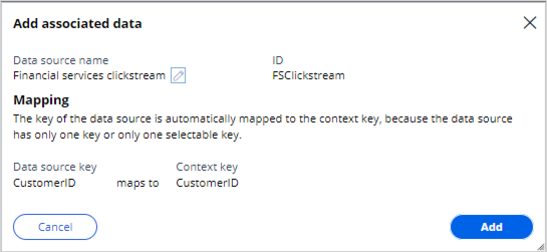
- Click Add associated data > Summary > Financial services clickstream to display the Add associated data dialog box.
- In the Add associated data dialog box, click Add to add the data to the customer profile.
- In the upper-right corner, click Save.
- In the upper-right corner, click user icon, and then Log off.
4 Test the Clickstream service
- Log in as the system architect:
- In the User name field, enter SystemArchitect.
- In the Password field, enter rules.
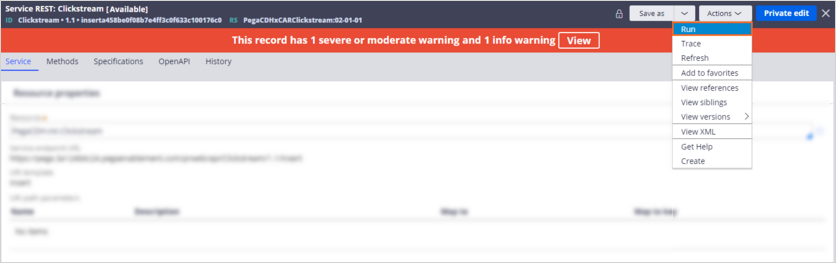
- In the header of Dev Studio, search for Clickstream and then find the Service REST rule.
- Click the Clickstream Service REST to open the rule properties.

- In the upper-right corner, click Actions > Run.
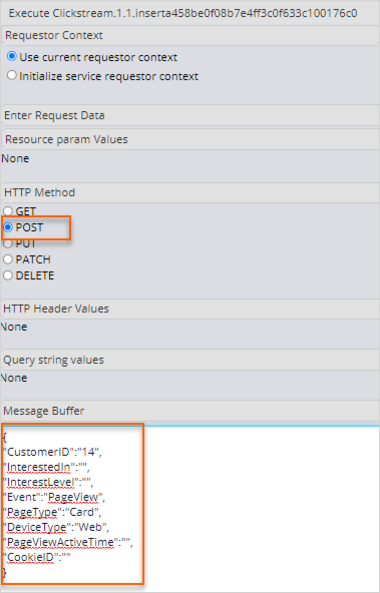
- In the Run window, configure the following settings:
- In the HTTP Method section, click POST.
- In the Message Buffer section, enter the following JSON payload:
{
"CustomerID":"14",
"InterestedIn":"",
"InterestLevel":"",
"Event":"PageView",
"PageType":"Card",
"DeviceType":"Web",
"PageViewActiveTime":"",
"CookieID":""
}
-
- Click Execute.
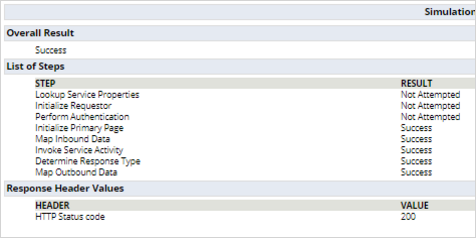
- Confirm that you received a success response from the service with HTTP Status code 200.
- In your browser, close the response tab.
- In the header of Dev Studio, click Launch portal > Customer Decision Hub to open Customer Decision Hub.
- In the navigation pane of Customer Decision Hub, click Data > Profile Designer.
- On the Profile Designer page, click the Financial services clickstream profile data source.
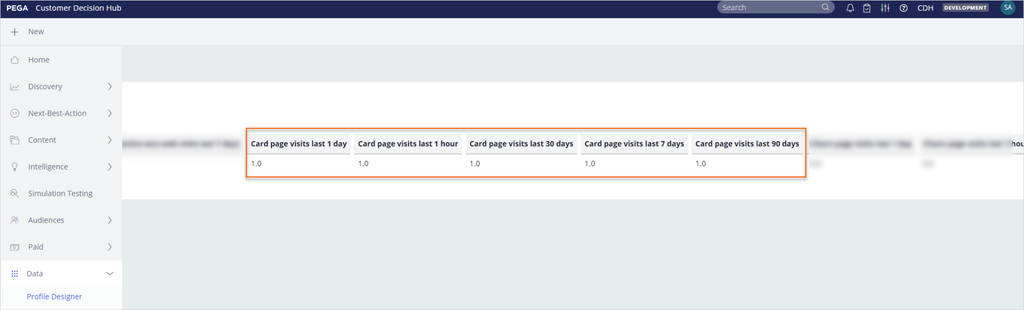
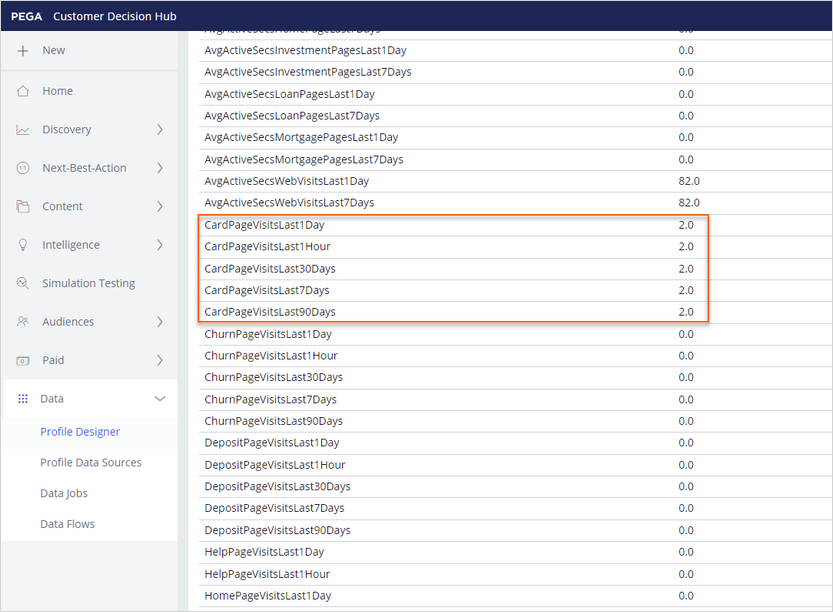
- At the top of the summary rule, click the Records tab to review the generated records.
- Scroll to the right to confirm that the CardPageVisit attributes have values.
5 Generate clickstream activity from U+ Bank
- On the exercise landing page, in the upper-left corner, click App-Switcher > U+ Bank to open U+Bank website.

- In the upper-right corner, click Log in > Sign in to log in as Troy.
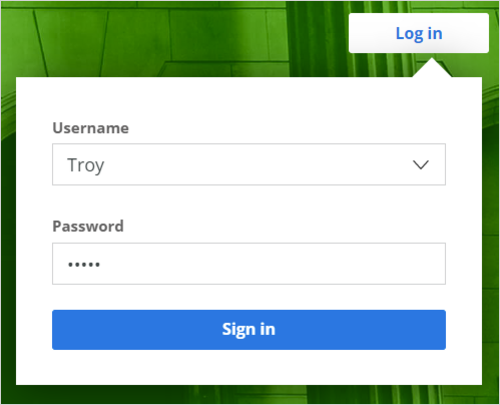
- Navigate to the Credit Cards page once or a few times to generate clickstream data.

- In your browser, return to Customer Decision Hub.
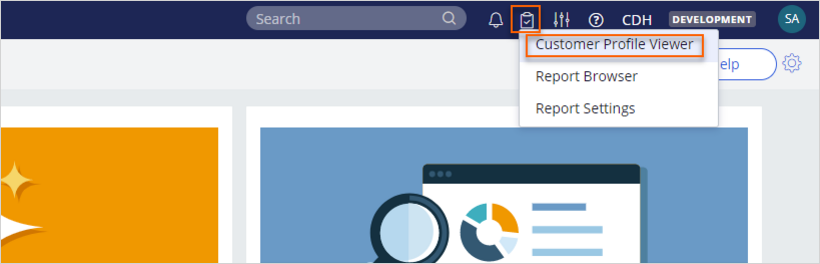
- In the header of Customer Decision Hub, click the clipboard icon and open Customer Profile Viewer.
- In the Customer ID field enter 14 and click View.
- On the Customer Profile Viewer page, click the Behavioral data tab.
- In the Summaries and aggregates list, select Financial services clickstream.
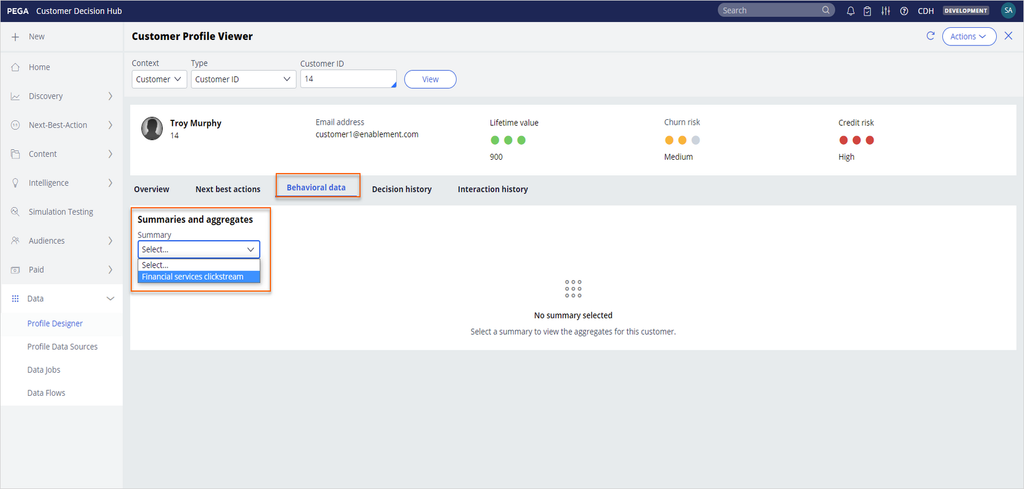
- Scroll down to confirm that Card Page visit counts have increased and that additional attributes now have values.
Note: The attribute values are calculated in real-time from your actions on the U+ Bank website, so the values vary.
- In the upper-right corner, click user icon, and then Log off from Customer Decision Hub.
- In the lower-left corner, click user icon and then Log off from Dev Studio.
6 Add financial clickstream summary predictors to AI models
- Log in as the data scientist:
- In the User name field, enter DataScientist.
- In the Password field, enter rules.
- In the navigation pane of Customer Decision Hub click Intelligence > Prediction Studio to launch Prediction Studio.
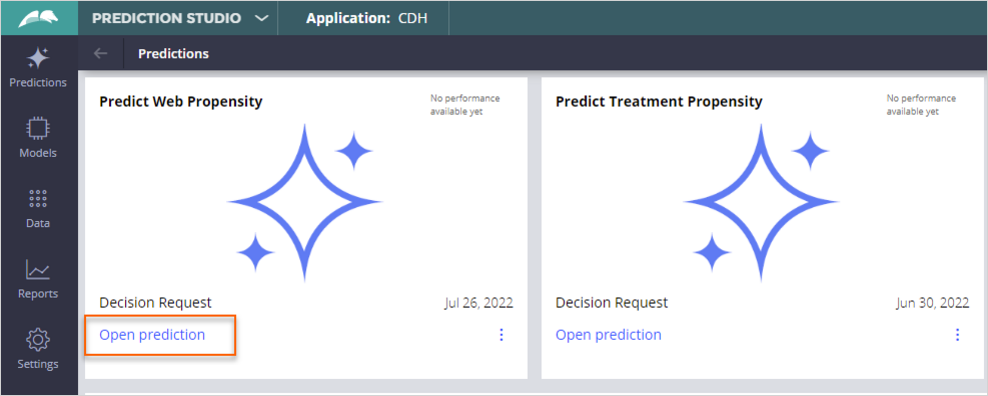
- In the Predict Web Propensity prediction, click Open Prediction.
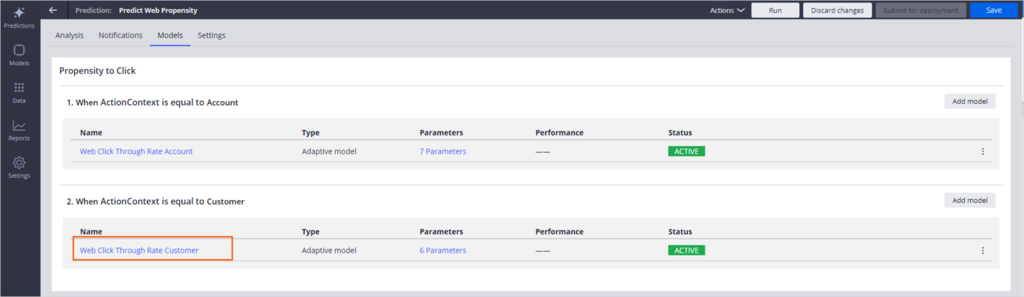
- On the Models tab of the prediction, click the Web Click Through Rate Customer adaptive model.
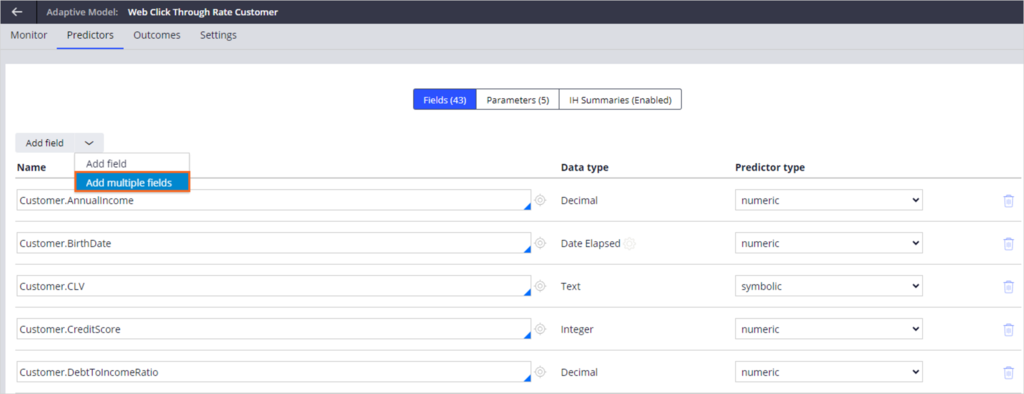
- On the Predictors tab, click Add field > Add multiple fields.
- In the Current page (CDH) section, expand Page Customer.
- Click Page FSClickstream to set the clickstream predictors.
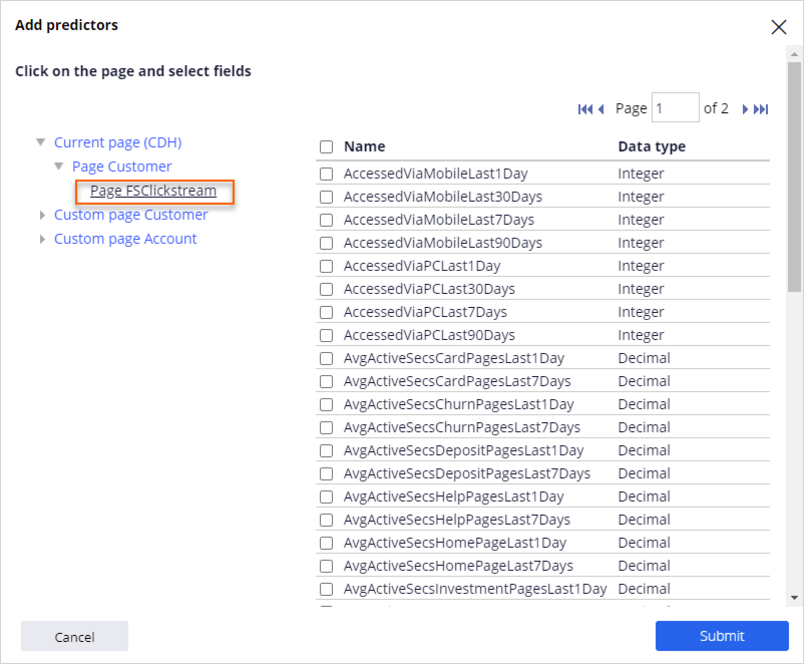
- At the top of the list, select the check box to select all predictors shipped with the component.
Note: As models evolve, predictors with low predictive power automatically become inactive.
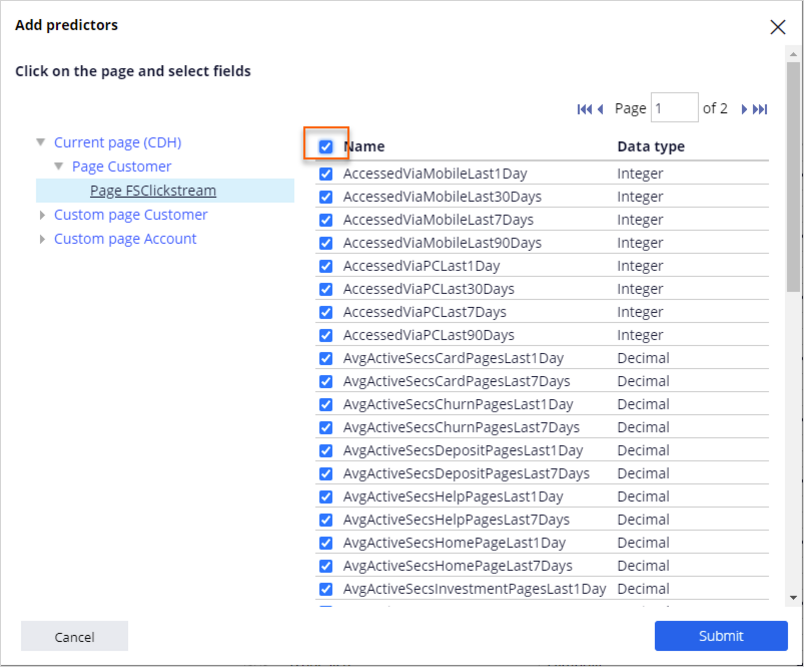
- Click Submit.
- In the upper right corner, click Save.
This Challenge is to practice what you learned in the following Module:
Available in the following mission:
If you are having problems with your training, please review the Pega Academy Support FAQs.
Want to help us improve this content?