
Blending Traditional UI and Constellation
5 Tasks
30 mins
Intermediate
User Experience
Constellation
Low-Code App Development
English
Scenario
The Tell Us More application and Instance Case Type is not Sweet Life's first project with Pega Platform™. Sweet Life management wants to consolidate work from existing Pega applications to improve efficiency for their employees. The following table provides information on the existing applications in Sweet Life's portfolio:
| Application Name | UI Architecture | Application Purpose |
|---|---|---|
|
Tell Us More |
Constellation | Customer needs and incident management. |
|
ProConfig |
Traditional UI | New product configuration. |
|
TrackIT |
Traditional UI | Schedule and escalate deliveries. |
|
Shipment |
Constellation | Schedule and process deliveries. |
In this challenge, you are tasked with blending Sweet Life's Traditional UI and Constellation applications so that they can seamlessly work together. In Tell Us More, you will implement the Create Product Case Type from the ProConfig application. In TrackIT, you will implement the Ship Parcel Case Type from the Shipment application.
To assist you in identifying the difference between the two UI architectures, a Senior System Architect has provided review materials in the following tables:
| Traditional UI | Traditional UI | Constellation |
|---|---|---|
|
|

|

|
|
Expanded Navigation Pane (Create menu embedded) |
Collapsed Navigation Pane |
Navigation Pane (Create menu pops out) |
| Traditional UI | Constellation |
|---|---|
|
|
|
The following table provides the credentials you need to complete the challenge:
| Role | User name | Password |
|---|---|---|
| System Architect | Author@SL | pega123! |
Note: Your practice environment may support the completion of multiple challenges. As a result, the configuration shown in the challenge walkthrough may not match your environment exactly.
Challenge Walkthrough
Detailed Tasks
1 Add the Create Product Case Type to the Tell Us More application
- In the Pega instance for the challenge, enter the following credentials:
- In the User name field, enter Author@SL.
- In the Password field, enter pega123!
- Switch to Dev Studio.
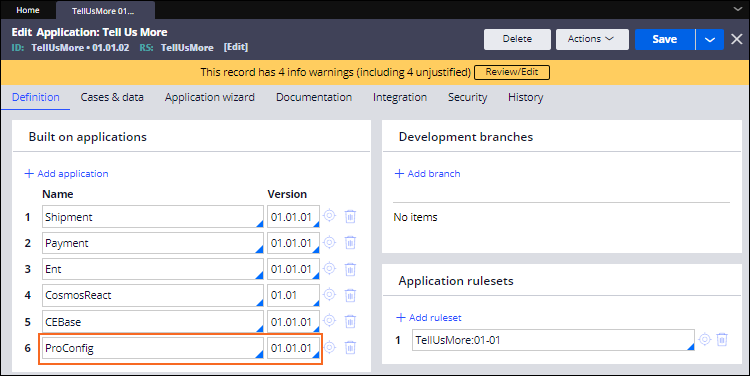
- In the header of Dev Studio, click Application: Tell Us More > Definition.
- On the Definition tab, click Add application, and then add ProConfig 01.01.01 as a built-on application.
- Click the Cases & data tab.
- In the Case Types section, click Add item, and then add a Case Type:
- Select the checkbox for the row.
- In the Name column, enter CreateProduct.
- In the Work ID prefix column, enter C-.
- In the Implementation column, enter SL-ProConfig-Work-CreateProduct.
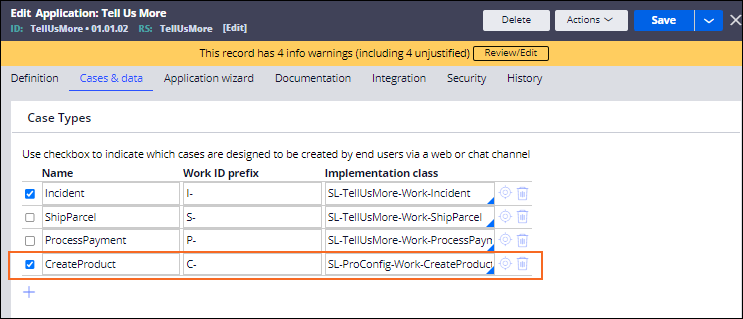
- Click Save.
- In the search box, search for the pyEnableTraditionalUICoexistence When Rule.
- In the pyEnableTraditionalUICoexistence Rule, click .
- In the Context section, select > Apply to @baseclass > Add to Ruleset Ent > Ruleset Version 01-01-02.

- Click .
- On the Advanced tab, modify the Expression so that it evaluates to true.

- Click Save.
- Switch to App Studio.
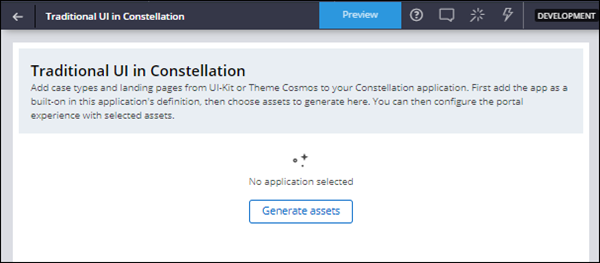
2 Generate the Traditional UI in Constellation assets
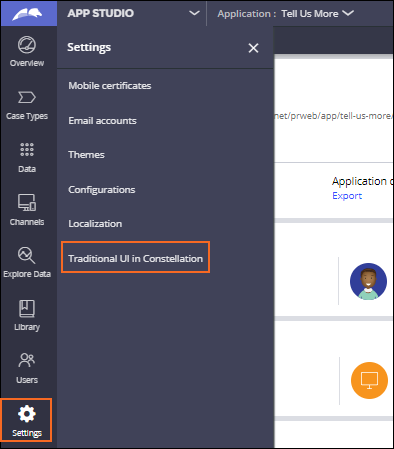
- In the navigation pane of App Studio, click Settings > Traditional UI in Constellation.
- Click .
- Complete the Connect Traditional UI application wizard:
- In the Application list, select ProConfig.
- In the Application version list, select 01.01.01.
- In the Application skin list, select ProConfig.
- In the Case Types section, click Add > Create Product.
- Click Next.
 Note: If you fail to generate assets, repeat step 3 but in the Application Skin list, select CosmosSkin. All of the other information remains the same.
- Confirm that the wizard has completed the configuration, and then click .
3 Refresh the routing table in Dev Studio
- Switch to Dev Studio.
- Open the Tell Us More Application Definition.
- On the Definition tab, in the Advanced section, click Generate routing table.

- Click .
4 Add Create Product Case Type to the Portal
- Switch to App Studio, and then in the navigation pane, click Channels.
- In the Current channel interfaces section, open the Portal Channel.

- In the Main navigation window, in the Create menu section, add the Create Product Case Type.

- Click .
5 Add a Constellation application to Theme Cosmos
- Switch to Dev Studio, and then click Configure > Org & Security > Organization > Operators.
- Open the Author@SL operator profile.
- In the Application Access section, add the TrackIT:Authors Access Group.
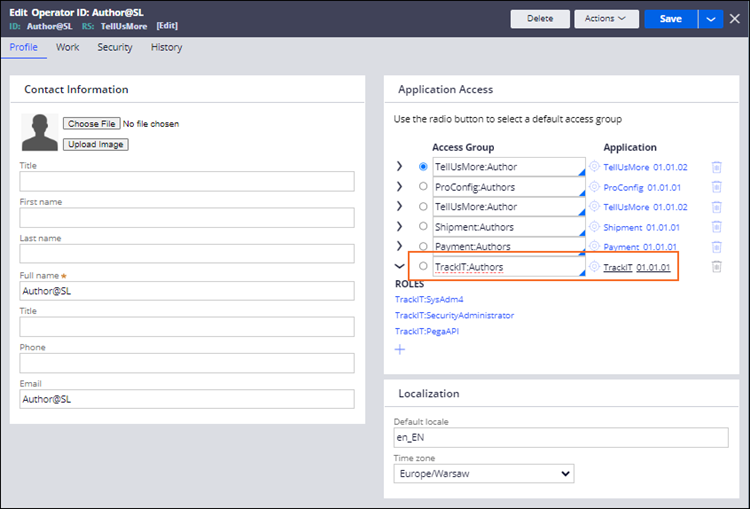
- Click .
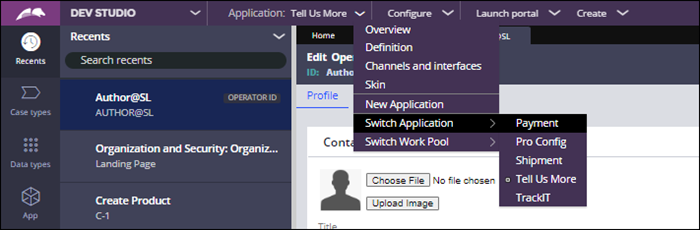
- In the header of Dev Studio, click Application: Tell Us More > Switch Application > TrackIT.
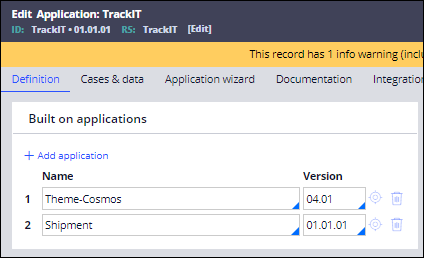
- Open the TrackIT application definition.
- Confirm that Shipment is listed as a built-on application.
- Click the Cases & data tab.
- In the Case Types section, click Add item, and then add a Case Type:
- Select the checkbox for the row.
- In the Name column, enter Ship.
- In the Work ID prefix column, enter S-.
- In the Implementation column, enter SL-Shipment-Work-ShipParcel.
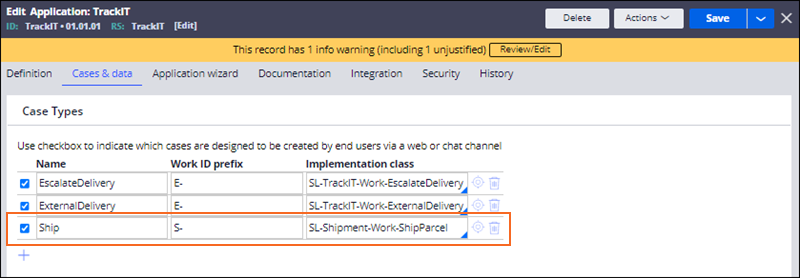
- Click Save.
- In the Case Types navigation menu, click and confirm Ship Parcel appears in the list.

- Switch to App Studio.
This Challenge is to practice what you learned in the following Module:
Available in the following mission:
If you are having problems with your training, please review the Pega Academy Support FAQs.
Want to help us improve this content?