Creating a composite tab
Archived
2 Tasks
5 mins
Advanced
Agent Desktop
English
Scenario
As a customer service app administrator, you must create a new tab to display the transaction history and statement for a contact in a separate tab.
Use the following credentials to log in to the exercise system:
| Role | User name | Password |
|---|---|---|
| CS Administrator | CSAppAdmin | password123! |
| Customer Service Representative | cacsr | password123! |
Your assignment consists of the following tasks:
Task 1: Create a composite tab called Contact
In Settings > Interactions > Customer composite, configure a new composite tab, name it Contact and make this tab available in all customer interactions.
Task 2: Choose the content by selecting sections for the Contact tab
Add the sections to display the transaction history and statement by contact to the Contact tab.
Task 3: Confirm your work
In the Interaction Portal, start an interaction with John Brown, and verify that the new Contact tab is displayed.
Challenge Walkthrough
Detailed Tasks
1 Create a composite tab called Contact
- Log in to the exercise system as a Customer Service Application Administrator with User name CSAppAdmin using Password password123!.
- In the navigation pane of App Studio, click Settings > Interactions > Customer composite.
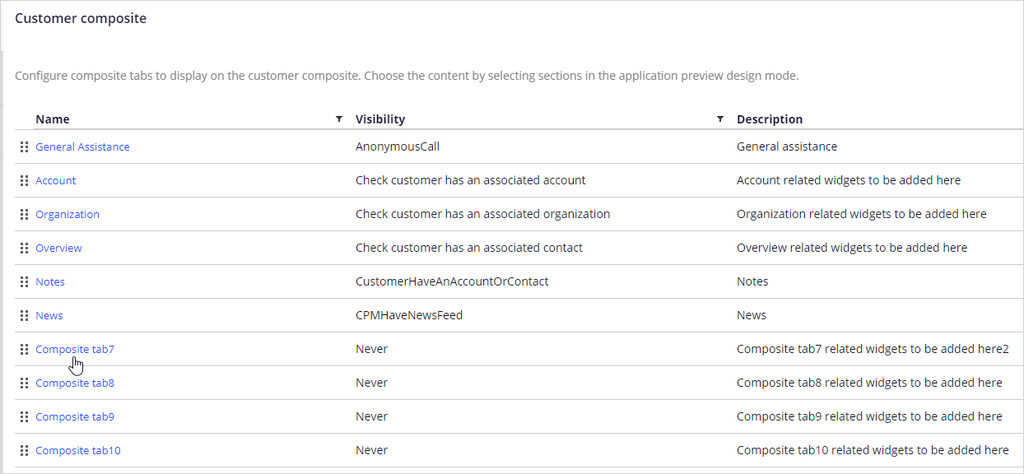
- Click Configure tabs to display a list of composite tabs.
- Click any of the unconfigured composite tab to open the Edit tab dialog box.
Note: For the moment, the system supports only 15 composite tabs.
- In the Edit tab dialog box, enter the following information:
- Name: Contact
- Description: Contact related widgets to be added here.
- Visibility: Always visible
- Click Submit.

- Click Save.
2 Choose the content by selecting sections for the Contact tab
- Click Preview to launch the Interaction Portal.
- In the Interaction Portal, click New > Configure customer composites to add sections to the Contact tab.
- Click the Contact tab.
- In the header of App Studio, click Design to add the content selecting sections in the Contact tab.

- On Contact tab, hover over the Workarea and then click the Edit this workarea icon to add sections to the tab.
 Note: The default template format of all the composite tabs is the composite with primary and widgets template. You can change the template by clicking the Change option.
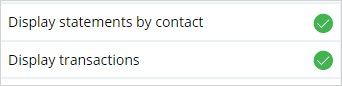
- Click the Add icon to add the sections to display transaction history and statement by contact in the Primary view.

- In the Sections section, click Display statements by contact and Display transactions to add them to the view.
- Click X to close the Add… pane, and then click X to close the Composite section widgets holder pane.

- Click Design to freeze the data in the Contact tab.