Creating a custom case utility widget
Archived
4 Tasks
25 mins
Pega Platform 8.5
Intermediate
User Experience
English
Scenario
The stakeholders of the MyTown311 want Service Request cases to show relevant repair manuals based on the repair type of the request. For example, a repair type of Pothole would render manuals related to repairing potholes. Using Dev Studio and App Studio, create a custom utility widget and add it to the case utility panel.
The following table provides the credentials you need to complete the challenge.
| Role | User name | Password |
|---|---|---|
| Application Developer | author@mytown | cosmos123! |
Detailed Tasks
1 Create widget placeholder with App Studio
- Log in to App Studio and create a new Service Request case with sample data.
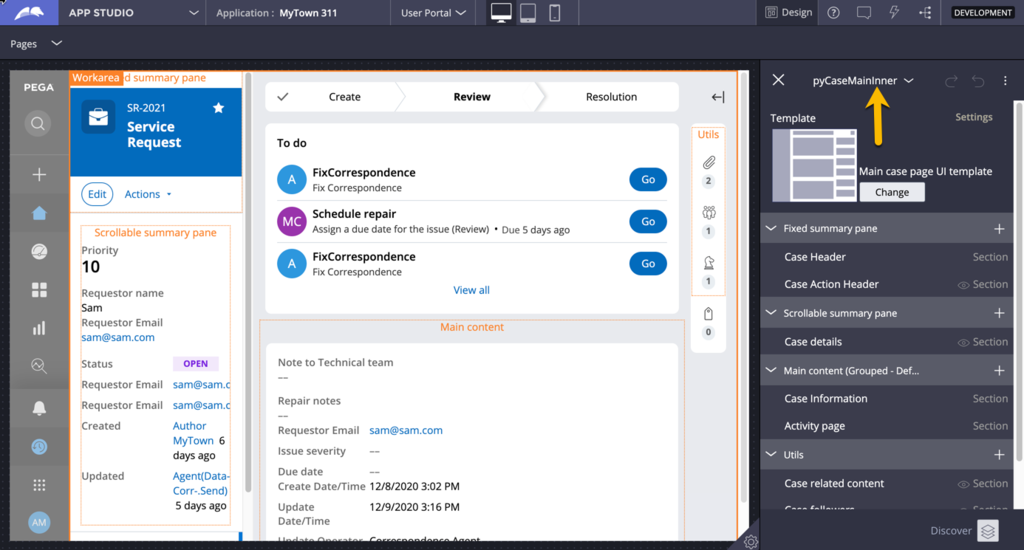
- In the header of App Studio, click Design to enter Design mode.
- In the pane on the right, in the drop-down menu, select pyCaseMainInner.
- In the the Utils section, click Add to add a new utility.
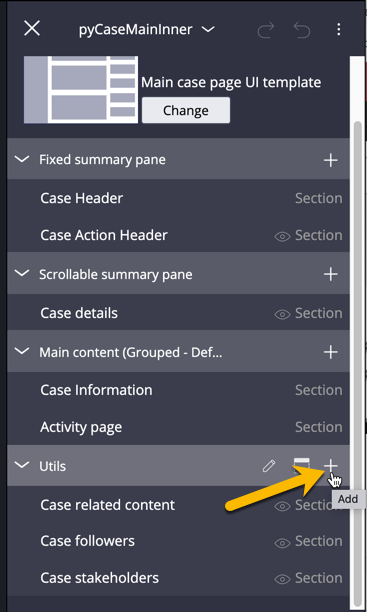
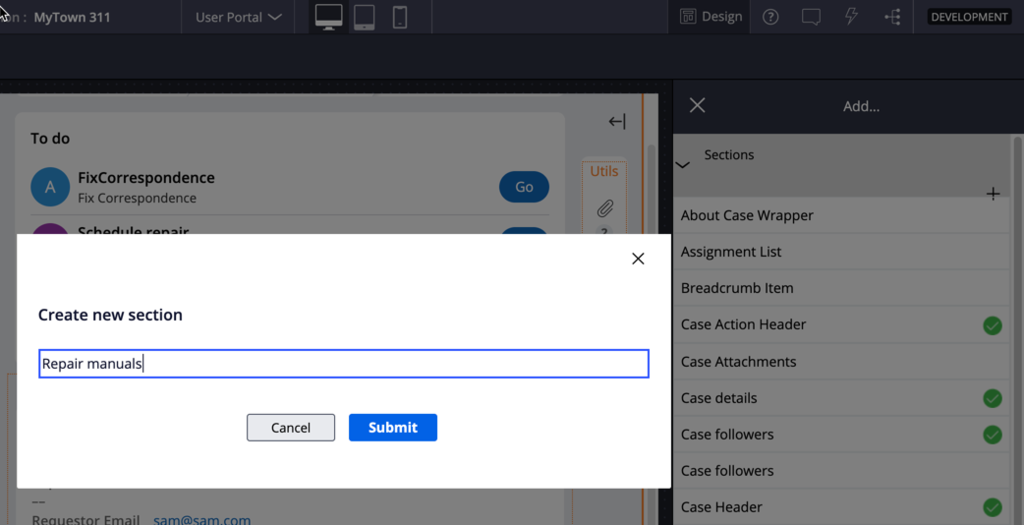
- In the Add pane, click Add to add a new section.

- In the Create new section field, enter Repair manuals as the new section name.
- Click Submit to submit the section name.
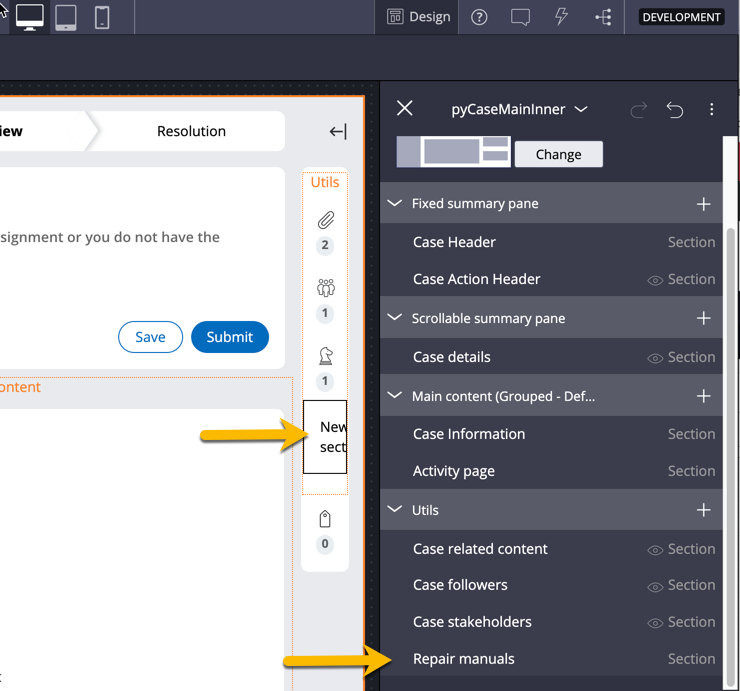
- Close all the Add pane to return to pyCaseMainInner and verify the new section displays in the panel.
- In the header of App Studio, click Design to exit Design mode.
- On the user portal, expand the utility panel.
- Verify that a New section placeholder displays.

2 Configure the utility widget container with Dev Studio
- Enter Design mode.
- Expand the utility column.
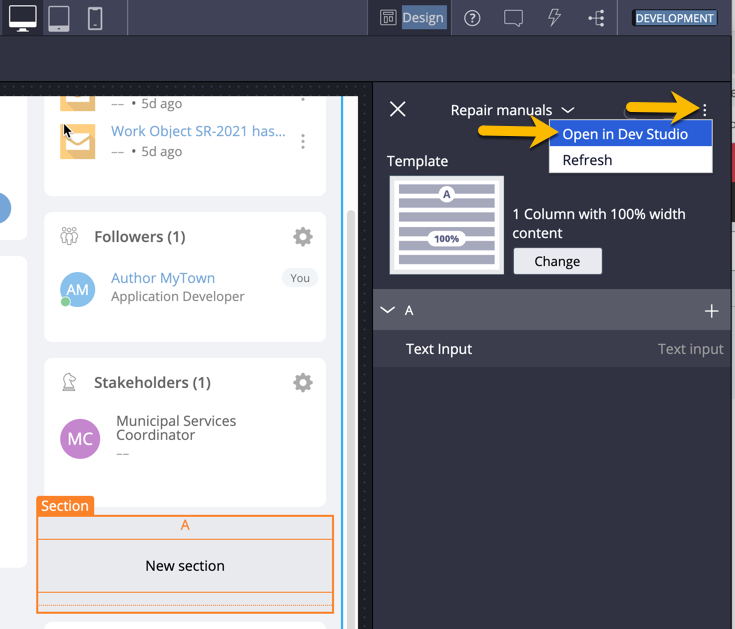
- On the user portal, hover over the New Section utility, and then click the Edit icon to configure the utility.

- In the configuration pane on the right, click the More icon, and then select Open in Dev Studio to open the section in Dev Studio.
- In Dev Studio, at the top of the section, click Convert to full section editor to convert the 1-column design template.
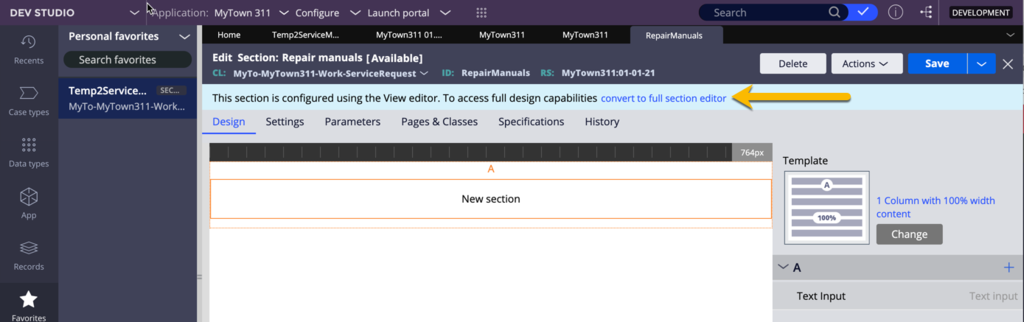
- In the Confirm section conversion dialog box, click Submit.

- On the New section text input, right-click, and then select Delete.

- Click Dynamic Layout (Stacked) > View properties to open the Dynamic Layout properties.

- In the Dynamic Layout properties dialog, in the Container format field, select Other to display the other container format field.
- In the open field, enter or select Utility Open the property pane for the and set the container format to Utility.
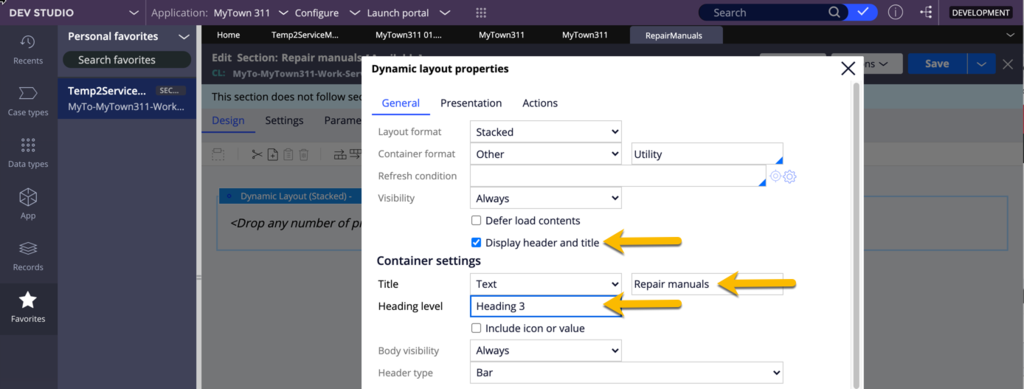
- Select the Display header and title check box.
- In the Container settings section, to the right of Text, enter or select Repair manuals.
- In the Heading level list, select Heading 3.
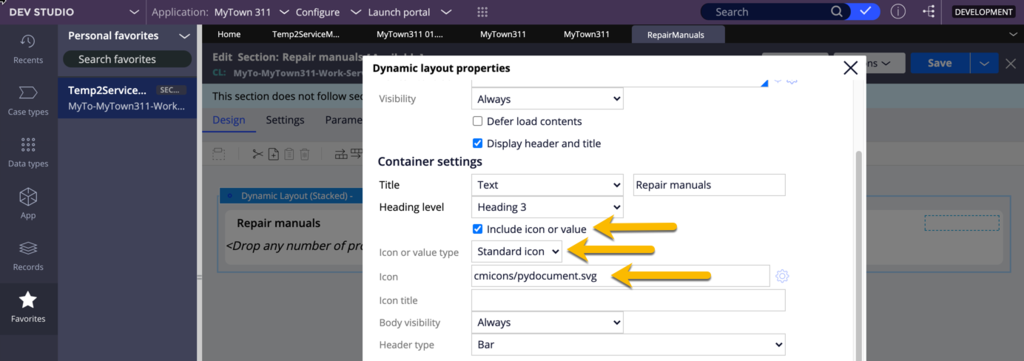
- Select the Include icon or value check box.
- In the Icon or value type list, select Standard icon.
- In the Icon field, enter cmicons/pydocument.svg.
- Click Submit to close the Dynamic layout properties dialog box.
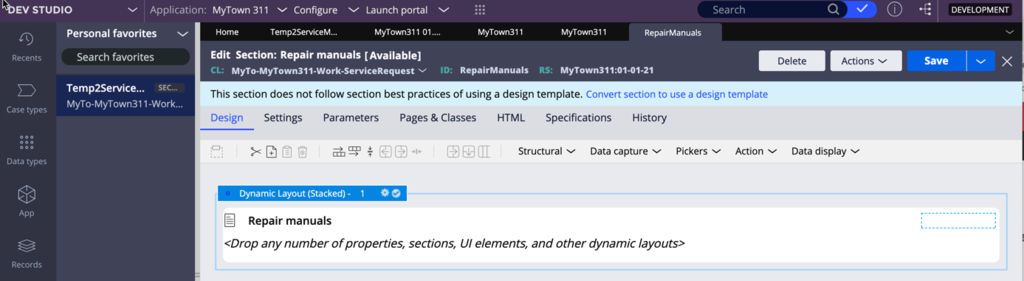
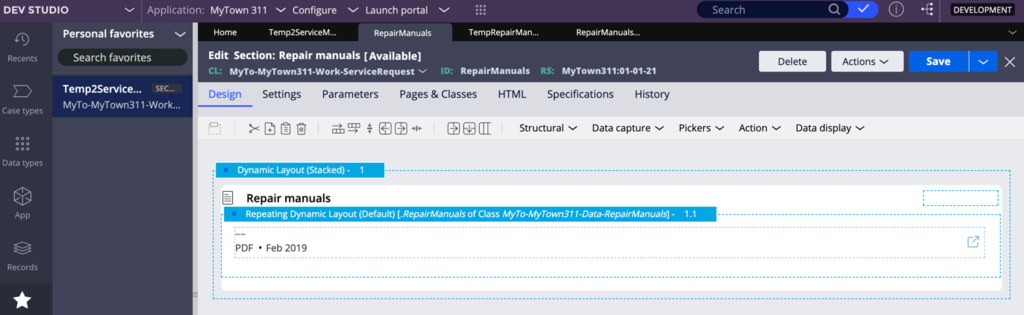
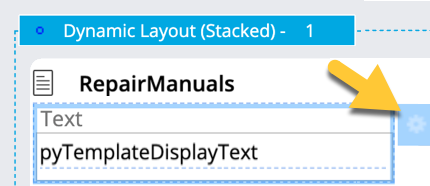
- Verify that your section resembles the following image.
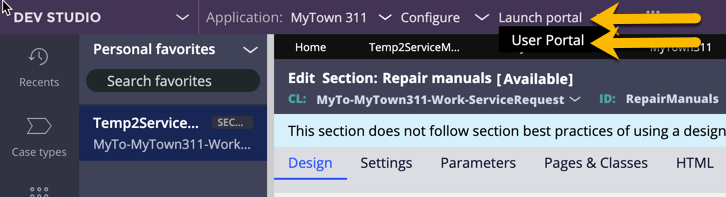
- In the header of Dev Studio, click Launch portal > User Portal to open the User Portal in a new tab and test your changes.
- In the User Portal, create a Service Request case.
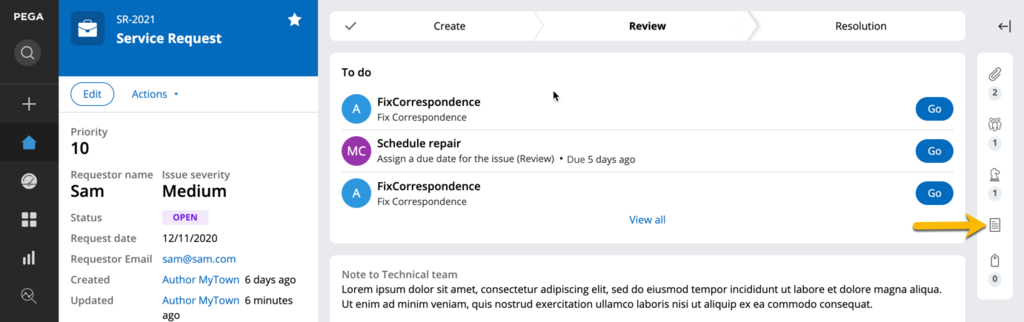
- Verify the collapsed state of the new utility widget.
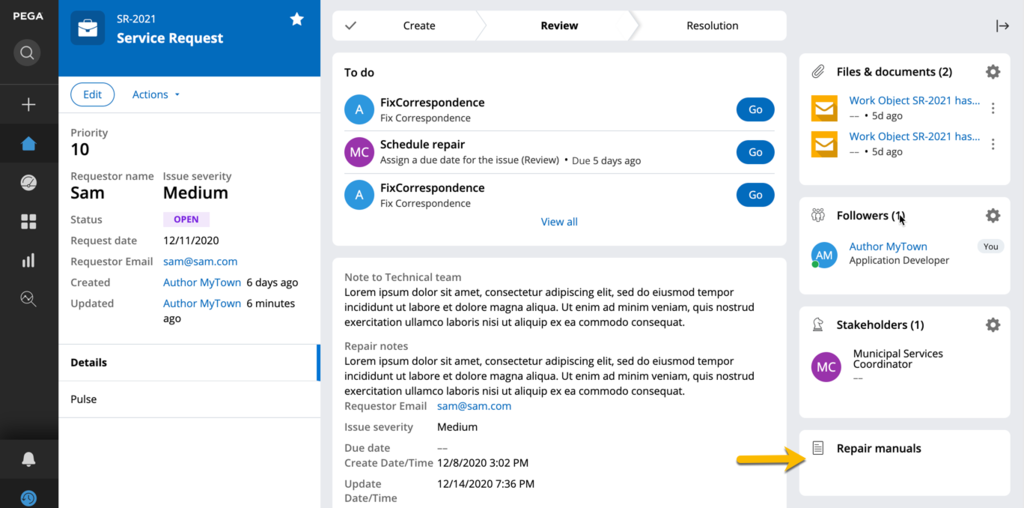
- Verify the expanded state of the new utility widget.
3 Configure the utility widget content with Dev Studio
Note: In this challenge, you add a Repeating Dynamic Layout (RDL) to render the repair manuals. The source of the RDL is a list group property bound to parameterized data page that, based on the passed repair type, returns a list of manuals. For brevity, the target section rule of the RDL, page list property, the data page, and the underlying report definition already exist.
- Return to the Dev Studio browser tab.
- In Dev Studio, click the RepairManuals section rule tab.
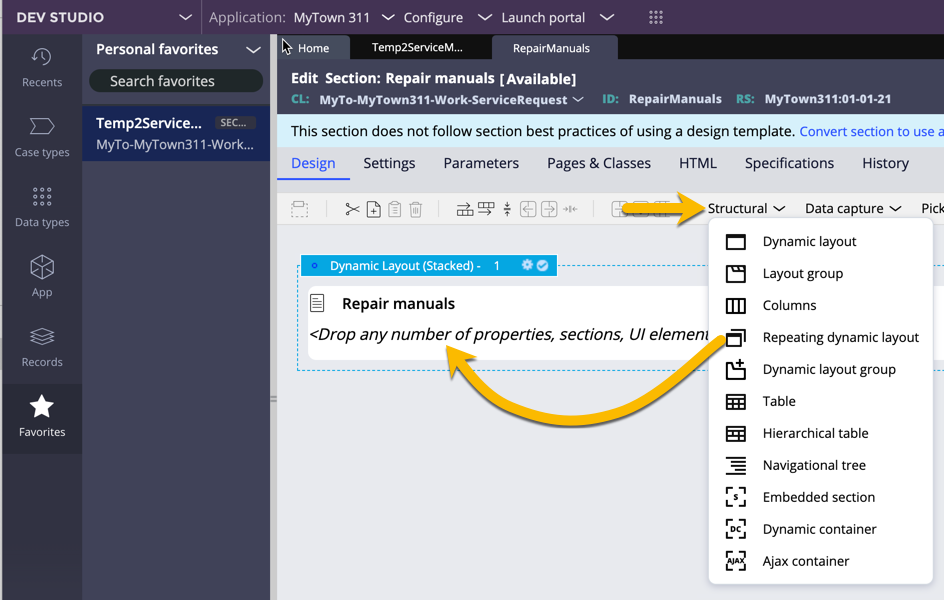
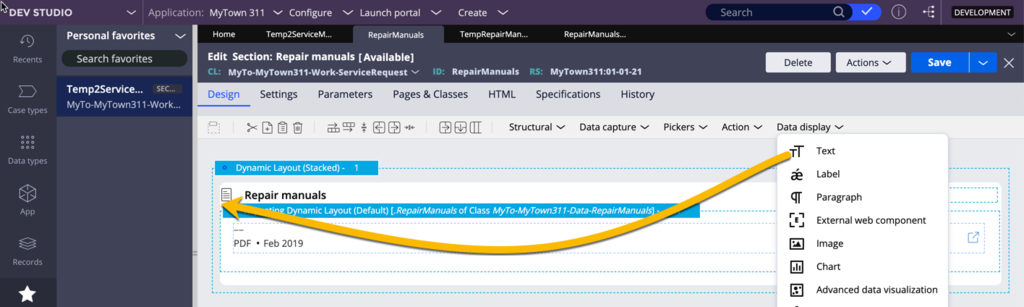
- On the Design tab, expand the Structural list, and then drag and drop a Repeating dynamic layout to the outer Dynamic Layout.

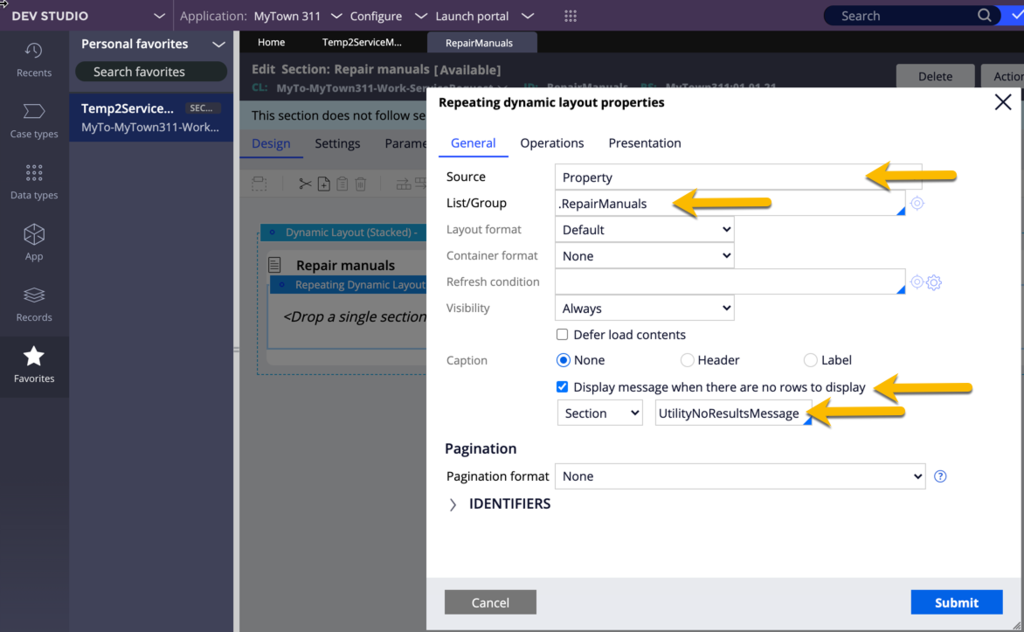
- Click View properties to open the Repeating dynamic layout property dialog box.
- In the Repeating dynamic layout properties dialog, in the Source fiedl, select Property.
- In the List/Group field, enter or select .RepairManuals.
- Select the Display message when there are no rows to display check box.
- To the right of the Section list, enter or select UtilityNoResultsMessage.
- Click Submit to save and dismiss the Repeating dynamic layout property dialog box and return to the section form.
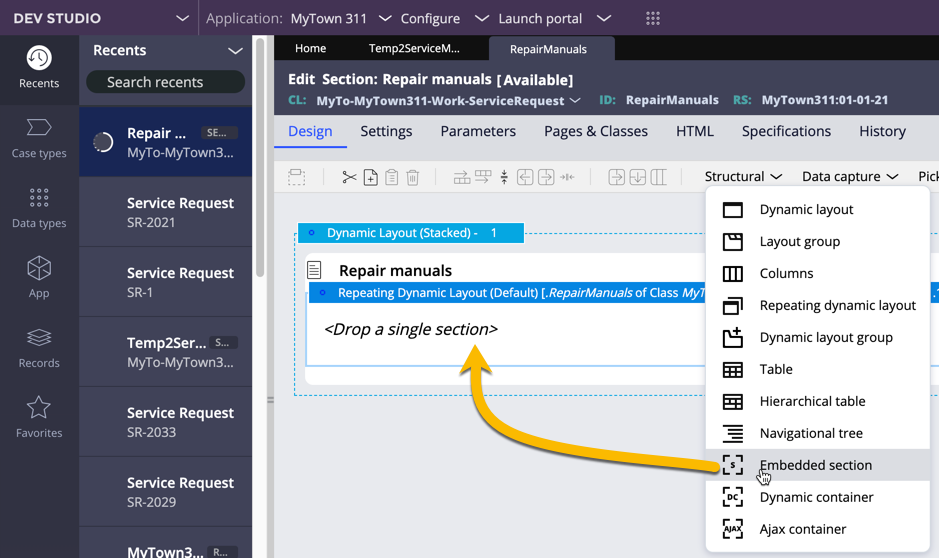
- On the Design tab, expand the Structural list, and then drag and drop an Embedded Section to the Repeating Dynamic Layout. The Section Include dialog box is displayed.
- In the Section Include dialog box, to the right of By name, enter RepairManualsListItem as the section name.
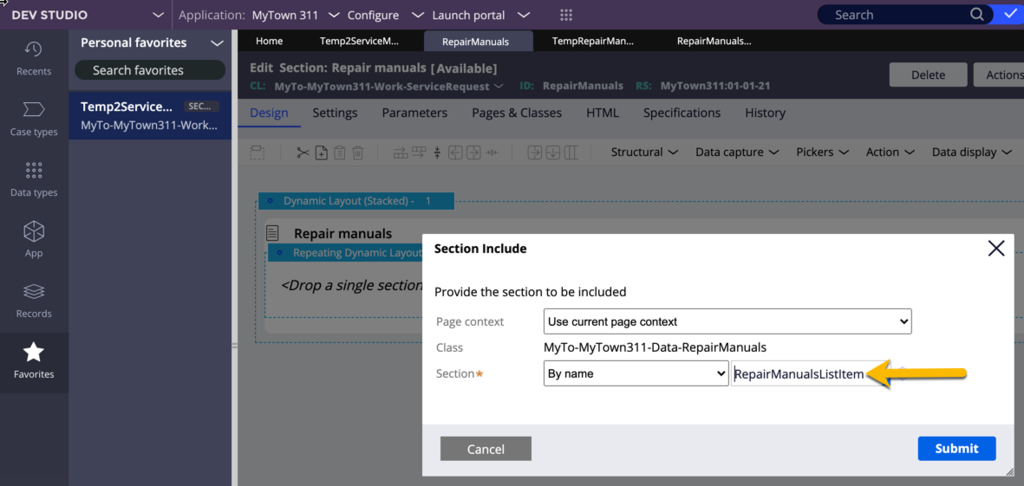
- Click Submit to close the Section Include dialog box and return to the section form.
- Verify that the RepairManuals section rule resembles the following image.
- In the header of Dev Studio, click Launch portal > User Portal to open the User Portal in a new tab and test your changes.
- Create a new Service Request case.
- In the New Service Request window, in the Type list, select a value (for example, Pothole).
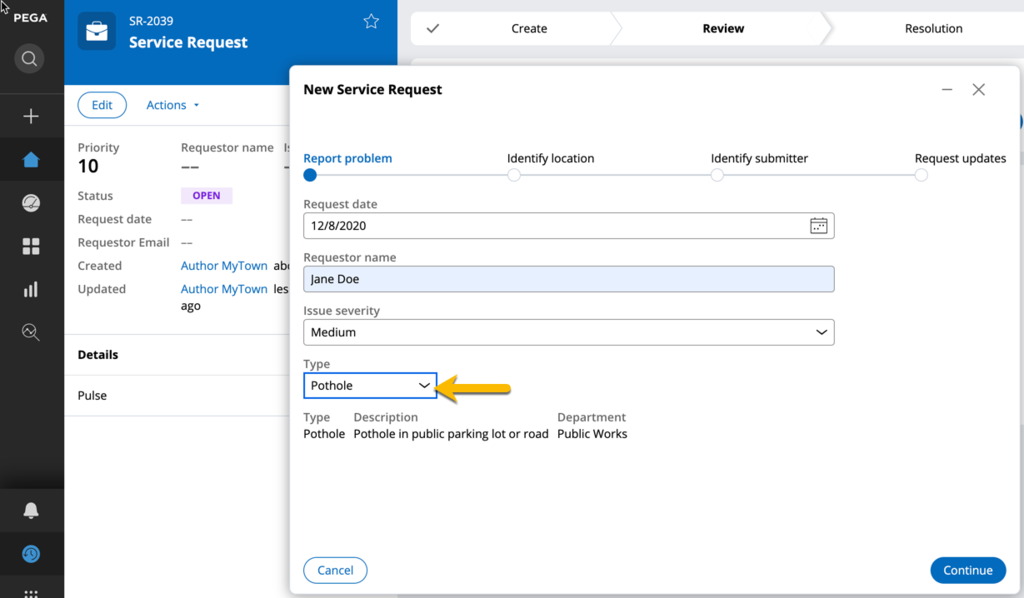
- Enter other sample data to complete the Service Request details.
- When the case is opened, expand the utility panel and verify the Repair manuals utility widget renders a list of manuals.
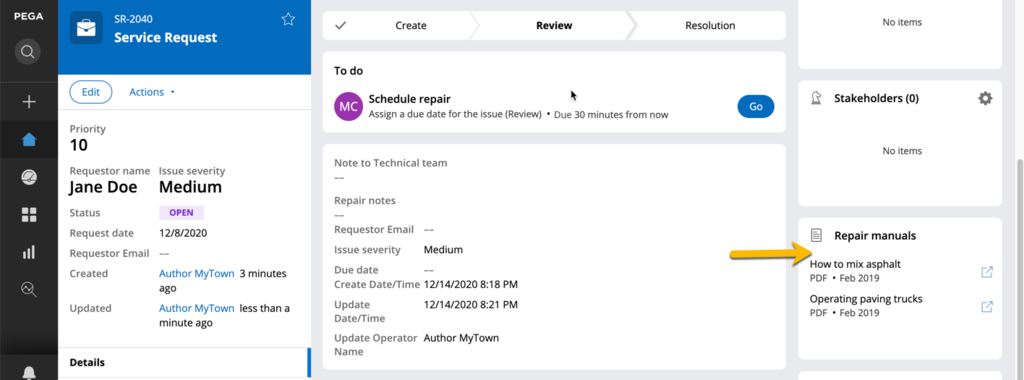 Note: The links to the sample repair manuals are not configured to navigate to an actual website.
 - Create additional case types with different Type list values (for example, Park maintenance or Road debris).
- Confirm that the utility widget renders different manuals depending on the Type list value.
4 Add the number of repair manuals to collapsed and expanded state
When warranted, a utility widget renders a badge in a collapsed state to help the user understand the contents of the widget. Often, this badge is a count of items in the widget. Similarly, when a widget renders items, the expanded state should indicate the number of items.
Note: This challenge involves using a property to hold the item count, a declare expression to set the property with the correct item count, and a field value to append the item count to the header title of the widget. For brevity, these rules have been created for you.
- Return to the Dev Studio browser tab.
- In Dev Studio, click the RepairManuals section rule tab.
- On the Design tab, expand the Data display list, and then drag and drop a Text control above the Repeating Dynamic Layout.

- Select the Text field, then click View Properties to open the Cell Properties dialog box.
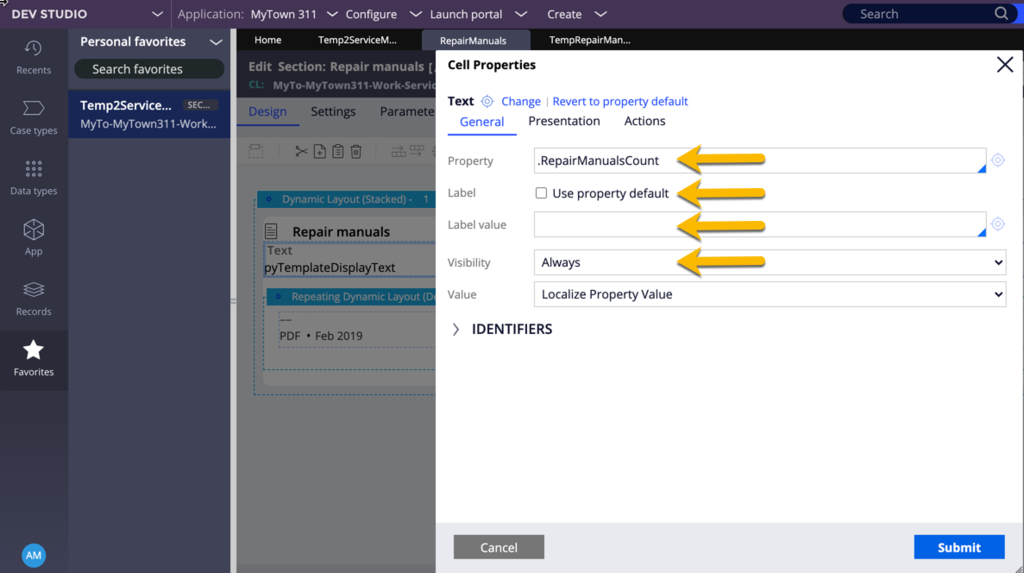
- On the General tab, set the following properties:
- In the Property field, enter or select .RepairManualsCount.
- To the right of Label, clear the Use property default check box.
- Clear the Label value field.
- In the Visibility list, select Always.
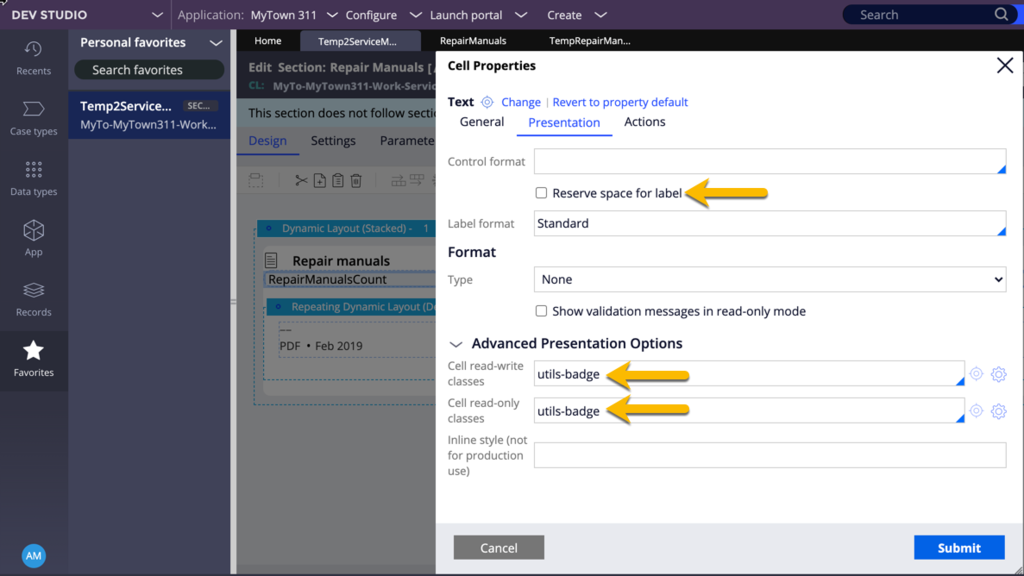
- On the Presentation tab, set the following properties:
- Clear the Reserve space for label check box.
- In the Cell read-write classes and Cell read-only classes fields, enter or select utils-badge.
- Click Submit to save your changes and close the Cell Properties dialog box.
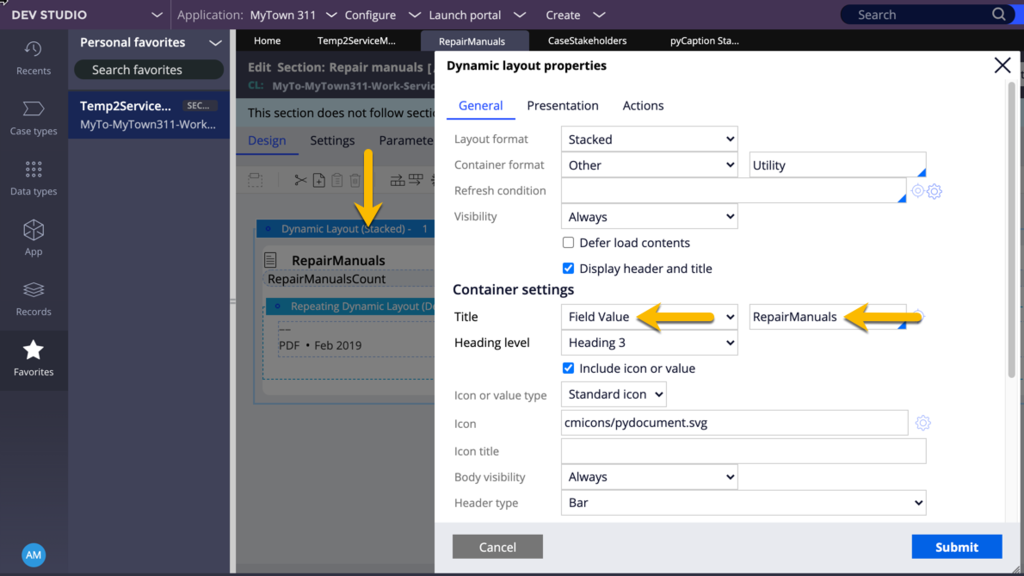
- Open the Dynamic layout properties dialog box again.
- On the General tab, in the Container settings section, in the Title list, select Field Value.
- To the right of the Title list, in the field, enter or select RepairManuals.
- Click Submit to save your changes and close the Dynamic layout properties dialog box.
- In the header of Dev Studio, click Launch portal > User Portal to open the User Portal in a new tab and test your changes.
- Create a Service Request case.
- Notice that in a collapsed state, a badge under the icon indicates the number of repair manuals that are available.

- Expand the utility panel and verify that the number of repair manuals is appended to the title in the expanded state.
