Deploying a robotic project
1 Task
10 mins
Beginner
Robotic Process Automation
English
Scenario
U+ Bank is preparing for the testing portion of its Customer Service application for both attended and unattended robotic process automation. The first task is to ensure that you can deploy a local package and verify its completion. Create a temporary deployment folder on the desktop, adjust the deployment folder configuration, and then deploy to the local directory. Then, ensure that the creation of the deployment package in the temporary folder is successful.
Detailed Tasks
1 Deploy robotic project locally
- On the computer desktop, right-click, and then select New > Folder.
- With the name of the new folder already highlighted, enter Temp Robotics, and then press Enter.
- In the Start menu, launch Pega Robot Studio.
- On the Home screen of Pega Robot Studio, click File > Open Project.
- In the Select Project File dialog box, select AttendedRPAChallenge.pegaProject, and then click Open.
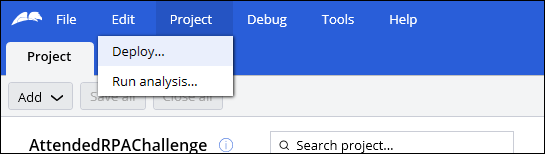
- In the Project menu, select Deploy to display the Project deploymentdialog box.
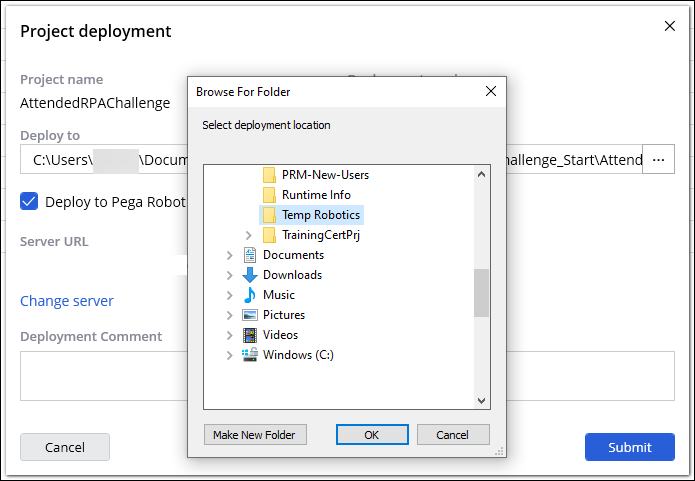
- In the Deploy to field, click the More icon, and then browse to the new Temp Robotics folder on the desktop.
- In the Browse For Folder dialog box, click OK to accept the new folder destination.
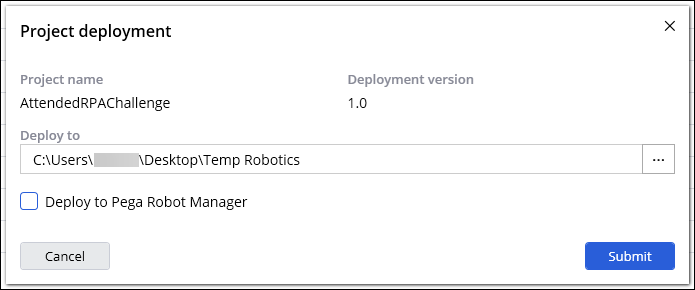
- In the Project deploymentdialog box, clear the Deploy to Pega Robot Manager checkbox, and then click Submit.
- Optional: To address the project analysis warning before deploying the project to Pega Robot Manager, in the dialog box, click Yes

- In the Project deployment dialog box, click Close.
- Repeat Steps 4-11 for UBank.pegaProject.
This Challenge is to practice what you learned in the following Module:
Available in the following mission:
If you are having problems with your training, please review the Pega Academy Support FAQs.
Want to help us improve this content?