
Configuring organization structure
6 Tasks
15 mins
Beginner
Robotic Process Automation
English
Scenario
For the next phase of the challenge, you configure a basic organizational structure for the MyTown application within Pega Robot Manager™. MyTown has a primary department with multiple sub-departments where you can route work so that users can complete QA testing using attended automations.
Complete the following tasks:
- Create a Customer Service department that contains multiple sub-departments
- Add users to the application manually and using the file template
- Update users and department descriptions
- Move a user to a different department
Note: You must complete the preceding challenge, in order, before attempting to complete this task:
The following table provides the credentials you need to complete the challenge:
| Role | User name | Password |
|---|---|---|
| Robot Manager User Administrator | useradmin@mytownrm | myt0wn@pp2 |
Challenge Walkthrough
Detailed Tasks
1 Add departments
- In the Pega Platform instance for the challenge, enter the following credentials:
- In the User name field, enter useradmin@mytownrm.
- In the Password field, enter myt0wn@pp2.
- In the left navigation pane, select Organization > Departments.
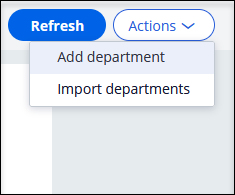
- On the Departments tab, click Actions > Add department to add a new top-level department to Pega Robot Manager.
- In the Add new department dialog box, in the Name field, enter Customer Service.
- In the Description field, enter Provides organization-wide customer support.
- Click Submit to add the new top-level department.

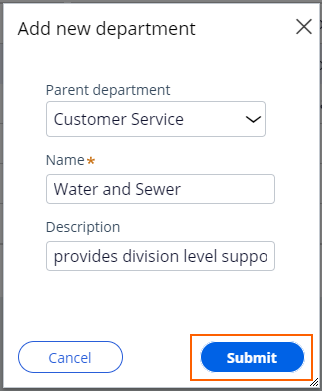
- On the Departments tab, in the Customer Service row, click the More menu, and then select Add sub-department.

- In the Add new department dialog box, in the Name field, enter Water and Sewer.
- In the Description field, enter Provides division level support for water and sewer.
- Click Submit to add the new sub-department.
- On the Departments tab, to the right of Water and Sewer, click the menu to add a new sub-department.
- In the Add new department dialog box, in the field, enter Water Service.
- In the Description field, enter Provides unit level support for water service requests.
- Click Submit to add the sub-department.

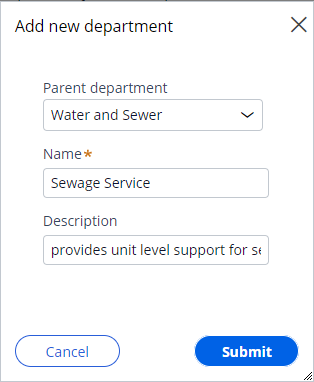
- Repeat step 5 to add an additional sub-department.
- In the Add new department dialog box, in the field, enter Sewage Service.
- In the Description field, enter Provides unit level support for sewage service requests.
- Click Submit to add the sub-department.
2 Update the Customer Service department description
- On the Departments tab, in the Customer Service row, click the More menu and then select Edit to modify the department.

- In the Edit department dialog box, in the Description field, enter "Provides company-wide customer support and service."
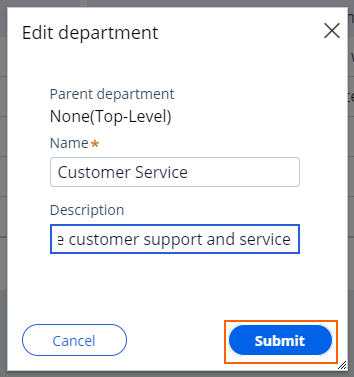
- Click Submit to update the department description.
- Verify that the new description is displayed.
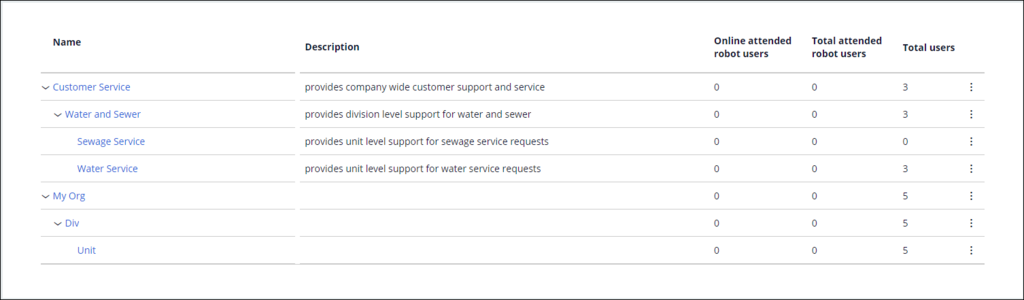
3 Import the MyTown users
- Create a new folder on your desktop named RobotManagerChallengeAssets.
- Download the following file to import a list of users.
MyTownRM users_1.zip (306 bytes)
- Extract the contents of the RobotManagerChallengeAssets zip file to the new folder.
- In the left navigation pane, click Organization > Users.

- In the upper-right corner, click to add the list of users by using a template file.
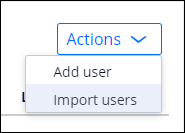
- In the Import users dialog box, click Choose File and browse to the file that you downloaded in step 2 to import into Pega Robot Manager.
- Click Import to add the users from the template file

- Click Close to close the Import users dialog box.

- Verify that the additional two users are displayed.

Note: If necessary, clicking the Download template link opens the dialog box for the standard template when importing users. You can then update the file with user data necessary for your organization.
4 Add a new user manually
- On the Users landing page, click Actions > Add user to manually add a new user to Pega Robot Manager.

- In the First Name field, enter Alex.
- In the Last Name field, enter Smith.
- In the Email address field, enter alex.smith@mytownrm.com.
- In the Department drop-down list, expand the organization tree for and select Water Service.
- In the Role drop-down list, select Robot manager administrators.
- Click Submit.

- Verify that new user Alex Smith is displayed in the list of users.

5 Modify user role
- On the Users landing page, click the user Alex Smith.

- On the Alex Smith user details page, click Actions > Edit to modify the user details.

- In the Role field, enter Robot Manager runtime user.
Note: The roles in the drop-down list will default to the option at the top of the list. Verify that the correct role is selected before clicking Submit.
- Click Submit to complete the update.
- In the upper-left corner, click Users to navigate to the Users landing page.

- Verify that Alex Smith has the Robot manager runtime user role.

6 Moving users to another department
- In the navigation pane, click Organization > Departments to display the Departments landing page.
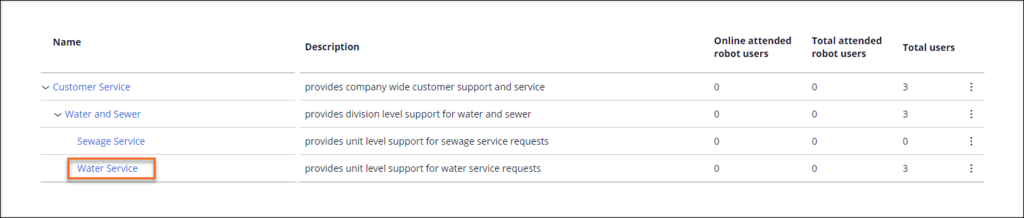
- Expand the organizational tree to find the Water Service department.
- Click Water Service to open the Water Service page.
- In the section, select the checkbox next to the user Alex Smith and click .

- In the dialog box, in the drop-down list, select Customer Service > Water and Sewer > Sewage Service, and then click .
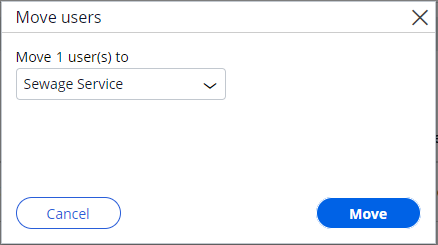 Note: Administrators cannot assign users to the top two departments in the corporate hierarchy, so you must choose a department at least three levels down.
 - Verify the user is no longer visible in the Water and Sewer department list.

Available in the following mission:
If you are having problems with your training, please review the Pega Academy Support FAQs.
Want to help us improve this content?