Adding Portals and landing pages in Constellation applications
5 Tasks
30 mins
Intermediate
User Experience
Constellation
English
Scenario
Sweet Life stakeholders have decided to create different Portals so that the users of their Tell Us More application only have access to the information that is relevant to their specific Tasks. An important aspect of developing these Portals is defining the landing pages that include the data that is important to each Portal's user.
In this challenge, you build out two Portals, including landing pages, for the Tell Us More application. Additionally, you have been tasked with creating a custom dashboard to display previously created Insights, so that Sweet Life's back-office workers can easily compare the number of Cases being created every day with the number of Cases being resolved.
The following table provides the credentials you need to complete the challenge:
| Role | User name | Password |
|---|---|---|
| System Architect | Author@SL | pega123! |
Note: Your practice environment might support the completion of multiple challenges. As a result, the configuration shown in the challenge walkthrough may not match your environment exactly.
Challenge Walkthrough
Detailed Tasks
1 Create Portals for the Tell Us More application
- In the Pega instance for the challenge, enter the following credentials:
- In the User name field, enter Author@SL.
- In the Password field, enter pega123!
- In the navigation pane of App Studio, click Channels.
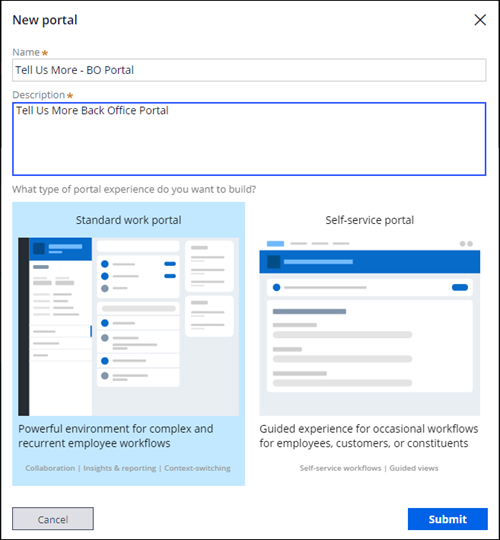
- In the Create new Channel interface section, click to create a new Portal Channel, and then configure the following fields:
- In the Name field, enter Tell Us More - BO Portal.
- In the Description field enter Tell Us More Back Office Portal.
- Select the Standard work Portal type.
- Click Submit.
- Click Save to save the new Portal configuration.
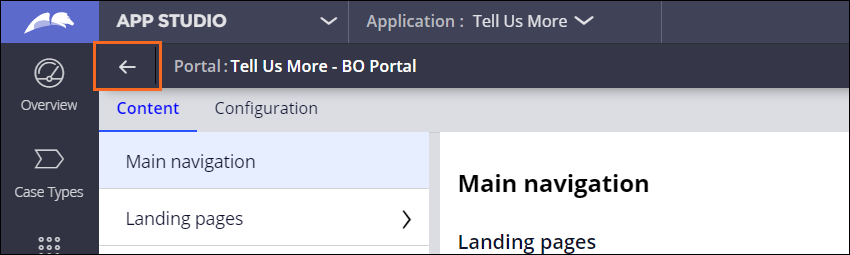
- Click the Back button to return to the Channel menu.
- Click to create another new Portal Channel, and then configure the following fields:
- In the Name field, enter Tell Us More - Customer Portal.
- In the Description field enter Tell Us More Customer Portal.
- Select the Self-service Portal type.
- Click Submit, then click Save to save the new Portal.
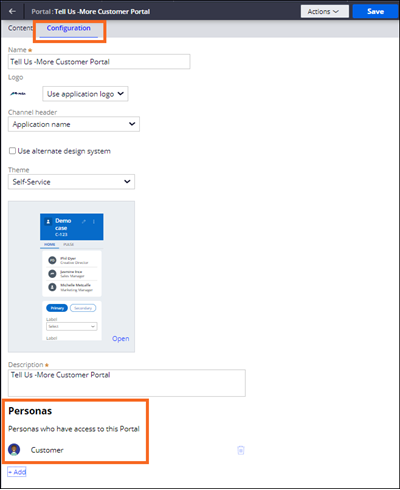
- In the Tell Us More - Customer Portal window, click the Configuration tab.
- In the Personas section, Add the Customer Persona to the Portal.
- For the Tell Us More - BO Portal, repeat steps 7- 8 to add the Case Worker and Dispatcher Personas.
- Click Save.
2 Create a Product landing page
- In the navigation pane of App Studio, click Data, and navigate to the Product data object.
- To access the Views associated with the Product data object, click UX > Other Views.
- In the List section, create a new list View called Products and configure it as follows:
- Remove Primary Fields from the Columns section.
- Add the following columns: Name, SKU, and Category Name.
- In the Editing section, select the Allow edit, delete and create checkbox.
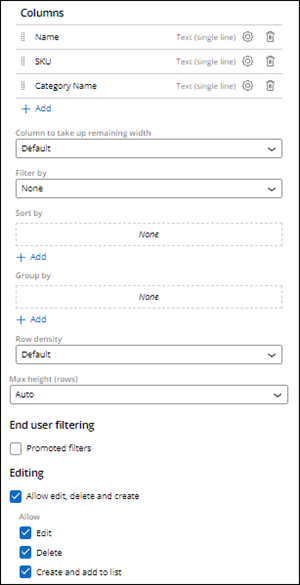
- Click Save.
- In the navigation pane of App Studio, click Channels, and navigate to the Tell Us More - BO Portal.
- On the Content tab, click Landing pages.
- To add a new landing page, click .
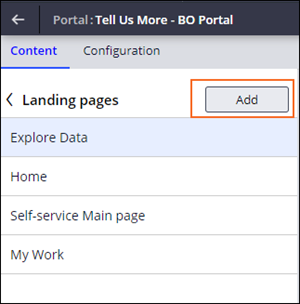
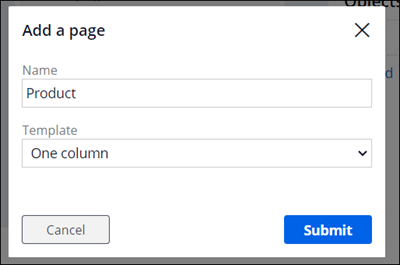
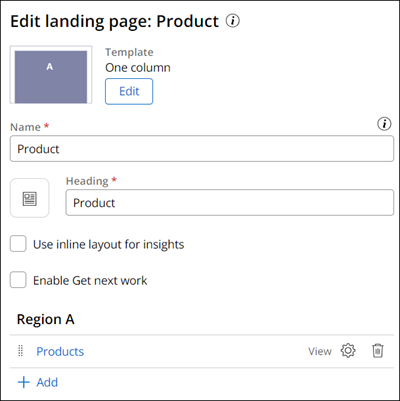
- In the Name field, enter Product. In the Template drop-down list, select One column.
- To Region A, add the Products View to the landing page.
- Click the arrow to the left of Landing pages to return to the main navigation section.
- In the Landing pages section, click the Add item button to add the Product landing page to the BO Portal.
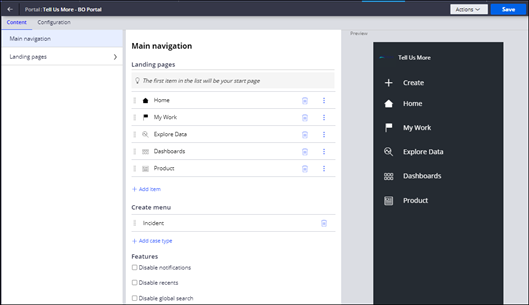
- Click Save.
3 Create an Incident landing page
- In the Tell Us More - BO Portal, click Landing pages.
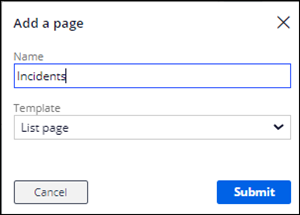
- Add a new landing page named Incidents and in the Template drop-down list, select List page.
- Configure the Incidents landing page as follows:
- In the Data Page field, select Incident List.
- In the Display as field, select Table.
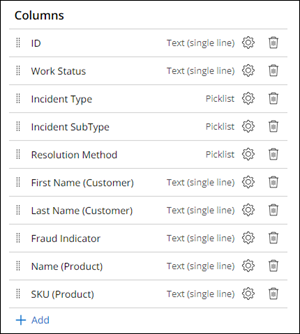
- In the Columns section add the following 10 fields and order them as follows:
- First Name (Customer)
- Last Name (Customer)
- ID
- Name (Product)
- SKU (Product)
- Work Status
- Fraud Indicator
- Resolution Method
- Incident Type
- Incident SubType
- In the Columns section, select the Allow bulk Actions checkbox.
- In the Editing section, select the Allow editing checkbox.
- Navigate back to the BO Portal's Main navigation page and add the Incidents landing page to the Landing pages section.
- Click Save.
4 Add the Mass Approval (Bulk Action) optional Action
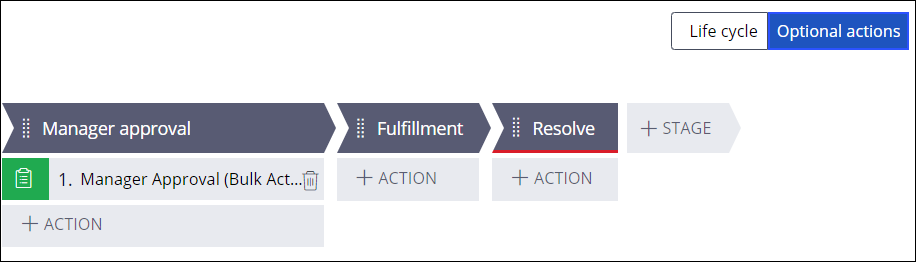
- Navigate to the Case Life Cycle of the Incident Case Type and click Optional Actions.
- In the Manager Approval Stage, add the Manager Approval (Bulk Action) user Action by clicking Actions > More > User Actions > Manager Approval (Bulk Action) > Select.
- Click Save.
- Switch to Dev Studio.
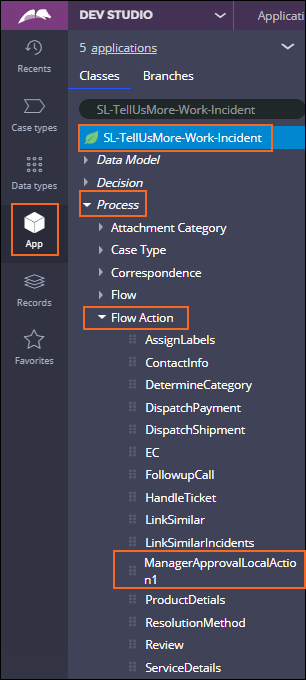
- Using the App explorer, navigate to SL-TellUsMore-Work-Incident > Process > Flow Action and open the ManagerApprovalLocalAction1 Flow Action.
- On the Action tab, select Run this Action only from bulk processing.
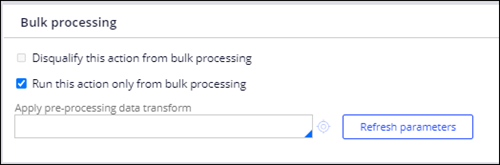
- Select Save as > Create and open > Save.
5 Create Case dashboards
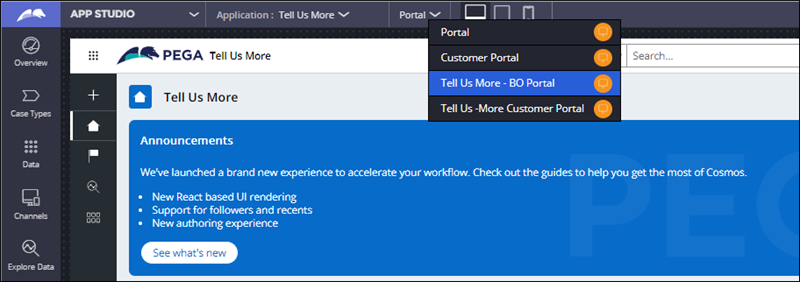
- Switch back to App Studio, and then click the Preview Button.
- In the Portal drop-down list, select the Tell Us More - BO Portal.
- From the Portal's left side navigation pane, click Dashboards, then, in the upper right, click Create new dashboard.
- Configure the new dashboard as follows:
- Select the Two column template.
- Set the Visibility to Public - all users.
- To Region A, add the Insight named Number of Work Items Created Daily.
- To Region B, add the Insight named Number of work Items Resolved Daily.
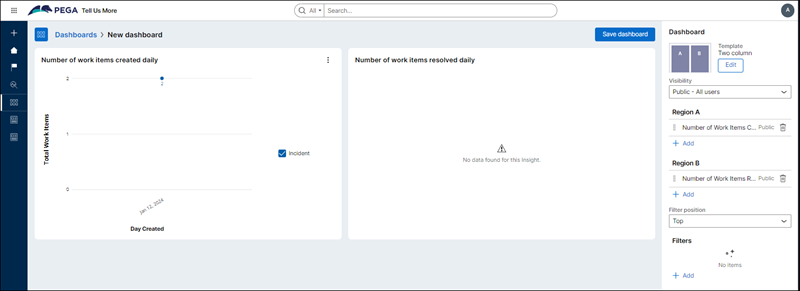
- Click Save dashboard.
- In the Name field, enter Case Creation vs. Resolution.
- Cick Submit.
This Challenge is to practice what you learned in the following Module:
Available in the following mission:
If you are having problems with your training, please review the Pega Academy Support FAQs.
Want to help us improve this content?