Configuring security policies
Archived
2 Tasks
5 mins
Scenario
GogoRoad is experiencing a large number of failed login attempts. Management suspects that the attempts are malicious attacks by an internet bot. Management has asked you to implement a new security requirement. After the first failed login attempt, the user cannot make additional attempts without further verification. After each attempt, the user must wait for a progressively longer period before making another attempt. The first failed attempt is delayed by five seconds.
After the first failed login attempt, display a CAPTCHA on the login page to verify that the user is a human and not an automated bot. After two failed attempts, enable a lockout penalty to delay further login attempts in five-second increments.
The following table provides the credentials you need to complete the challenge.
| Role | User name | Password |
|---|---|---|
| Application Developer | author@gogoroad | pega123! |
Note: Your practice environment may support the completion of multiple challenges. As a result, the configuration shown in the challenge walkthrough may not match your environment exactly.
Challenge Walkthrough
Detailed Tasks
1 Configure CAPTCHA
- In the header of Dev Studio, click Configure > Org & Security > Authentication > Security Policies to open the Security Policies landing page.
- In the Frequently required policies section, select the Enable frequently required policies (except for PRAuth-based authentication services) check box to enable the frequently required security policies.
Note: The Enable frequently required policies option is enabled by default in Pega Platform but is disabled to facilitate this particular challenge.
- In the CAPTCHA policies section, in the Enable CAPTCHA Reverse Turing test module field, select Enabled to enable the CAPTCHA feature.
- In the Enable presentation of CAPTCHA upon initial login list, select Disabled to ensure that the CAPTCHA appears only after the first failed login attempt.
- In the Probability that CAPTCHA will be presented upon authentication failure (%) field, enter 100 to ensure that the CAPTCHA is always presented when a login attempt fails.
2 Configure the lockout penalty
- In the Lockout policies section, in the Enable authentication lockout penalty field, select Enabled to activate the lockout penalty.
- In the Failed login attempts before employing authentication lockout penalty field, enter 2 to set the lockout penalty to take effect after two failed attempts.
- In the Initial authentication lockout penalty in seconds field, enter 5 to set the first lockout period to five seconds.
Note: Subsequent lockout periods increase in five second increments.
- Click Submit to apply the security policy updates.
Tip: When you import security policies in a Pega Platform™ instance, you may need to clear the data page that loads those settings. In Dev Studio, navigate to the Declare_AuthPolicies data page and click Load Management > Clear data page to flush the data page.
Confirm your work
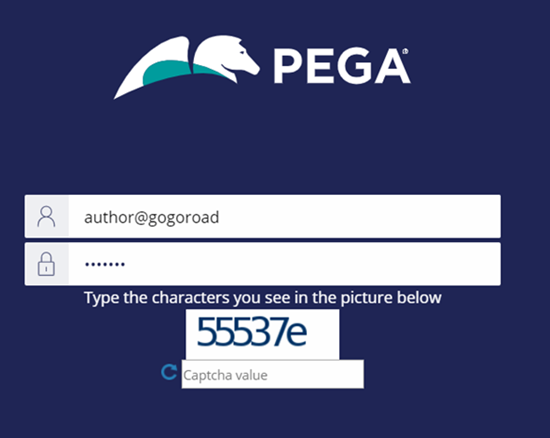
- Log out of the application. The Pega login screen is displayed.
- On the login screen, in the User name field, enter author@gogoroad.
- In the Password field, enter an invalid password.
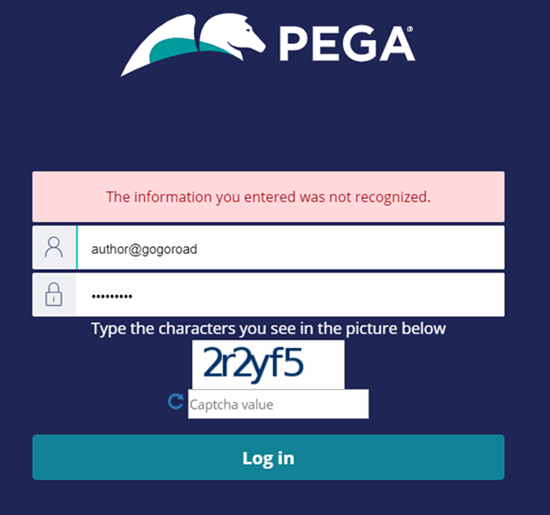
- Click to invoke an error message and a CAPTCHA field.
- Make a second attempt by using invalid credentials.
- Enter the CAPTCHA value, and then click .
- Make a third invalid login attempt to ensure the Log in button is unavailable for five seconds.
Note: After your third login attempt, the system might display an Error Authentication failed message. Refresh your browser window to return to the login page.
- Make a fourth invalid login attempt to ensure the Log in button is unavailable for ten seconds.
- Log in to the application with the correct credentials to ensure that you can access the application.
Note: After successfully logging in, you receive a prompt to change your password.
Tip: During application development, to prevent user lockouts, you may need to disable security policies until your application is in production. Return to the Security Policies landing page to disable the settings.


