
Creating reports and monitoring data in Pega Robot Manager
Archived
4 Tasks
20 mins
Beginner
Robotic Process Automation
English
Scenario
MyTown has used the robotic process automation (RPA) services for two months and has received complaints from users that Service requests and Inquiries are moving slowly during specific periods. As an administrator, you generate a report that can pinpoint the issue using the Pega Robot Manager reporting feature.
To ensure that the system analyses only recent data, you must archive data from the oldest date referenced in the system, April 1, 2020, before creating the report. Then, create two reports: one that shows inquiries that take longer than three seconds and service requests that take more than five seconds. You will then make this report Public so that you can share it with the other product owners and export it for further use.
Complete the following tasks:
- Archive old data
- Create a custom report
- Configure filters on the report
- Make report public
The following table provides the credentials you need to complete the challenge:
| Role | User name | Password |
|---|---|---|
| Robot Manager System Administrator | RMSysAdmin | myt0wn@pp1 |
Detailed Tasks
1 Archive old report data
- In the Pega Platform™ instance for the challenge, enter the following credentials:
- In the User name field, enter RMSysAdmin.
- In the Password field, enter myt0wn@pp1.
- In the header of Dev Studio, click Portal > Robot Manager.
- In the navigation pane of Robot Manager, click Settings > Reporting.
- On the Reporting landing page, expand the Auto-archiving of operational statistics data section.

- In the upper-right corner of the the Auto-archiving of operational statistics data section, click More > Archive data.

- In the Archive data dialog box, select Hourly, and then click Next.

- In the From date/time field of the Select date range to archive dialog, click the calendar icon, and then set the date range:
- In the From date/time field, select 4/1/2020.
- In the To date/time field, select 5/15/2020.
Note: Where the From the date represents the oldest date referenced in the data, and the To date represents the end of the older data in the system.
- Click Next to proceed to the confirmation message.

- Click Submit to confirm the data archive selection.

2 Create your custom usage report
- In navigation pane of Robot Manager, click Analytics > Reports.

- In the upper-right corner of the Reports landing page, click New Report to create a new report.
- In the Create new report dialog box, configure the repot:
- In the Report on list, select Robot Usage Statistics
- In the Usage data aggregated section, select Hourly.
- In the Report type list, leave the default List option.

- Click Submit to close the Create new report dialog box.

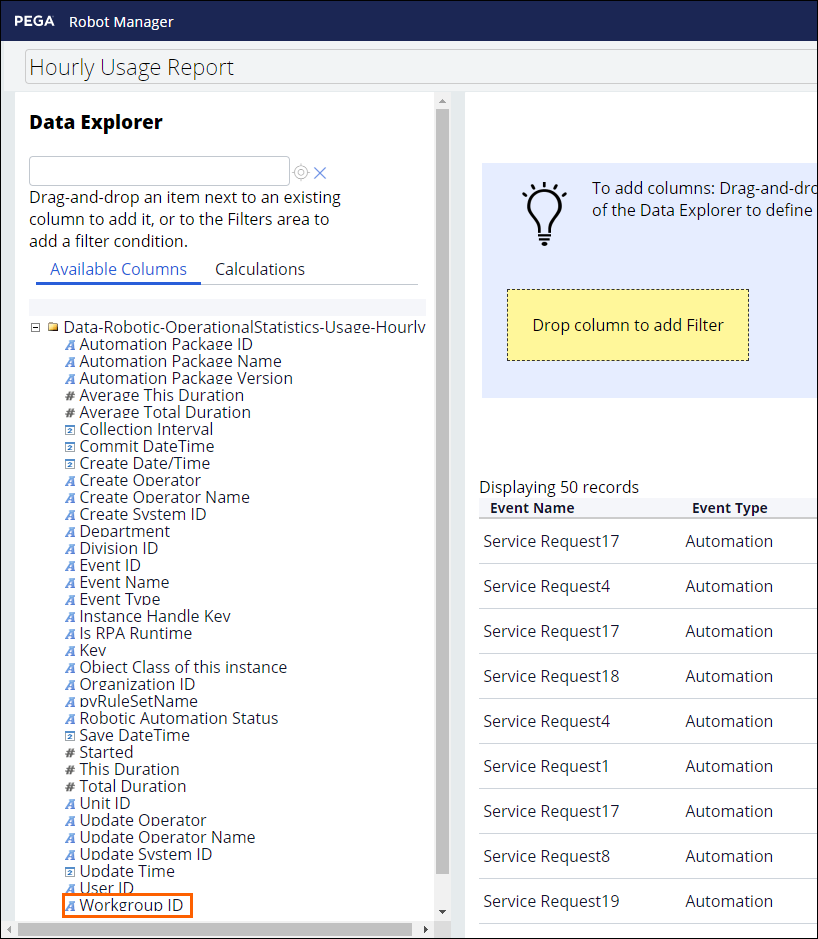
- In the Data Explorer, in the Available Columns section, drag the Workgroup ID column to the report next to Event Name column.
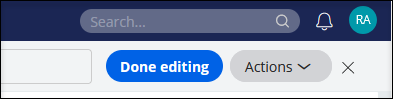
- In the upper-right corner of the Report Viewer, click Done editing.
- In the Save report as dialog box, complete the details:
- In the Title field, enter Service Request Hourly Usage.
- In the Description text box, enter Usage report to capture Service Requests over 5 seconds.
- Click Submit to save the report.

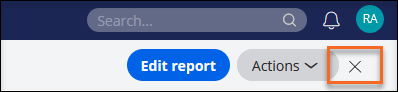
- In the upper-right corner, click the Close icon to close the report configuration.
- Repeat steps 1-8 to create a new report with the following information:
- In the Title field, enter Inquiry Hourly Usage.
- In the Description text box, enter Usage report to capture Inquiries over 3 seconds.
- On the My Reports tab, confirm that two new report tiles named Service Request Hourly Usage and Inquiry Hourly Usage are displayed.

3 Configure filters for new report
- On the Reports landing page, click the Service Request Hourly Usage tile to open the report.
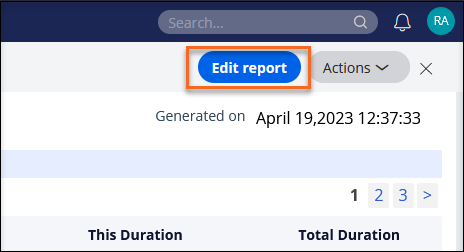
- In the upper-right corner of the report, click Edit report.
- In the Report Viewer, in the Workgroup ID column, click the Open Menu icon to display the column menu.

- Click Add filter.

- In the Edit filter window, click Select values.
- In the Select values dialog box, select the Service Request WG checkbox.

- Click Submit to close the Select values dialog box.
- In the Edit filter window, click Apply changes.

- In the Report Viewer, in the This Duration column, click the Open Menu icon to display the column menu.
- Click Add filter.

- In the Edit filter window, in the This duration list, select is greater than or equal to.

- On the right, enter 5000 as the value of the input box to filter for service requests that take longer than 5000 milliseconds or 5 seconds.
- Click Apply Changes to close the Edit filter dialog box.

- In the upper-right corner of the Report Viewer, click Done editing.

- In the upper-right corner, click the Close icon to close the Service Request Hourly Usage report.

- Repeat steps 1-14 to edit the Inquiry Hourly Usage report to filter with the following information:
- Add a filter to the Work group IDcolumn using Inquiry WG.
- Add a filter to the This Duration column by using is greater than or equal to, and then enter 3000 as the value to filter for inquiries taking longer than 3000 milliseconds or 3 seconds.
4 Make your custom reports Public
- On the Reports landing page, click the Service Request Hourly Usage tile to open the report.
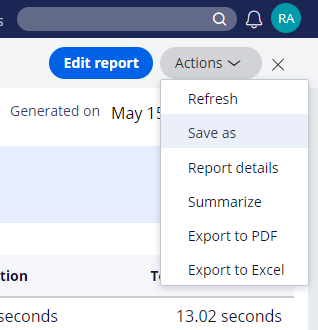
- Click Actions > Save as to open the Save report as dialog box.
- In the Save report as dialog box, enter the following information:
- In the Title field, enter Public Service Request Hourly Usage.
- In the Description text box, enter Providing a public usage report to capture Service Requests over 5 seconds.
- In the Category list, in the Public section, select Robotics usage.
Note: As an administrator, you can also add a custom report category to your application. For more information about custom categories to Robot Manager, see Additional data categories for reporting.
- Click Submit to close the Save report as dialog box.

- Click Done editing to finish configuring the report.
- In the upper-right corner, click the Close icon to close the report window.

- Repeat steps 1-5 to create another usage report:
- In the Save report as dialog box, enter Public Inquiry Hourly Usage in the Title field.
- In the Description text box, enter Providing a public usage report to capture Service Requests over 5 seconds.
- Select the Robotics usage category.
