
Installing Pega Robot Studio
4 Tasks
15 mins
Beginner
Robotic Process Automation
English
Scenario
The challenges in the Robotic System Architect mission require Pega Robot Studio v22, Google Chrome, and the challenge assets. Google Chrome must be downloaded and installed prior to completing the installation process. In this challenge, you will complete the following tasks:
- Install any prerequisites missing from your system for Pega Robot Studio v22.
- Install Pega Robot Studio v22.
- Install and enable Pega Browser Extension (PBE).
- Download and install BankerInsight and the Robot Studio challenge assets.
Note: If you already have Pega Robot Studio v19.1 installed, ensure that you are on at least version 19.1.109 before installing version 22. For more information about running versions 19 and 22 on the same machine, see Running Robot Studio 19.1 and 22.1 on the same computer.
Detailed Tasks
1 Installing prerequisites for Robot Studio
- Download and extract the Pega Robot Studio ZIP file to your desktop. Pega Robot Studio installation ZIP file
- In Windows, in the extracted folder, double-click PegaRobotStudioSetup.exe to begin the installation process.
- In the User Access Control dialog box, click to proceed with the installation.
 Note: Depending on your system configuration, you may be prompted to enter your Windows credentials to proceed.
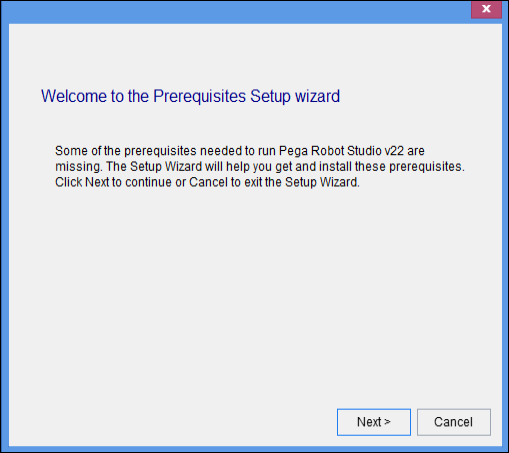
 - In the Robot Studio installer window, click to begin the Prerequisites Setup wizard.
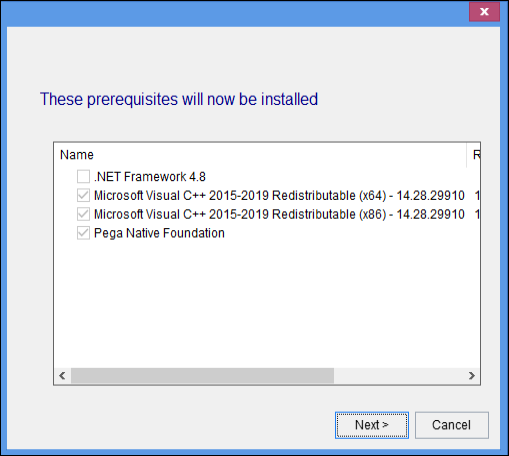
 Note: If you already have the prerequisites installed, the installer will not reinstall the necessary components. You can proceed to the next task to install Pega Robot Studio.
 - Click to install the prerequisites for Robot Studio.
- In the Microsoft Visual C++ installer dialog box, review the license terms and select the I agree... checkbox to agree to the license terms.
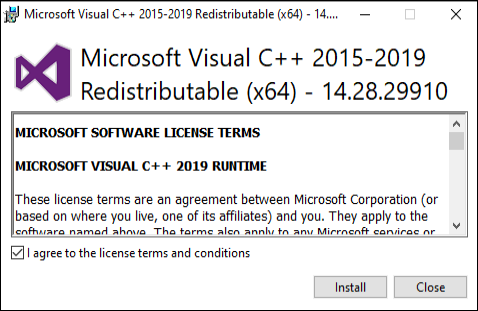
- Click to install the Microsoft Visual C++ redistributable package.
- Click to close the Microsoft Visual C++ installer.
The Robot Studio installer continues installing prerequisites. - Repeat steps 6-8 for the second Microsoft Visual C++ redistributable package installer.
- In the Pega Native Foundation Setup installer, click to begin installing Pega Native Foundation.

- Review the End-User License Agreement and click the radio button to agree to the License Agreement.
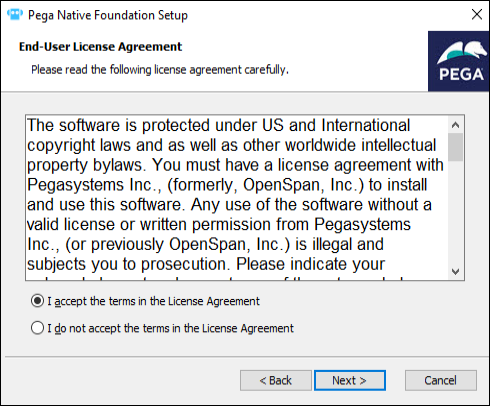
- Click to proceed with the installation.
- In the Select Installation Folder dialog box, review the Installation Folder location and then click .
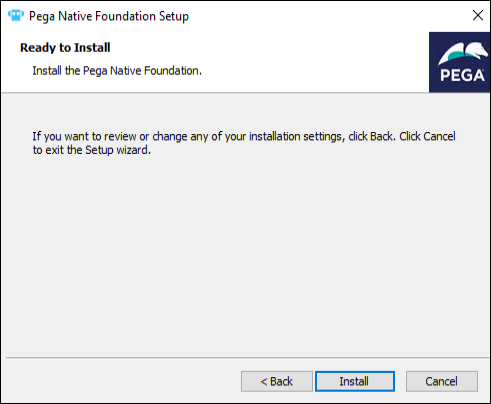
- Click to install Pega Native Foundation.
- When the installation completes, click to complete the Pega Native Foundation Setup.
You return to the Pega Robot Studio v22 installation process.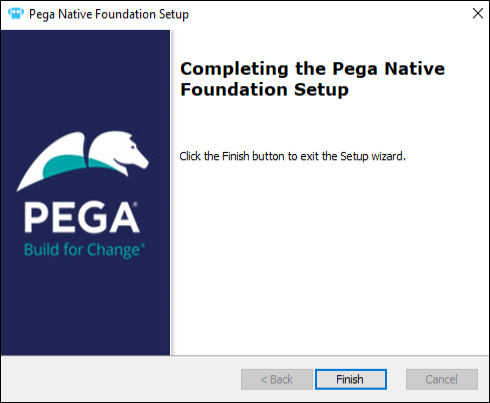
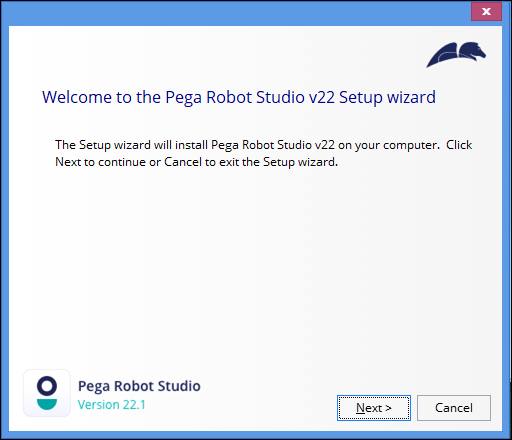
2 Installing Robot Studio v22 and Pega Browser Extension
- In the Pega Robot Studio v22 Setup wizard, click to begin the installation process.
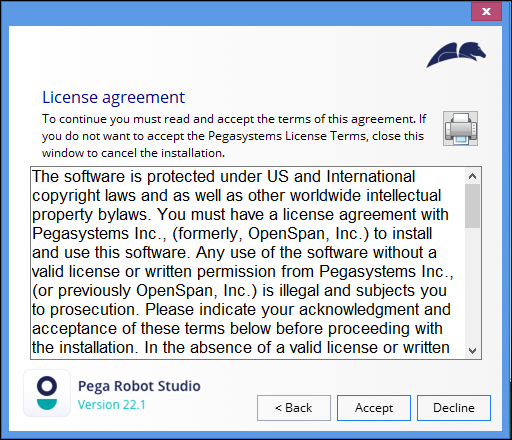
- Review the License agreement and then click to continue installing Robot Studio.
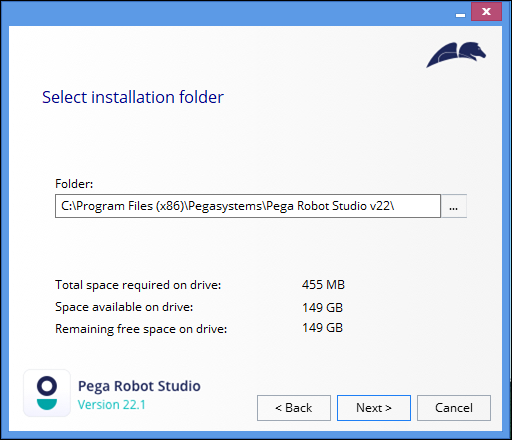
- Review the Installation Folder location and then click .
- In the Install RPA Service dialog box, ensure that No is selected, then click .
The installer displays the Connectivity Dialog dialog box.
- Select the Enable Robot Manager Connectivity radio button, and then click .

- Accept the default values for Robot Manager connectivity, then click .
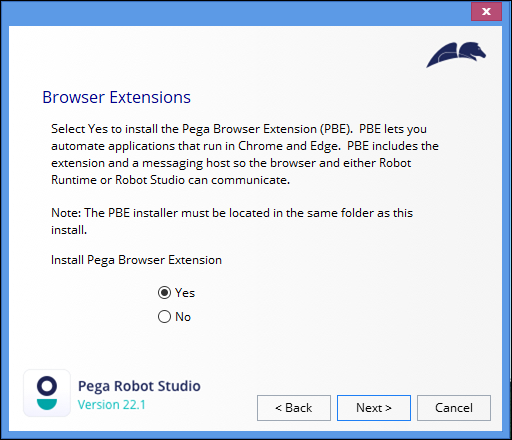
The wizard displays the Browser Extensions dialog box.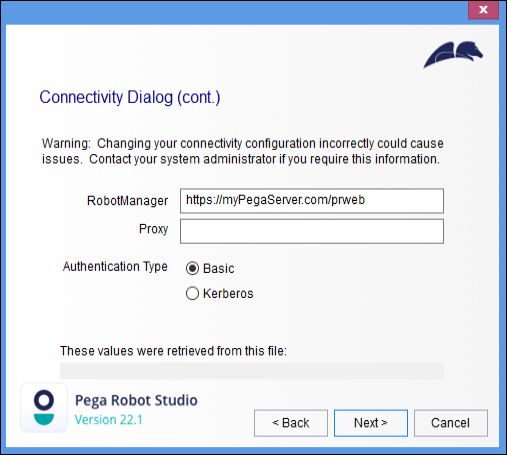
- In the Browser Extensions dialog box, ensure that the Yes radio button is selected, then click .
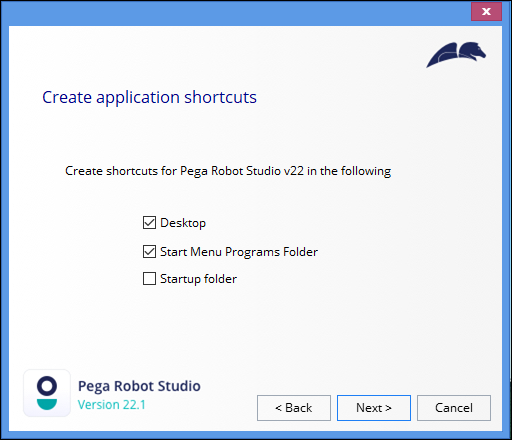
- In the Create application shortcuts dialog box, accept the default values and then click .
- Click to install the Pega Browser Extension and Robot Studio. The wizard displays the Pega Browser Extension Wizard.

- On the Pega Browser Extension Setup Wizard, click to begin installing the browser extensions.
Caution: Before installing Pega Browser Extension, ensure that neither Google Chrome or Microsoft Edge are running, including any hidden Edge processes such as processes started when you enabled the Edge Startup Boost feature. Use Windows Task Manager to check for hidden Edge processes, for example, msedge.exe.
- Review the License agreement and then click to continue installing Pega Browser Extension.

- Review the Installation Folder location and then click .
- In the Browser extensions dialog box, leave the default values and then click .
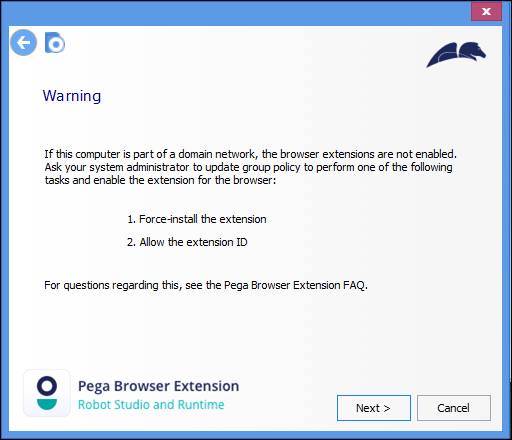
The wizard displays the Warning dialog box.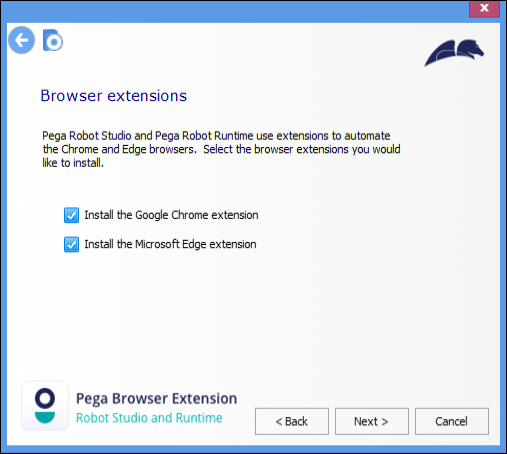
- Read the Warning, then click to continue the installation.
- Click to install Pega Browser Extension.
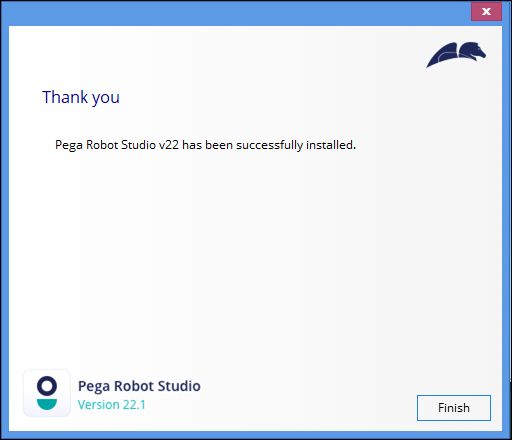
- When the installation is complete, click to close the Pega Browser Extension Setup Wizard.
Pega Robot Studio v22 begins its own installation process. - When the installation is complete, click to close the Pega Robot Studio v22 installer.
3 Enable Pega Browser Extension for Google Chrome
Caution: If you are installing Pega Browser Extension (PBE) on a computer that is on a network domain, such as a corporate laptop, contact your administrator for assistance enabling the extension. For more information about enabling PBE on a network domain, see PBE frequently asked questions.
- Open Google Chrome.
- In Chrome, in the More menu, click New extension added (Pega Robotics Automator).
Chrome displays a confirmation dialog box.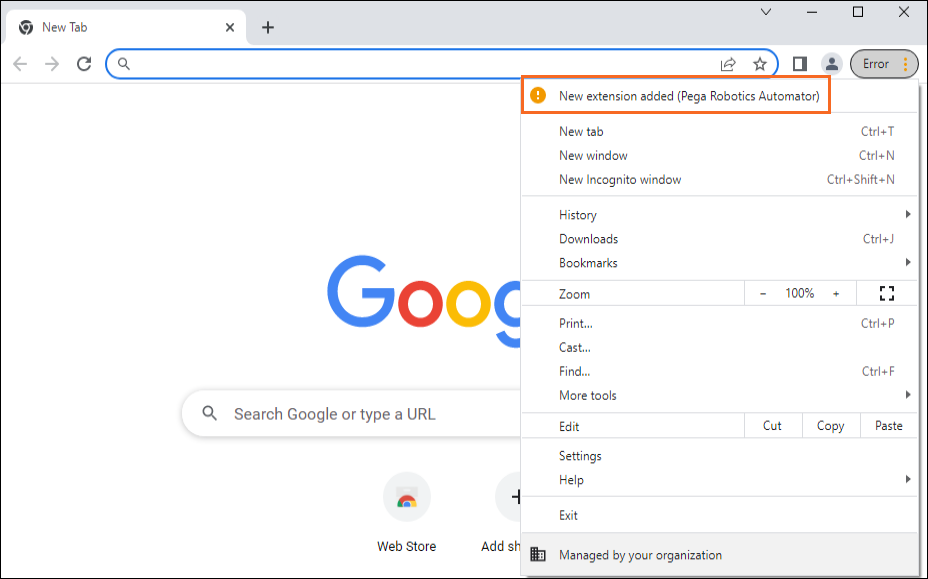
- In the dialog box, click to enable the Pega Robotics Automator extension for Google Chrome.

- Click Close to close Google Chrome.
4 Install BankerInsight and challenge assets
- Download the BankerInsight zip file.
BankerInsight.zip (181.83 KB)
- Create a new folder on your desktop and name it BankerInsight.
- Extract the BankerInsight zip file to the new folder.
- Download the RobotStudioChallengeAssets zip file.
RobotStudioChallengeAssets.zip (12.86 KB)
- Create a new folder on your desktop and name it RobotStudioChallengeAssets
- Extract the contents of the RobotStudioChallengeAssets zip file to the new folder.
Available in the following missions:
If you are having problems with your training, please review the Pega Academy Support FAQs.
Want to help us improve this content?