Managing deployment packages in Pega Robot Manager
Archived
4 Tasks
30 mins
Beginner
Robotic Process Automation
English
Scenario
MyTown has completed the development for automation projects and is ready to begin testing. To facilitate the testing, MyTown will deploy the projects to Pega Robot Manager™ and then have the development team create a new package assignment group for deployment. You will then associate them with the appropriate workgroup to manage them throughout deployment.
Complete the following tasks:
- Verify that deployed automation packages are present
- Change the package description
- Create a package assignment group
- Assign the new package assignment group to a work group
The following table provides the credentials you need to complete the challenge:
| Role | User name | Password |
|---|---|---|
| Robot Manager System Administrator | RMSysAdmin | myt0wn@pp1 |
Detailed Tasks
1 Verify deployed automation packages
- In the Pega Platform™ instance for the challenge, enter the following credentials:
- In the User name field, enter RMSysAdmin.
- In the Password field, enter myt0wn@pp1.
- In the header of Dev Studio, click Launch portal > Robot Manager to open the Robot Manager portal.
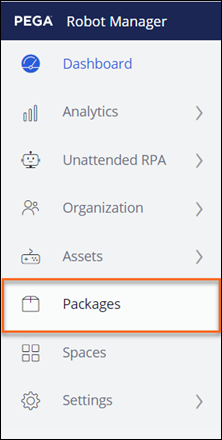
- In the navigation pane of Robot Manager, click Packages.
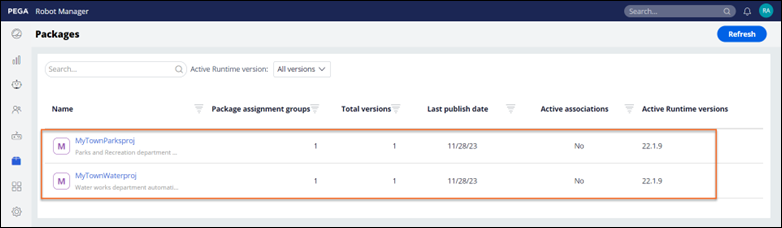
- On the Packages landing page, verify that there are deployed packages similar to the example shown in the following figure:
2 Update the package description
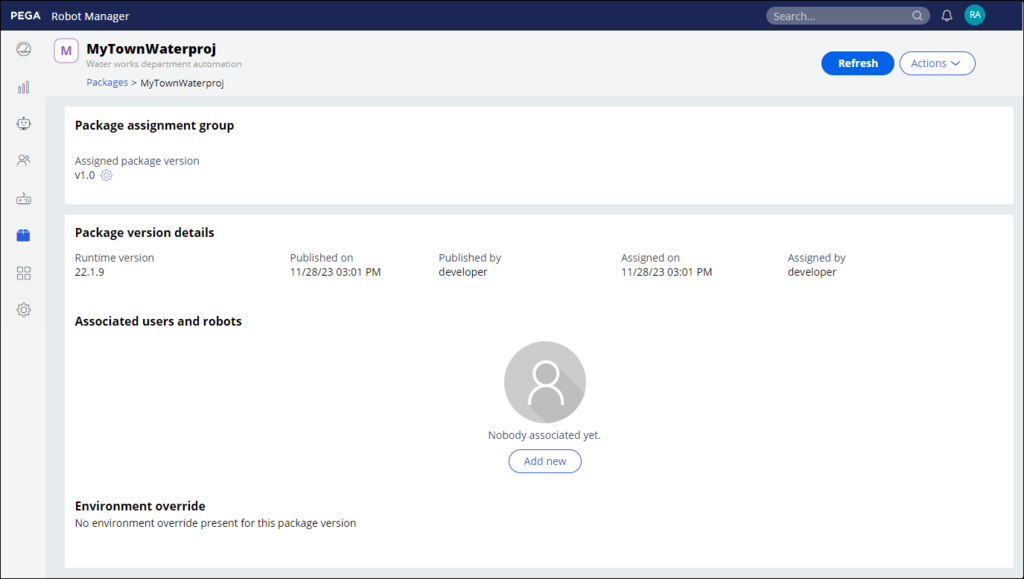
- On the Packages landing page, click MyTownWaterproj to open the package details page.
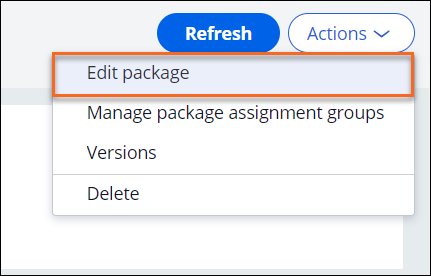
- On the package details page for MyTownWaterproj, click Actions > Edit package.
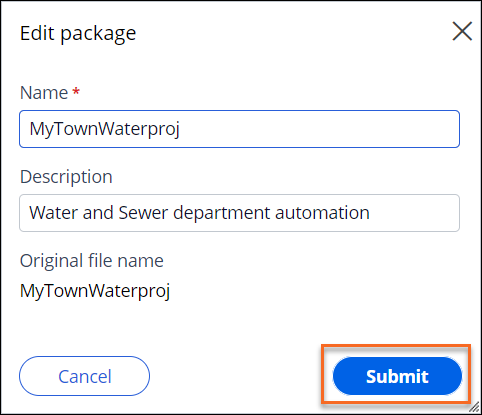
- In the Edit package window, in the Description field, enter Water and Sewer department automation to update the description.
- Click Submit to update the package description.
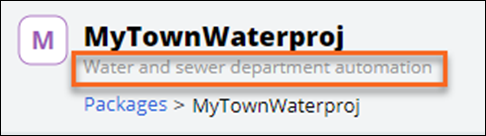
- Verify that the new description is displayed for the MyTownWaterProj package, as shown in the following figure:
3 Add new package assignment group
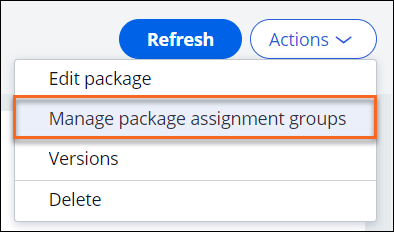
- On the MyTownWaterproj package details page, click Actions > Manage package assignment groups.
- In the Manage package assignment groups dialog box, click Add to add another line.
- In the Name field, enter Testing and development.
- In the Version field, press the Down arrow key, and then select v1.0.
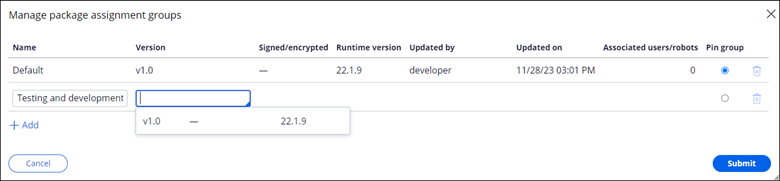
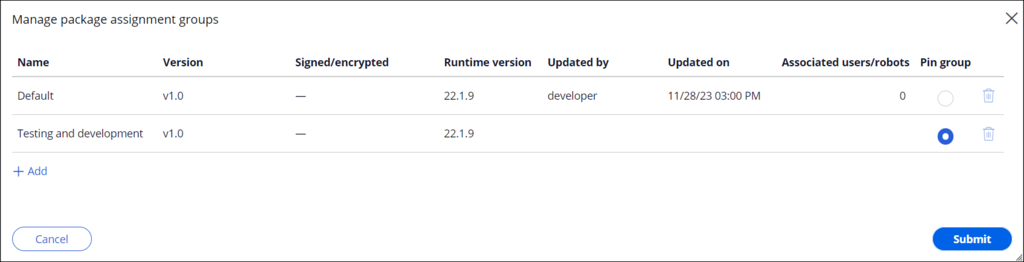
- In the Pin group column, select the radio button next to the new package assignment group, and then click Submit to confirm.
4 Associate package to work group
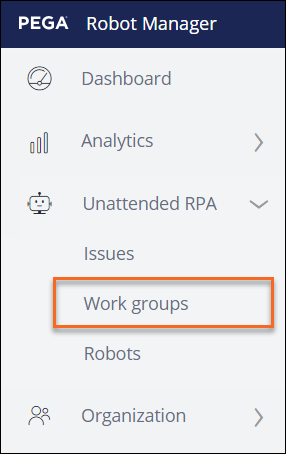
- In the navigation pane of Robot Manager, click Unattended RPA > Work groups.
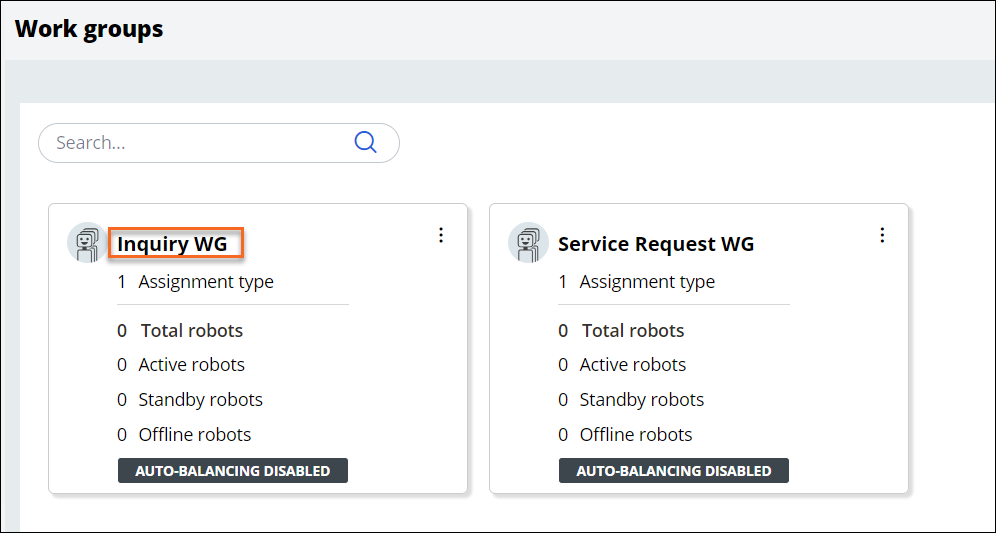
- On the Work groups landing page, click Inquiry WG to open the work group details page.
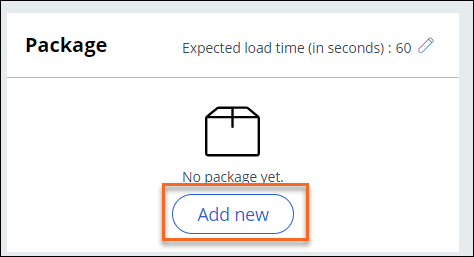
- In the Package section, click Add new.
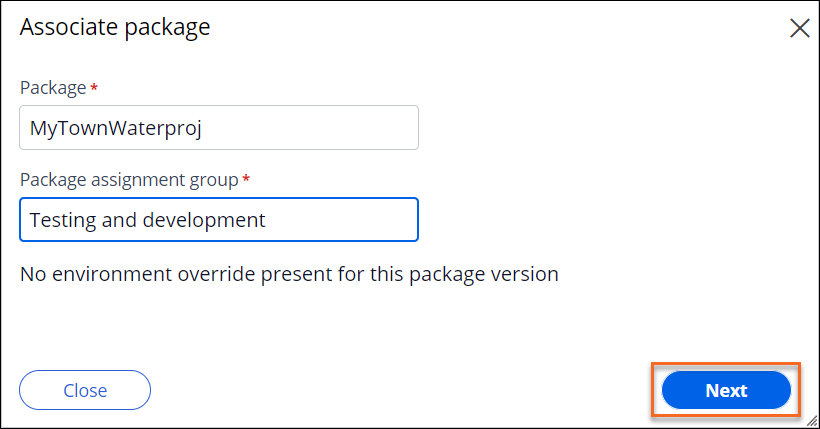
- In the Associate package dialog box, complete the details:
- In the Package field, enter MyTownWaterproj.
- In the Package assignment group field, select Testing and development, and then click Next.
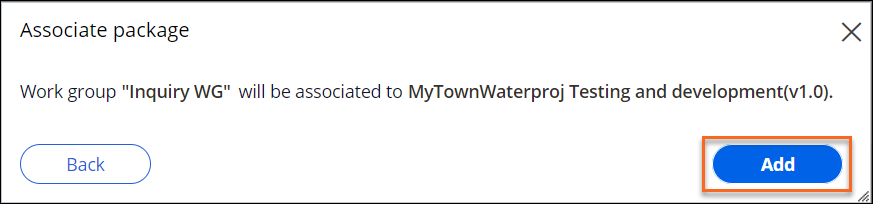
- In the confirmation window, click Add to finish associating the package.