RobotManagerCaseTypes.zip
(737.1 KB)
Using Pega Robot Simulator
Archived
5 Tasks
45 mins
Beginner
Robotic Process Automation
English
Scenario
MyTown wants to use Pega Robot Simulator to mimic a multi-robot scenario for specific work groups and assignment types. Mimicking the scenario allows the testers to understand any obstacles that can arise and also provides the ability to test how Pega Robot Manager works under different, configurable conditions. Testers intend to use Pega Robot Simulator to check the connection and configuration of Pega Robot Manager™, its supporting applications, and robots to ensure proper alignment with the business need for the MyTown RM application.
To complete testing, import a test application that is already configured with mock case types to simulate the work queue configuration with the application and Pega Robot Manager. Download and configure Pega Robot Simulator to start Robotic Process Automation (RPA) Services for each case type and register two robots for each work group. Create 10 cases for each assignment type to test the robots access the correct assignment types based on the decision table configurations.
Note: Enter the Operator IDs and passwords in the Robot Simulator exactly as you have created them in the previous challenges because they are case sensitive. If you receive any errors, verify your Operator ID and password and re-enter as needed. You may need to restart the Robot Simulator to re-enter the credentials.
Detailed Tasks
1 Install the My Town RM case types
- Click the following link to download the updated application that includes the completed case types for MyTown RM.
- In the Save As dialog box, navigate to a local directory, and then click Save to store the file.
- Launch the Pega Training instance and log in with the user name RMSysAdmin and password myt0wn@pp1.
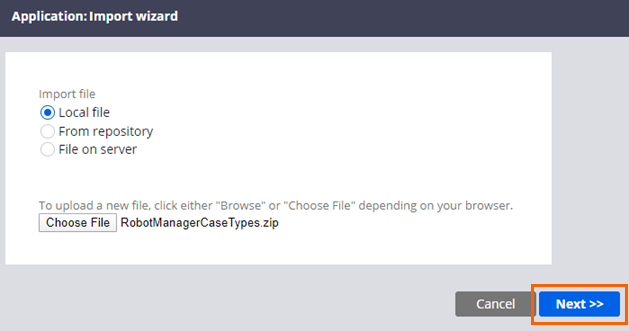
- In the Dev Studio header, click Configure > Application > Distribution > Import to access the Import wizard.
- In the Import wizard, click Choose file.
- In the Open dialog box, navigate to your RobotManagerCaseTypes.zip file, and then click Open.
- In the Import wizard, click Next to begin the import process.
- On the File information and Schema pages, click Next.
- On the completed Schema import, click Next.
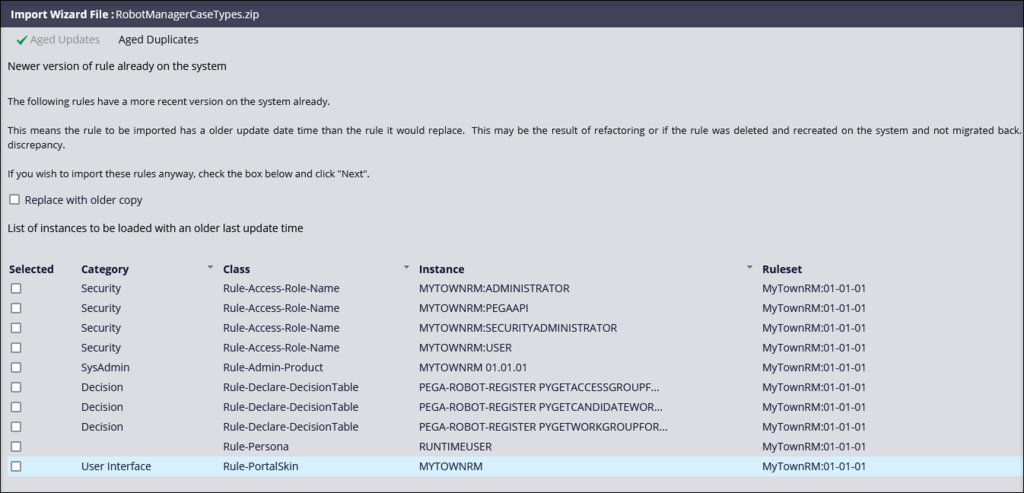
- On the Aged Updates page, click Next.
- On the Aged Duplicates page, deselect all the checkboxes, and then click Next.
- On the completed rules import, click Done to exit the Import wizard.
-

2 Verify the case type installation
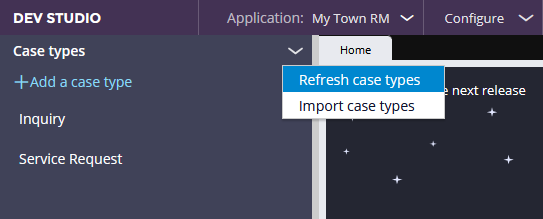
- From the Dev Studio navigation pane, click Case Types.
- From the Case Types header, click the drop-down arrow, and then select Refresh case types.
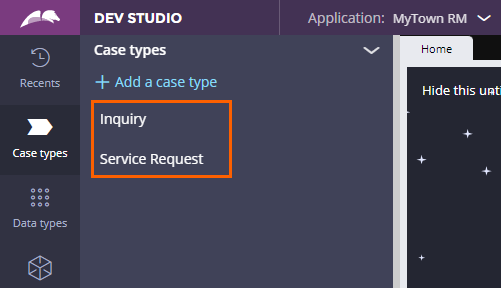
- Confirm that the two new case types Inquiry and Service Request that are associated with the assignment types and work groups are displayed.
3 Configure the RPA Simulator
- Click the following link to download the Robot Simulator .zip file to a local directory.
RPASimulator_V11.zip (818.05 KB)
- From the download location, extract the Robot Simulator files to a local directory or your desktop.
- From the extracted Pega Robot Simulator folder, double-click RPARobotSimulator.exe to start the application.
- In the Enter the robot server url field, on the RPA Simulator Login window, enter https://#######.pegace.net/prweb to connect the Robot Simulator to your Pega training instance.

- Under Enter credentials used to start robots section:
- In the User field, enter InquireRegID.
- In the Password field, and InqRobot1!
- Under the Enter credentials used to create cases section:
- In the User field, enter QueueRegID.
- In the Password field, and QueRobot1!
Note: The entered credentials are case-sensitive.
- On the RPA Simulator Login window, click . The RPA Simulator Main window is displayed.
Note: If you receive an error message that states you cannot connect or that your credentials are rejected, confirm the URL and the user and password values.
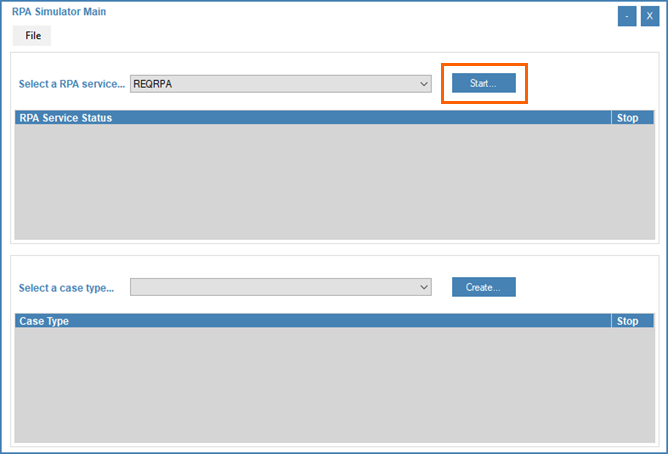
4 Start RPA Services for Service Request and Inquiry
- In the RPA Simulator Main window, from the Select a RPA Service drop-down, select REQRPA.
- Click Start. The RPA Simulator Configure RPA Service window is displayed.
- In the RPA Simulator Configure RPA Service window, clear the Use Default credentials check box.
- In the User field, enter SvcReqRegID
- In the Password field, enter SvsRobot1!

- Leave all default values as is and click to close the configuration window and update the RPA Service Status Main window.

- In the Dev Studio header, click Launch portal > Robot Manager to open the Pega Robot Manager dashboard.

- On the left navigation panel, click the Unattended RPA > Work groups to access the Work groups landing page.
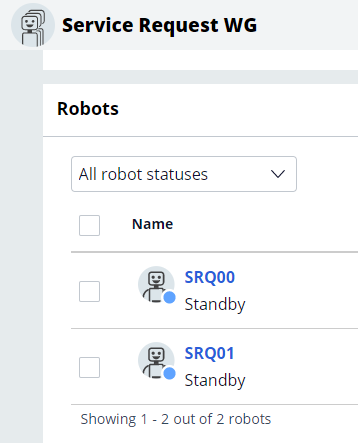
- On the Work groups landing page, click Service Request WG to access the work group details page.
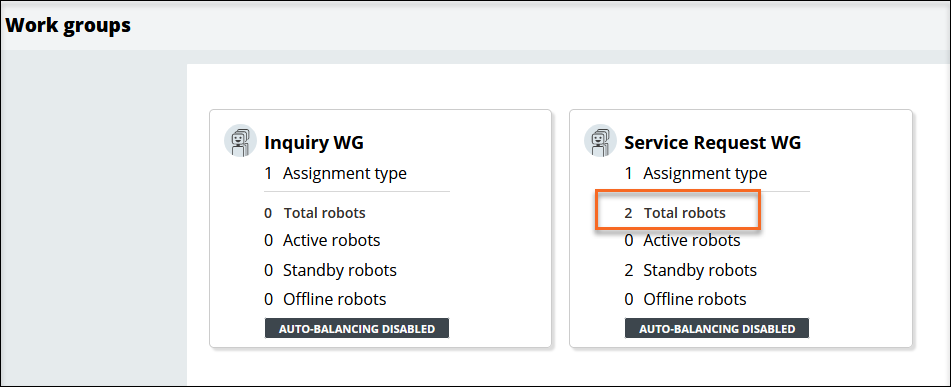
- On the work group details page, confirm that the SRQ00 and SRQ01 robots are in the work group in Standby mode.
- Repeat steps 1-9 by using the INQRPA Service with the InquireRegID and InqRobot1! credentials.
If the robots do not appear in the work group, stop the RPA service on the RPA Simulator Main window and exit the Robot Simulator. Validate the credentials for the needed service and attempt to restart.
5 Process cases with Pega Robot Simulator
- On the left navigation panel, click the browser Attended RPA > Work groups to return to the Work groups landing page.
- On the Work groups landing page, click Service Request WG tile.
- In the Robots section for robot SRQ00, click More > Start. Once the robot starts successfully, the status icon changes from light blue to green.
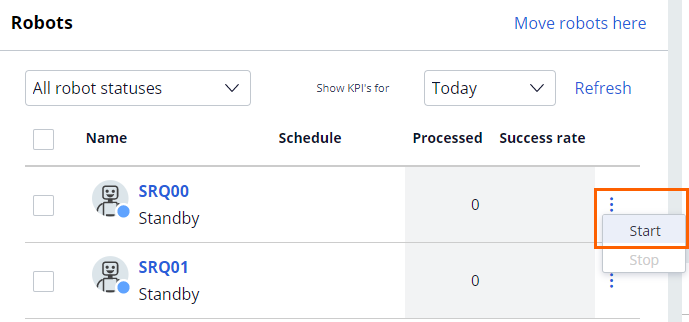
- Repeat step 2 for the SRQ01 robot Start process.
Note: It is recommended to start each robot separately because machine configurations and network connectivity may impact results.
- Click back into in the RPA Simulator Main window, and from the Select a case type drop-down, select MyTownRM-Work-ServiceRequest.
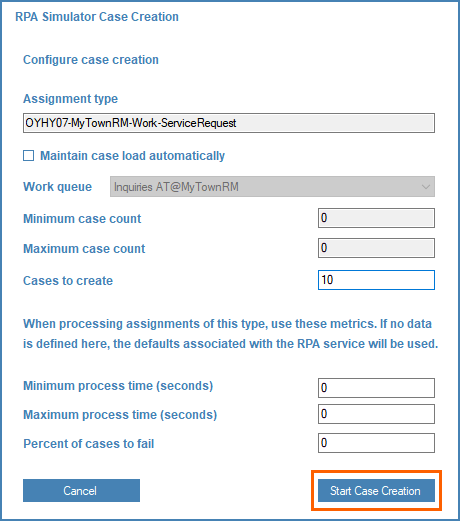
- Click Create. The RPA Simulator Case Creation window is displayed.

- In the window, clear the Maintain case load automatically check box.
- From the drop down, select Service Requests AT@MyTownRM.
- In the Cases to create field, enter 10.
- Click Start Case Creation.
- On the Case Creation confirmation pop-up, click OK.
- On the window, click Cancel.
- Return to Pega Robot Manager and confirm that the 10 cases are in the Assignment Type queue.
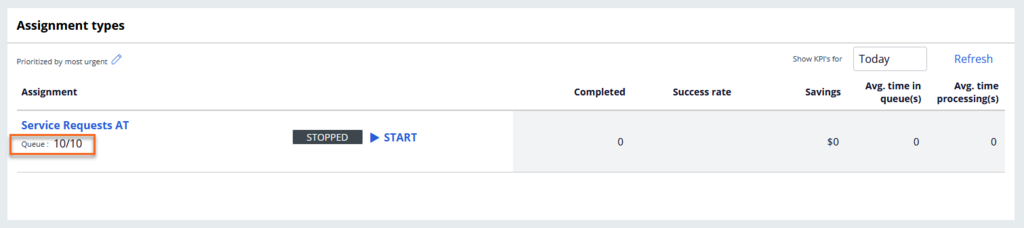
- In the Assignment Types section, click Start to begin the queue processing.
- On the Start Assignment type pop-up, click Submit. The status message changes from Standby to Running and the robots begin processing the cases in the assignment type.
- After cases are complete, click Stop to stop the Assignment Type.

- To the right of each robot, click More > Stop to stop the robots.

- Repeat steps 1-9 for the Inquire robots, case type, and the assignment type.
- After testing both cases, in the RPA Simulator Main window, in the RPA Service Status section, click Stop to close all simulator services.