
Adding a CTI Link
Preparing CTI Link configuration
Before starting the Pega Call™ CTI Link configuration, you must ensure that the CTI environment is ready. Use the following steps to plan for the telephony integration.
- Determine which telephony vendor to use.
- Review the Pega Call CTI Implementation materials to understand the configuration for your vendor.
- Share the information related to the way Pega Call gets connected to the CTI environment with the telephony team.
- The telephony team must configure the CTI environment to allow Pega Call to connect and share the configuration details with the Pega Call implementation team.
- Ensure that a telephony team resource is available to work with the Pega Call implementation team during the configuration.
Configuring a CTI Link
In App Studio, click Settings > Pega Call to add a CTI Link.
Note: You can configure the CTI Link prior to running the Telephony Experience wizard as shown here or as part of the wizard.
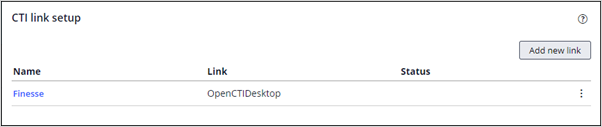
On the CTI Link Setup tab, click Add Link to display the link properties.
Provide a unique Name and a Short description.

In the Link field, select the CTI vendor for whom you want to create a CTI Link.
The following table contains supported CTI vendors.
|
Vendor |
List option |
|
AACC |
|
|
Genesys |
|
|
CISCO ICM/UCCE |
|
|
JTAPI |
|
|
Finesse |
|
|
Embedded UI |
|
|
Embedded UI |
Note: If your CTI vendor is not listed, you can create integrations based on the OpenCTI standard. The OpenCTI interface allows you to create adapters that you can use to integrate with CTI servers that support the OpenCTI standard. This adapter plugs into the existing Pega Call framework and provides a bridge between the Pega Call framework and the third-party CTI server. Select OpenCTI Desktop to create a client-side integration and OpenCTI Server to create a server-side integration.
Specify the details that are required for the CTI server connection.
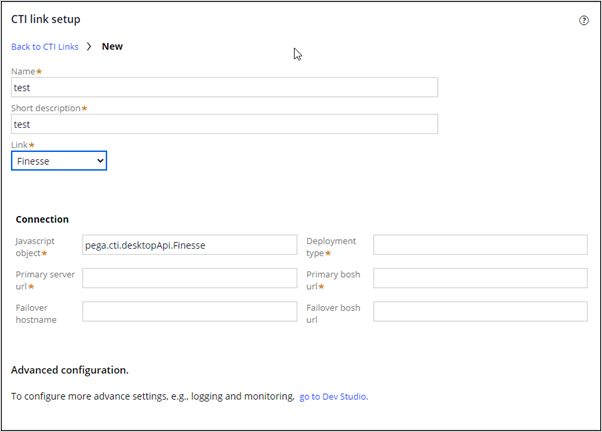
Advanced configuration
Depending on the selected CTI vendor, there might be additional settings, such as Switch capabilities, available in Dev Studio. See documentation for the given CTI vendor for more details.
To access the Dev Studio settings, on the CTI link setup screen, under Advanced configuration, click go to Dev Studio. Alternatively, in Dev Studio, click Configure > Channel Services Pega Call > Administration & Configuration, and then select the CTI Link tab. Click the CTI link to show the Link configuration tab.
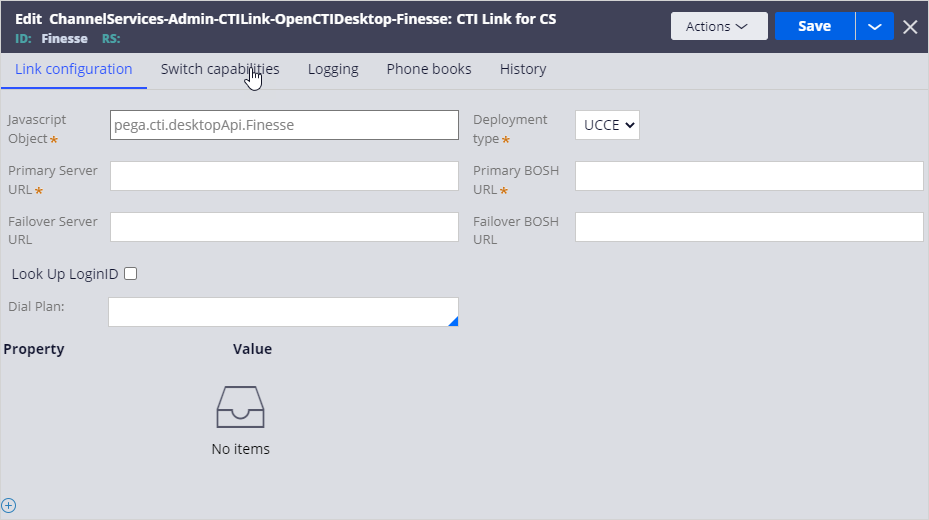
For some CTI vendors, Pega Call CTI Link allows you to configure the behavior of the telephony environment and the login screen to match that of your telephony switch (PBX).
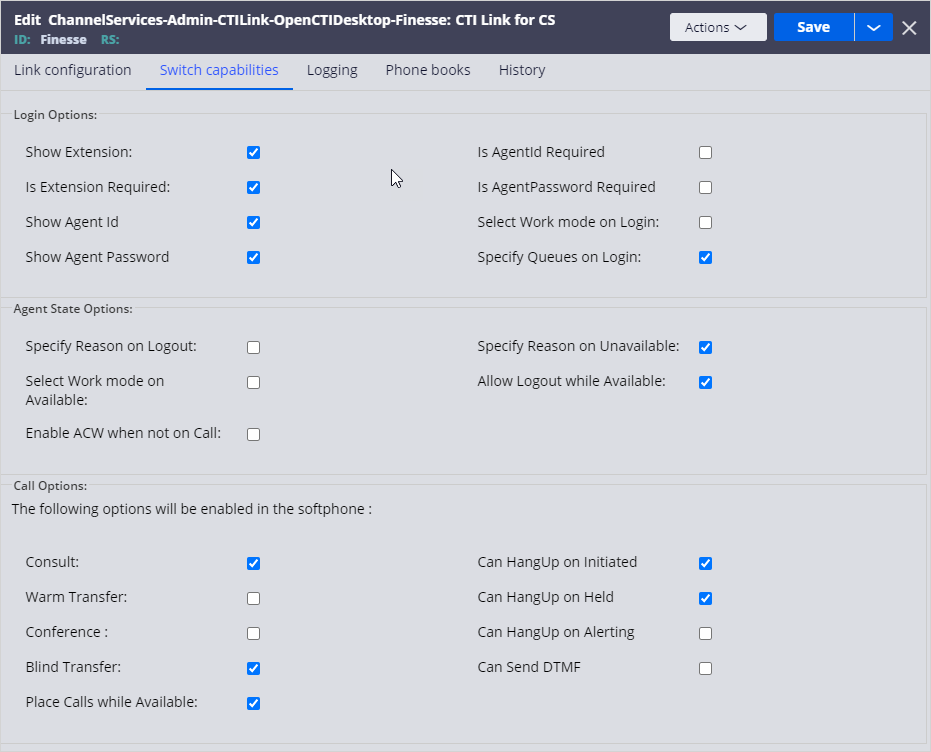
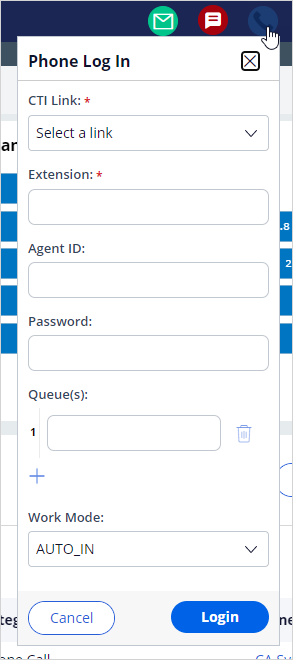
In the Login Options section, use the settings to control the options and fields that are displayed in the Phone Log In window.
In the Agent State Options section, use the settings to control the behavior when the agent changes the state.
In the Call Options section, use the settings to control the options and fields that are displayed on the softphone.

Caution: Not all switch capabilities apply to every CTI vendor. Be cautious when you change the default settings for the CTI vendor.
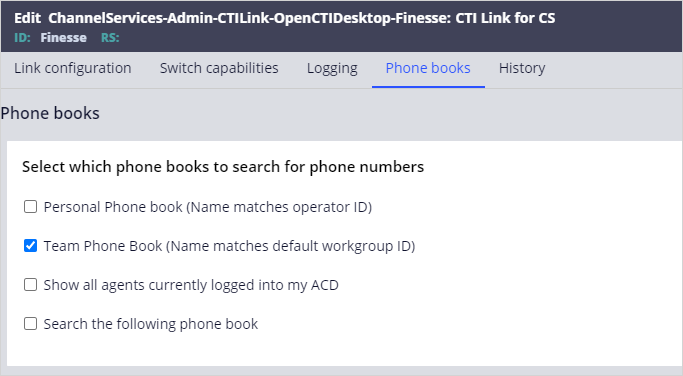
For some CTI vendors, you can specify which phone books to use.
When you complete the configuration, click Save to add the CTI Link to the list.
This Topic is available in the following Module:
If you are having problems with your training, please review the Pega Academy Support FAQs.
Want to help us improve this content?