
Managing deployment levels
Managing deployment levels
Administrators can manage deployment packages through the levels within a development life cycle, where an automation package moves from the development environment to the production environment. An administrator must perform specific actions for each package based on corporate guidelines that outline when to add or adjust the package deployment levels. You can deploy a package to a level and assign that level's package version to a department, user or work group. After you assign the package, Pega Robot Runtime can execute the assigned deployment package on the desktop or virtual machine.
Pega Robot Manager™ provides the following default deployment levels:
- Development – The level where developers update and maintain the package
- User acceptance testing (UAT) – The level where business users test the package functionality
- Production – The level where case workers use the final package version in a live environment
Note: You cannot rename, reorder, or delete Development and Production deployment levels. You can edit UAT.
Adding deployment levels
- On the Pega Robot Manager dashboard, in the Development level header, click the arrow and select Add deployment to add a new level between the Development and UAT.
- Click the new level header to edit the name.
- In the field, enter a name for the new level, for example, QA.
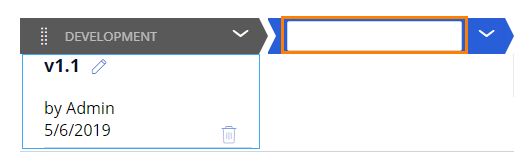
- Press the Enter key to add the new level name.

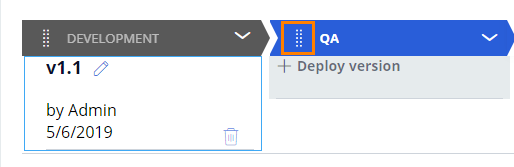
Moving deployment levels
On the Pega Robot Manager dashboard, click and drag the new deployment level header to adjust the level position.
Note: If any intermediary level is moved to the start (development) or end (production) levels, you receive an error. The start and end levels are noneditable and unmoveable.
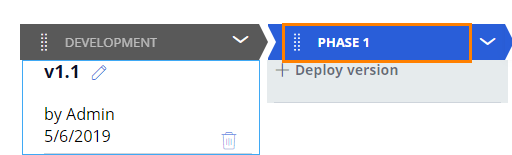
Renaming deployment levels
- On the Pega Robot Manager dashboard, on the new deployment level header, click the arrow and select Rename.

- In the field, enter a new level name, for example, PHASE 1.
- Press the Enter key to add the new level name.
If you are having problems with your training, please review the Pega Academy Support FAQs.
Want to help us improve this content?