Setting up a partner community
Introduction
Spaces can be used to create a partner community. A user can then collaborate with other users of the application on specific areas of interest.
Video
Transcript
This lesson shows you how to leverage Spaces to create a partner community.
Spaces can be used to collaborate with other users in your application on any specific areas of interest.
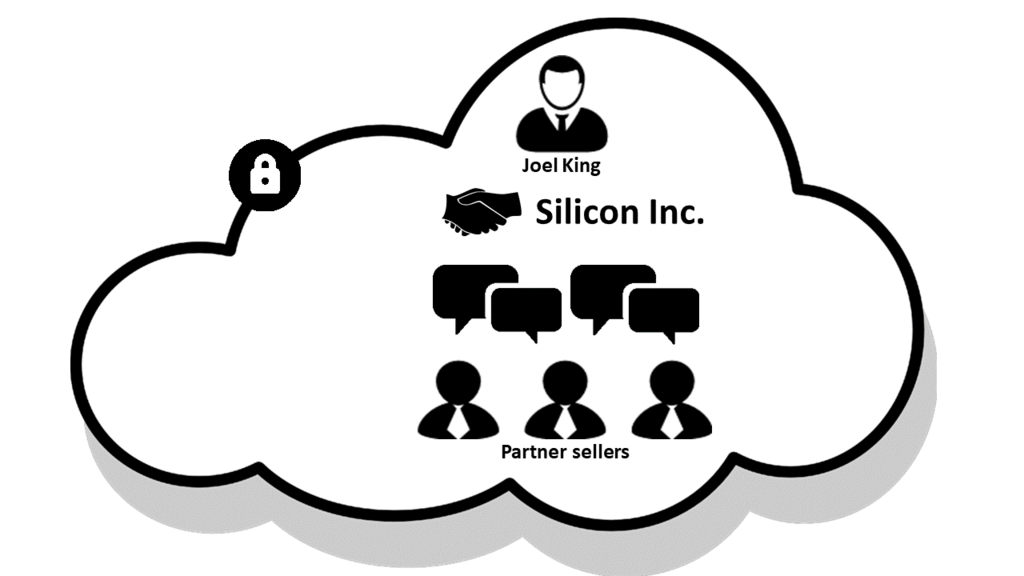
Joel King, a channel manager, wants to create a community for his partner Silicon Inc. allowing partner sellers to interact, post queries, and get answers. The community must be visible and accessible to Silicon Inc. staff only.
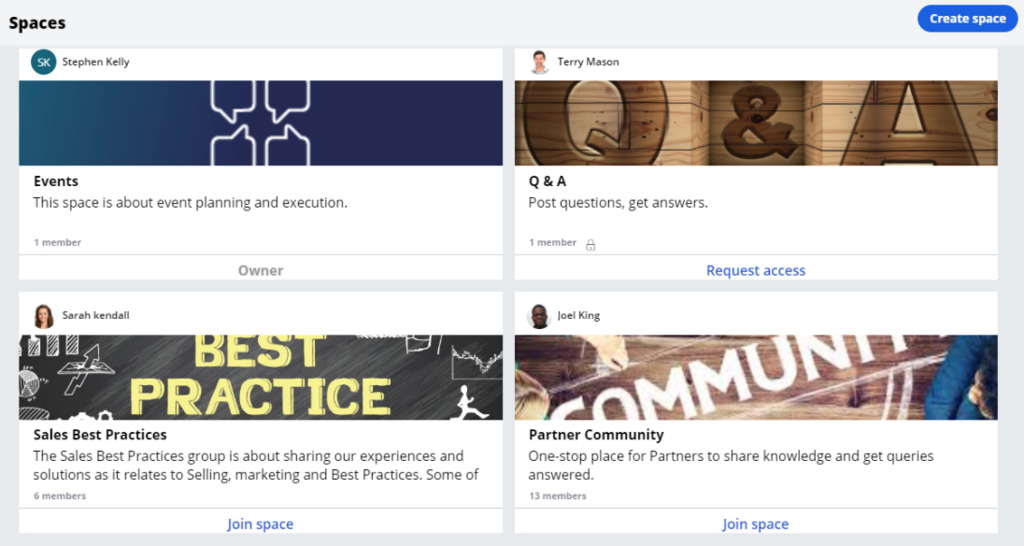
To add a space, open the Spaces landing page.
Click Create space to add a new space.
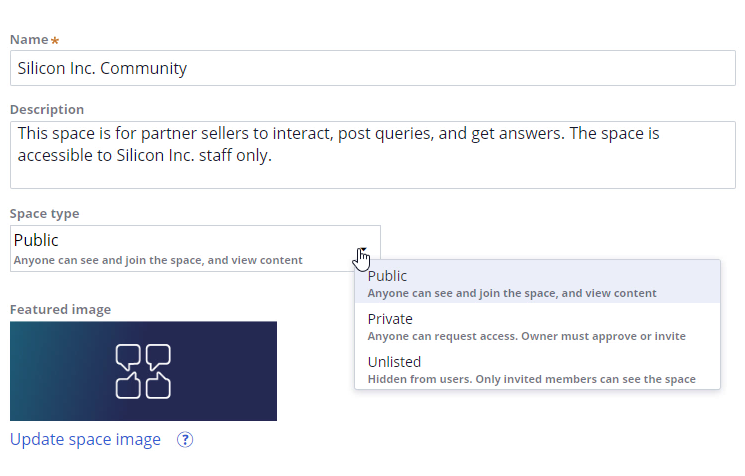
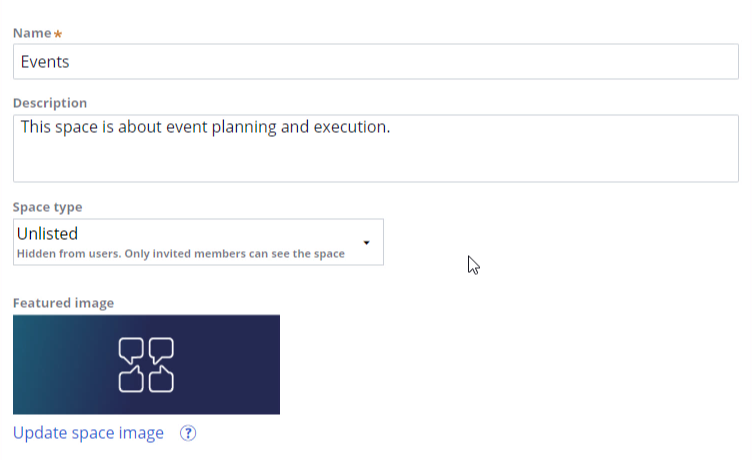
Provide a Name and Description for the space.
Select a space type; it can be Public, Private, or Unlisted.
Public means that anyone can see and join a space.
Private means that anyone can request access. The owner must approve or invite users. Once access is provided, users become members of the space.
Unlisted spaces are hidden from users. Only invited members can see the space.
Joel selects Unlisted because the community for Silicon Inc. must be visible and accessible to Silicon Inc. staff only.
Click Done to create the space.
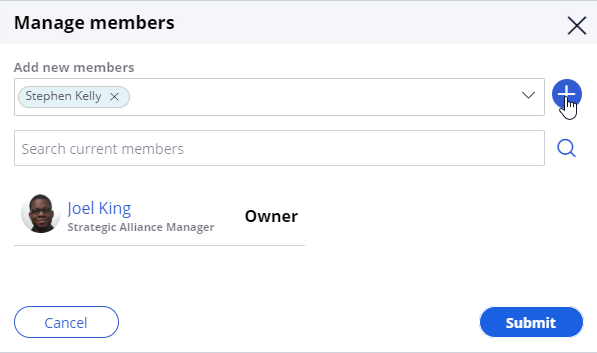
Next, Joel need to add the Silicon Inc. staff to the space.
Select Manage members to add members to the space.
Joel adds a partner seller.
An email is sent to the added members.
In addition, when the partner seller logs in to the application, a notification is displayed.
In the Space, there are four primary areas: Activity, Board, Subspaces, and Tasks.
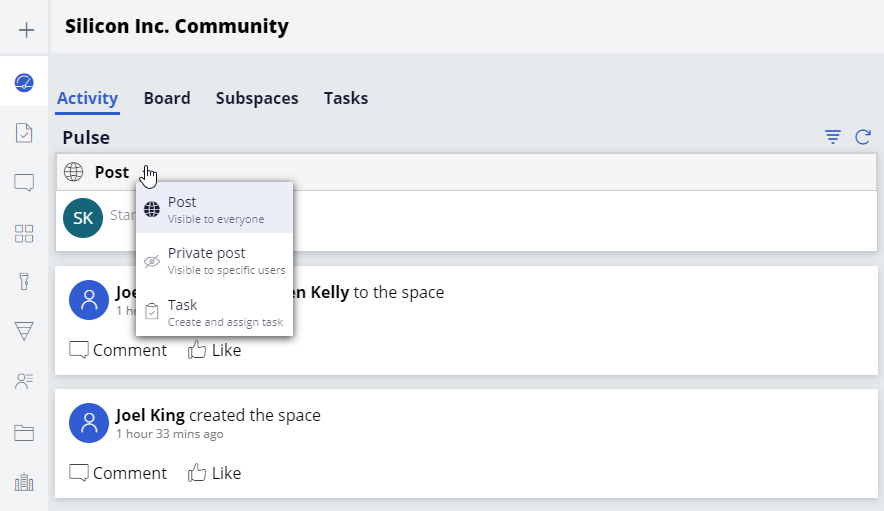
The Activity tab shows what is happening in the space as a Pulse feed, such as new members or content additions.
You can start discussions in the Pulse feed.
Use Post if you want the message to be visible to everyone or Private post if you want the message to be visible to specific users.
You can also create and assign a Task.
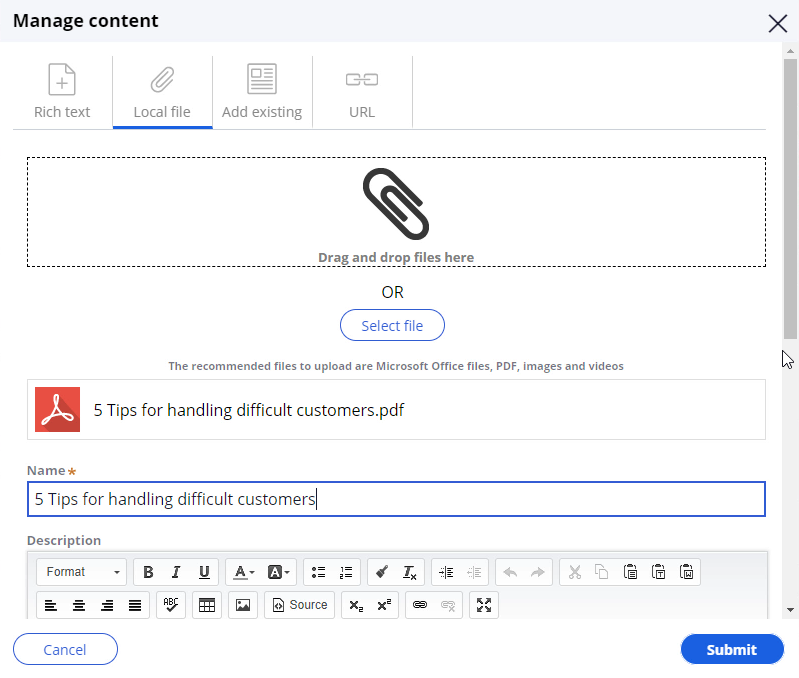
Members can add content to the space; the contents appear in the Recent content list, which the members of the space can access.
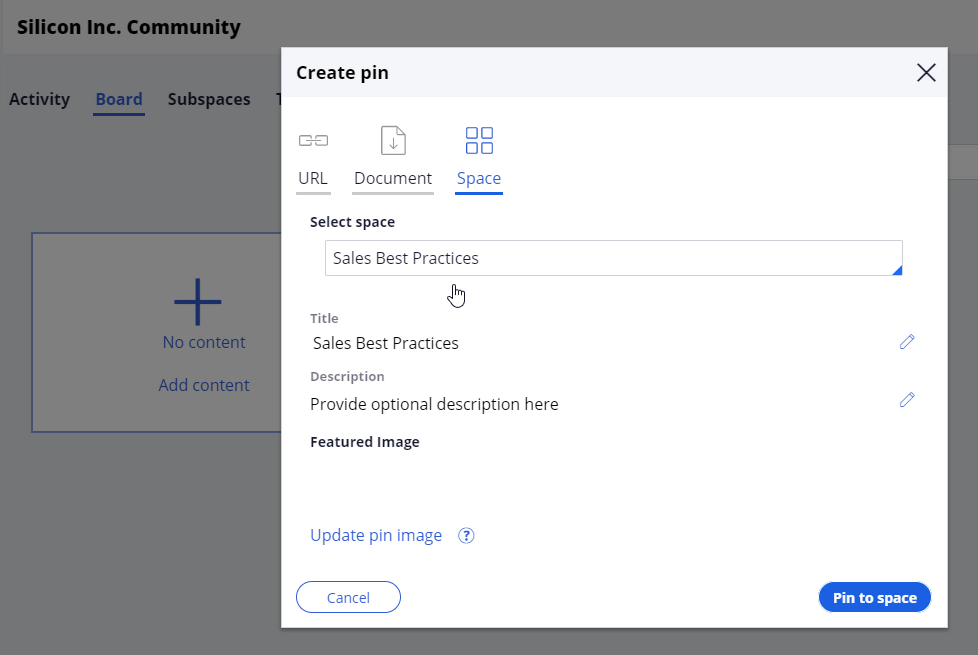
On the Board tab, you can create pins that serve as a quick reference, much like bookmarks.
By pinning content that supports a discussion in a space, you can communicate with the space members more effectively.
Click Add content to create a pin.
A pin can be a URL, document, or another space.
You can even perform additional actions with pins like Open, Repin, Edit or Delete.
Subspaces are spaces within a space. Create a subspace to collaborate on a subtopic that is related to the topic of the parent space. For example, you can create an Events subspace within the Silicon Inc. community space.
To create a subspace, you must be a member of the parent space.
Use Tasks to track the progress of things that need to be done. A task has four stages: Open, In progress, On-hold, and Completed.
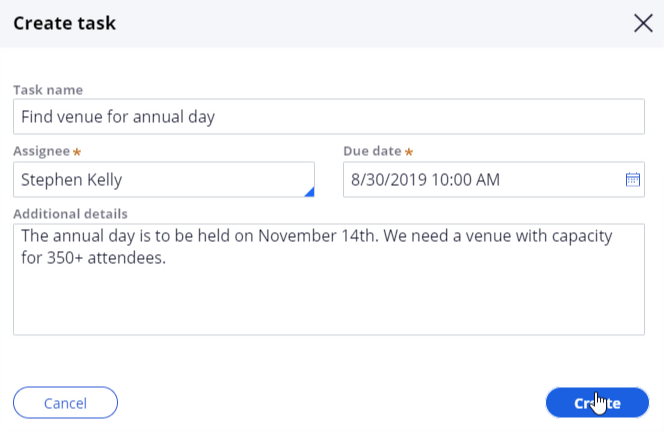
Let’s create a task for finding a venue for the annual day.
You can assign the task and set a due date.
Tasks can be dragged and dropped between the stages.
Each task has its own pulse thread.
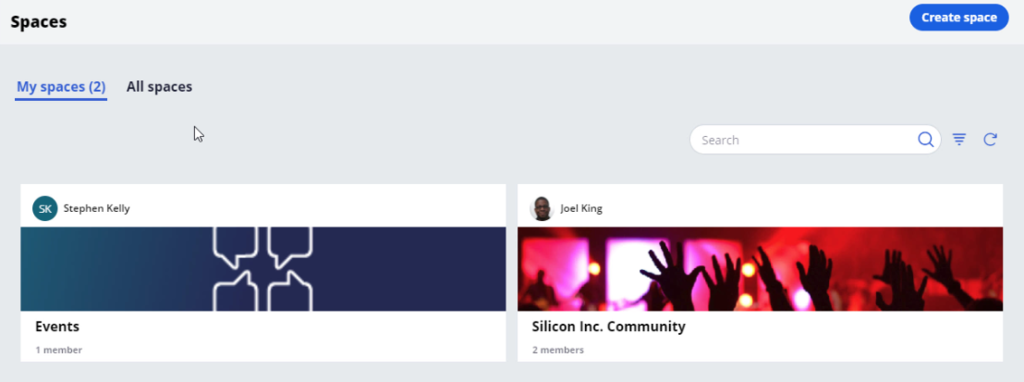
You can also access the space from the spaces landing page.
My spaces lists the spaces of which you are a member.
All spaces display all spaces in the application.
To join a private space, click Request access. When the owner approves the request, you can collaborate with the members of the space.
Click Join space to join a public space.
You have reached the end of this demo.
You now know how to leverage spaces for building a partner community.

