Creating a Pega Email Bot
Archived
6 Tasks
30 mins
Beginner
English
Scenario
The manager at U+ Bank is struggling to keep up with day-to-day email volume. This volume places an enormous strain on the bank's customer experiences, employee productivity, and existing processes. Automating this high-frequency request drastically reduces the volume of emails that agents must manually triage. You are tasked with creating an email bot to handle the incoming address change requests at U+ Bank.
The following table provides the credentials you need to complete the challenge.
| Role | User name | Password |
|---|---|---|
| Email Triage Worker | EmailBotDev@Ubank | pega123! |
Detailed Tasks
1 Add an email account
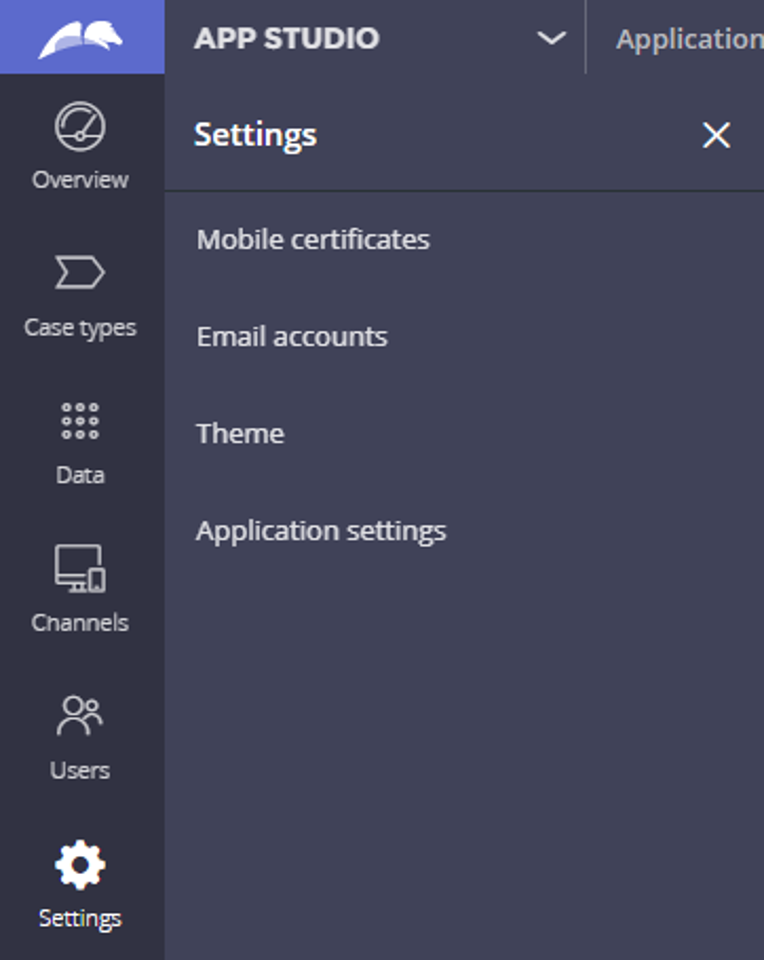
- In App Studio, click Settings > Email Accounts to open the Email Accounts instance list.
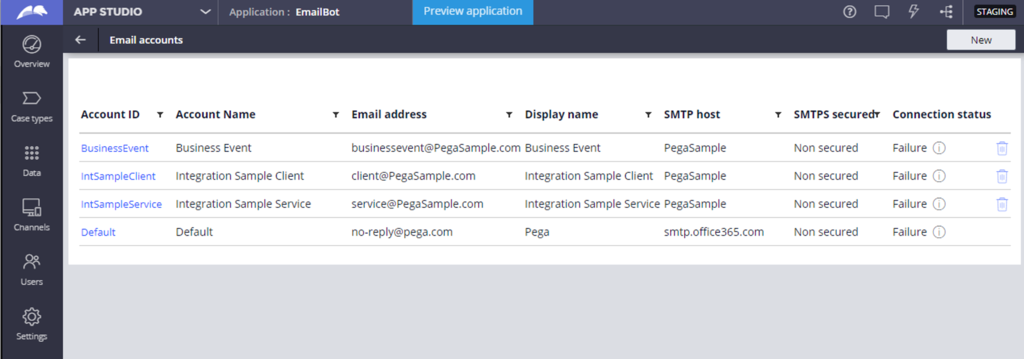
- On the Email Accounts list, click New to add a new email account.
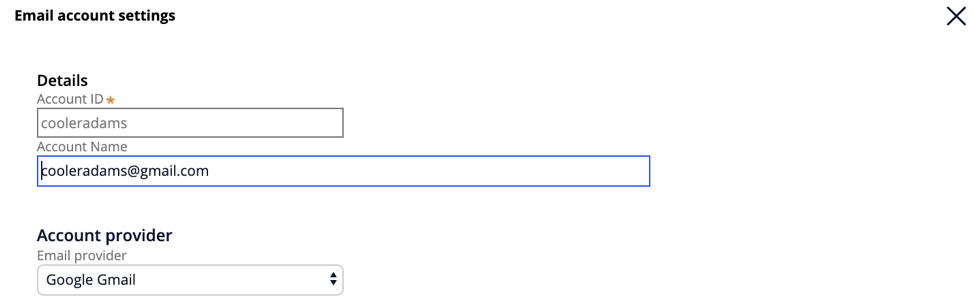
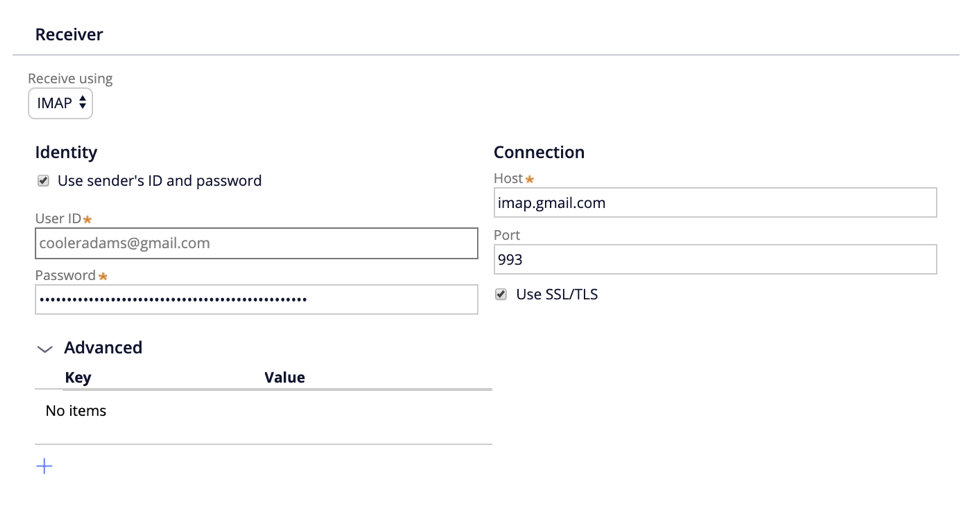
- In the Email account settings section, add the account details and select the email provider.
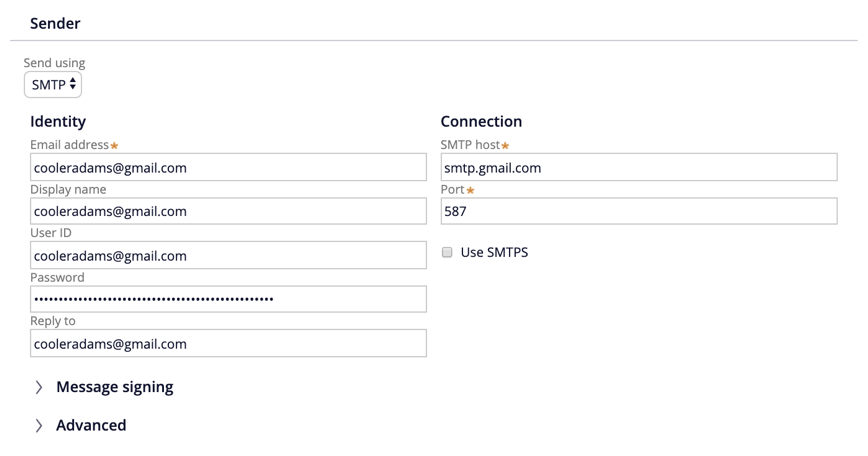
- In the Sender area, in the Send using list, select SMTP to automatically populate the connection details.
- In the Receiver area, from the Receive using list, select IMAP to automatically populate the connection details.
- Optional: Select the Use sender’s ID and password check box to copy the credentials from the Sender area.
- Click Submit to add the account to your application.
On the email account instance list, Success is displayed in the Connection status column of the new email account.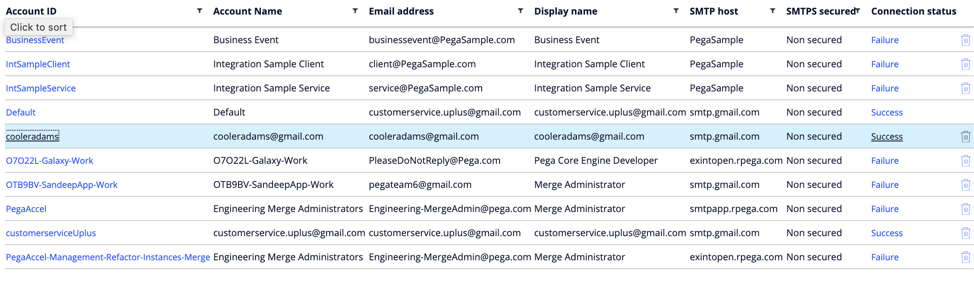
2 Create an email bot
- In App Studio, in the Create new channel interface area, click Email to create and open a new email bot instance.

- In the Details section, enter an email channel name and a description.

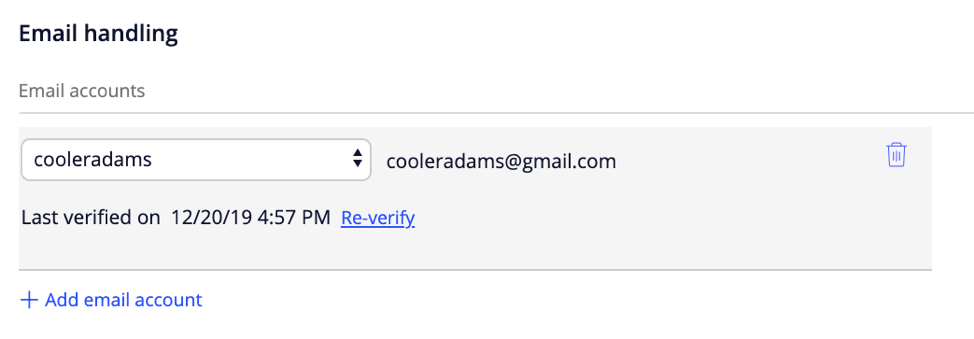
- In the Email handling section, click Add email account.
- In the drop-down list, select the email account that you want to use.
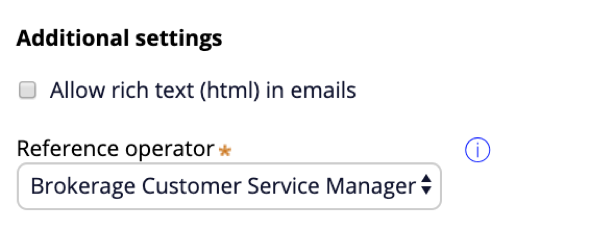
- In the Additional settings section, select a reference operator. Any work that your email bot completes is performed in the context of this operator.
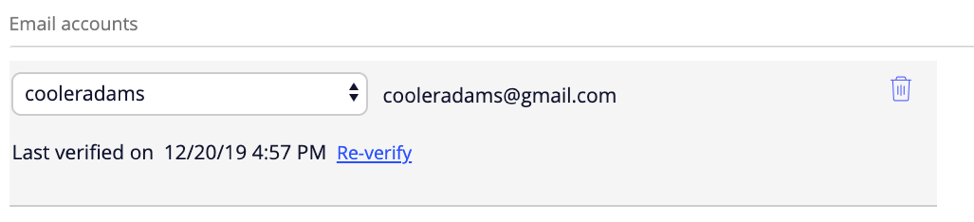
- In the upper right of the tab, click Save to establish a listener to the selected email account.
- Under the email account drop-down list, click Verify to confirm that the email listener was successfully established.
3 Add cases and responses to the email bot
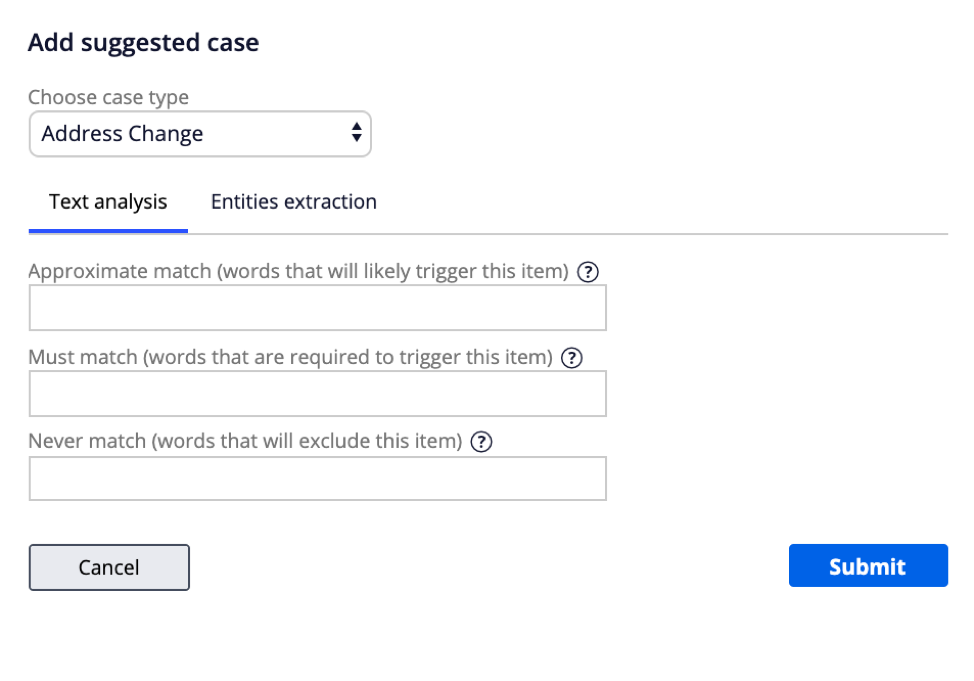
- On the Behavior tab, in the Suggested cases section, click Add suggested case to add a new case.
- In the Choose case type list, select Address Change.
- Click Submit to add the case and close the Add suggested case dialog box.
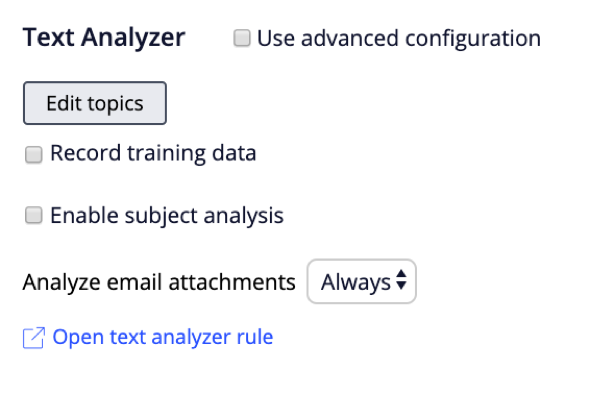
- On the Behavior tab, in the Text analyzer section, click Open text analyzer rule to open the text analyzer of the channel.
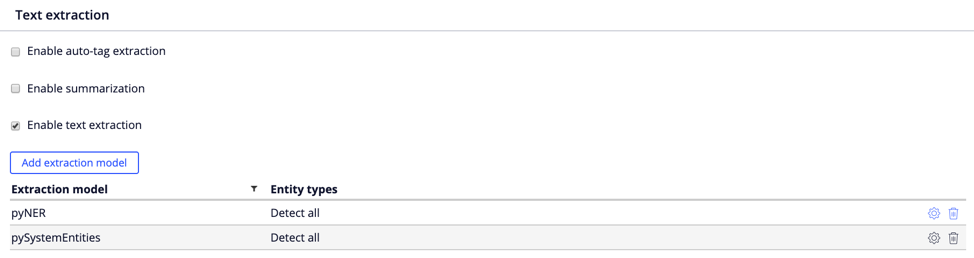
- On the text analyzer rule, click Add extraction model to open the Extraction model dialog box.
- In the Extraction model list, select pySystemEntities.
- Click Submit to close the dialog box.
- Save the text analyzer rule to add around 50 pre-trained entity extraction models that are available to your email bot to the text analyzer.
- Close the text analyzer rule to return to the Behavior tab.
- To the right of the Address change case, click the Gear icon to open the Add suggested case dialog box and edit the entity mapping for the case.

- In the Add suggested case dialog box, on the Entities extraction tab, add the following mappings to ensure that entity values extracted from the inbound email are copied into the correct case properties.
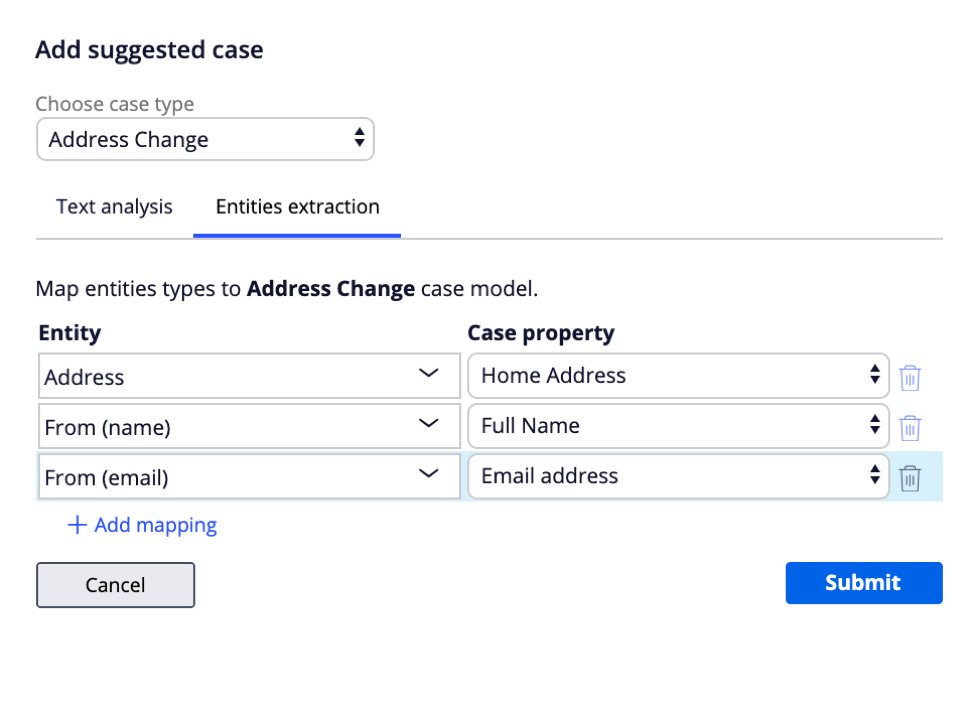
- Click the Submit button to close the dialog box.
- Save the channel.
Note: If the entity list is incorrectly populated, you may have to close and then re-open the Channel and interfaces tab.
- On the Behavior tab, in the Text Analyzers section, click Edit topics to open a dialog box that displays all of the topics available within your channel’s text analyzer.
Note: The Address Change topic is automatically created after you add the Address Change case.
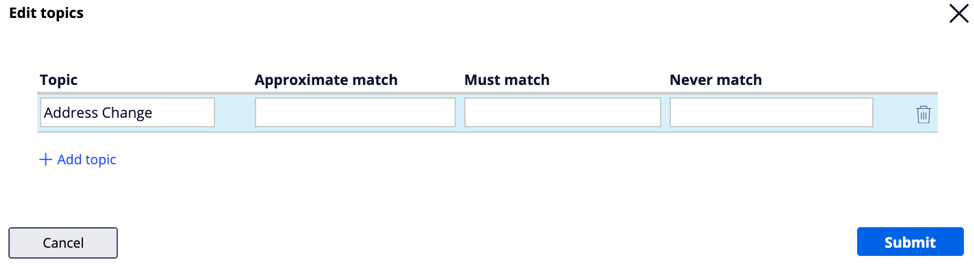
- Click Add Topic button to add a new topic called Complaint.
Note: Before a suggested reply is added to the channel, you must create a topic to associate with the response.

- Click Submit to close the dialog box, and then save.
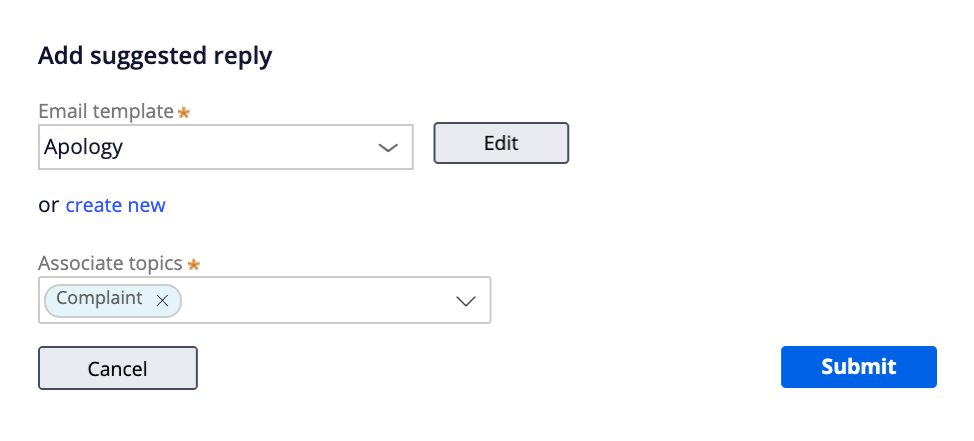
- On the Behavior tab, in the Suggested replies section, click Add suggested reply to add a new reply.
- In the Add suggested reply dialog box, in the Email template list, select Apology.
- In the Associate topics list, select Complaint associated topics.
- Optional: Click Edit to modify the Apology email template.
- Click Submit, and then save your configuration.
4 Configuring intelligent routing
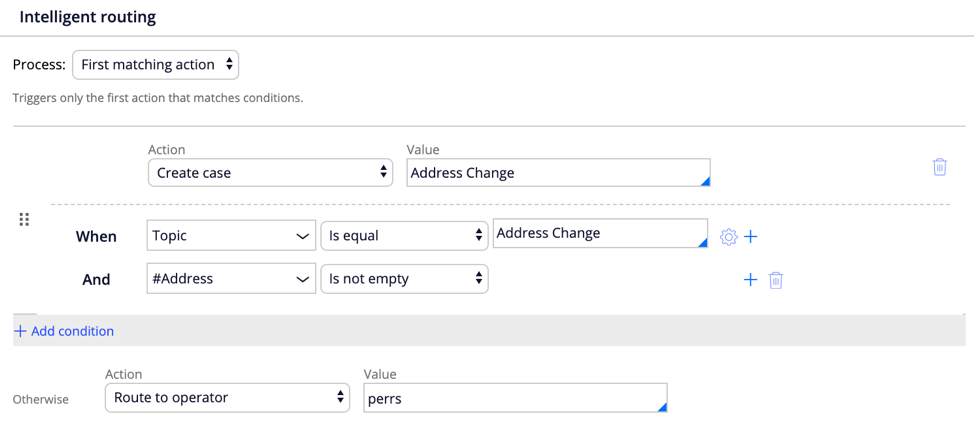
- In the Intelligent routing section, click Add condition to add a new action for the email bot.
- In the Action list, select Create Case.
- In the Value field, enter or select Address Change.
- Click the Add icon to add the two following conditions:
- When Topic is equal to Address Change – This condition ensures that this action is only invoked when the NLP analysis of the email returns the Address Change topic.
- When #Address is not empty – This condition ensures that an address entity value is detected within the email or attachment body.
- In the Intelligent routing section, click Add condition to add another action for the email bot.
- In the Action list, select Automatic reply.
- In the Email template field, enter or select Apology.
- Click the Add icon to add the following two conditions:
- When Topic is equal to Complaint – This condition ensures that this action is only invoked when the NLP analysis of the email returns the Complaint topic.
- When Sentiment is equal to Negative – This condition ensures that the sentiment value of the email analysis is negative.
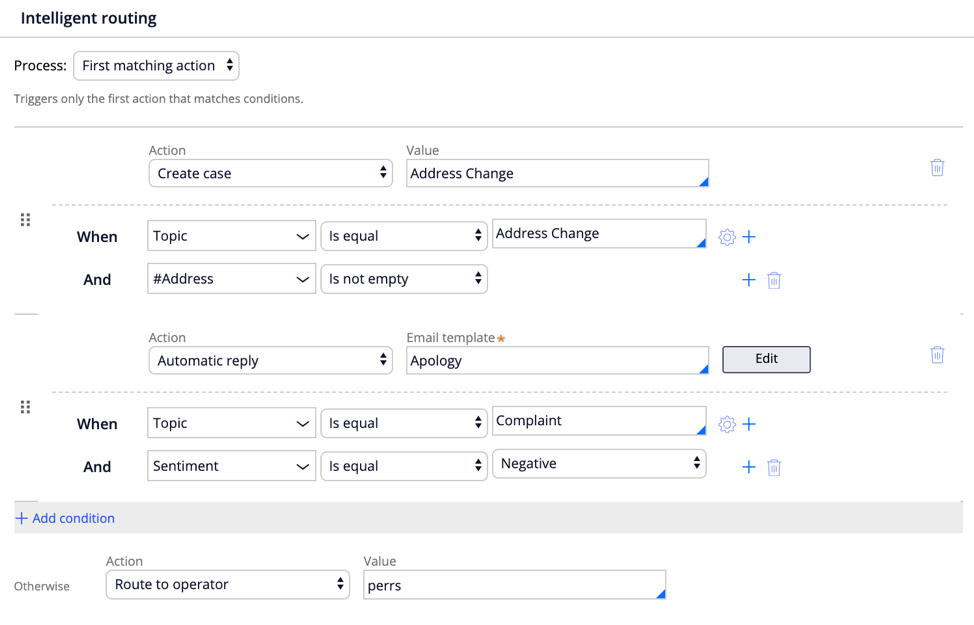
- In the Otherwise action, in the Action list, select Route to operator.
- In the Value field, enter or select your personal operator as the value to ensure that emails that do not match any of the defined criteria are routed for your operator in the Email Manager portal.

- Save your channel.
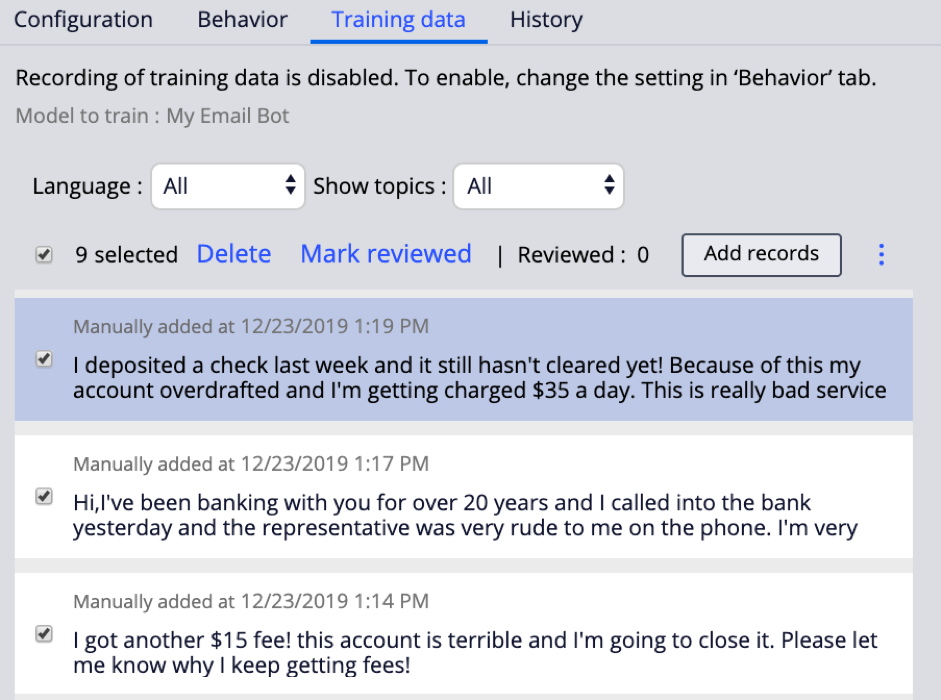
5 Train the email bot to understand topics
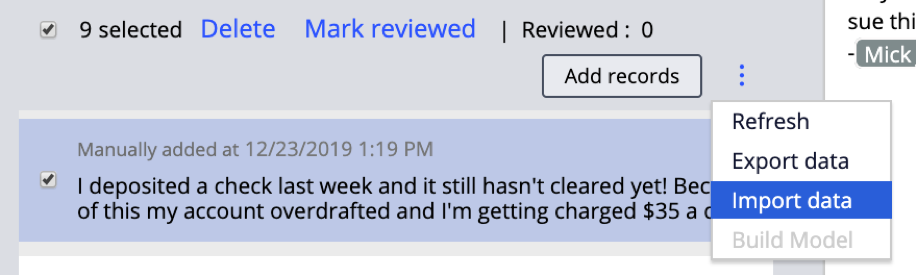
- In the Training data tab of the email bot, click the More icon, and then select Import Records.
- Download and import Email_Bot_Training_Data.zip to upload the pre-classified set of training data.
Tip: If the import is unsuccessful, you must manually add the training data by clicking Add Records and use the sample data that is provided in Email_Bot_Training_Data.txt.
- Once the training data has been added, click a record to see the classification details.
In the NLP analysis section, the Language model, Topic, and any entities present are displayed on the bottom tile. The training data text is displayed in the upper tile where any entities detected are highlighted.
- At the top, select the check box to select all of the records.
- Click Mark reviewed to add these records to the queue.
- Click the More icon, and then select Build Model to rebuild the NLP model.
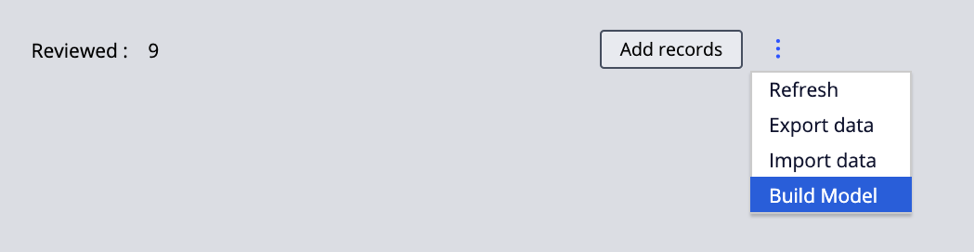
If the model build is successful, a message that shows the new F-Score is displayed at the top.

6 Use the Test console
- At the top of the channel, click Test to create a test email where the user wants to update their address. Include an address that has United States-based street, city, state, and ZIP code components within the text.
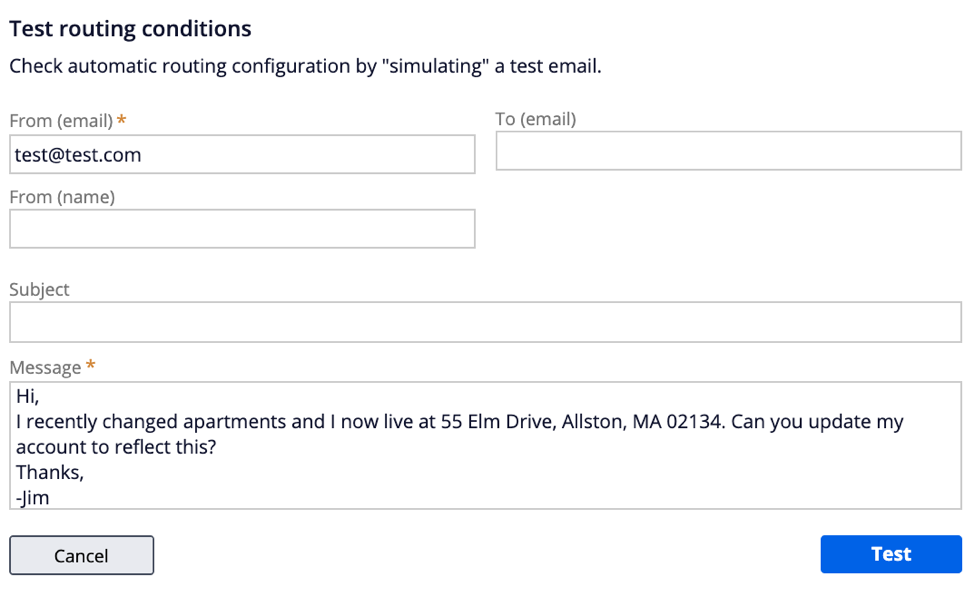
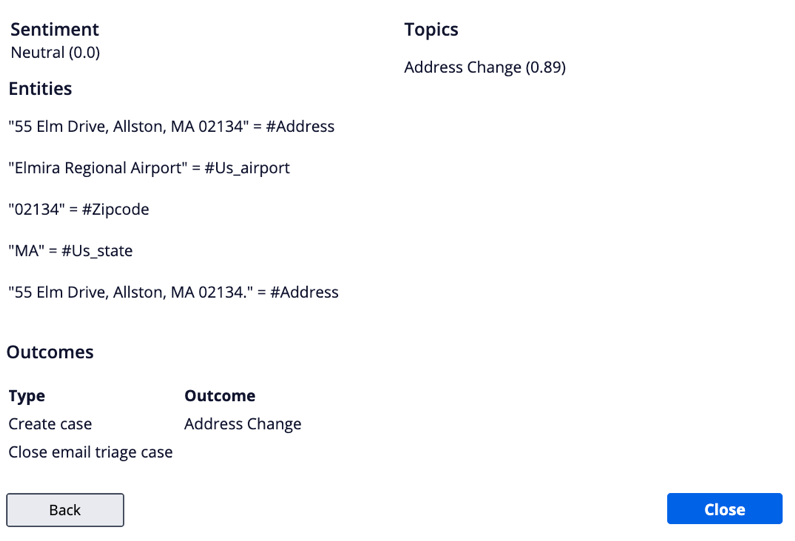
- In the Test routing conditions dialog box, click Test to test this sample email. The outcome of the test is displayed at the bottom of the dialog box.
Note: The (0.89) metric next to the Address Change topic represents the confidence that your NLP model has in its classification.
- Send the following messages to the email address that you configured in the channel:
Hi,
I recently changed apartments and I now live at 55 Elm Drive, Allston, MA 02134. Can you update my account to reflect this?
Thanks,
-Jim
Hi,
I was recently having and issue with my card and I had to wait on hold for 3 hours to speak with someone! I am really frustrated with how long it took to get my issue resolved, just terrible customer service. I really hope you can improve this.
-Jill
You should receive four emails in response:
- Two confirmation emails – Thank you for your email request. Your request ID is ET-123
- The pyApology automatic reply
- A response coming from the Address Change case that notifies you of the request