Creating a Pega Web Mashup
Archived
4 Tasks
15 mins
Intermediate
User Experience
English
Scenario
GoGoRoad is a roadside assistance application owned by Uplus Auto. GoGoRoad stakeholders want to give customers the ability to create a new assistance request from the company website to streamline operations for customer roadside assistance requests. Create a Pega Web Mashup and deploy the mashup on the Uplus Auto Website.
The following table provides the operator credentials you need to complete the challenge.
| Role | User name | Password |
|---|---|---|
| Application Developer | author@gogoroad | pega123! |
Note: Your practice environment may support the completion of multiple challenges. As a result, the configuration shown in the challenge walkthrough may not match your environment exactly.
Challenge Walkthrough
Detailed Tasks
1 Create a self-service application
Note: As a Pega best practice, create an application on top of the core application so that any UI changes you make for the web mashup do not affect the core application UI.
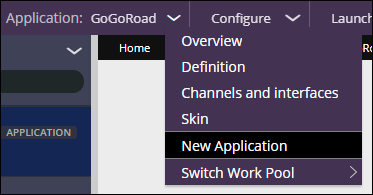
- In the header of Dev Studio, click GoGoRoad > New Application to open the New application wizard.
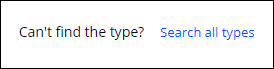
- In the New application wizard, click the Search all types to select an application type.
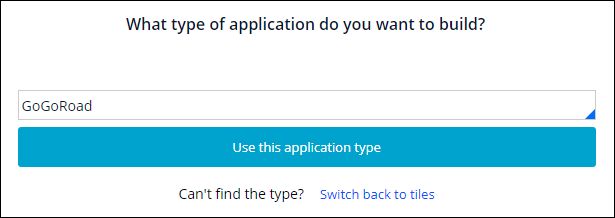
- In the field, enter or select GoGoRoad and click Use this application type to use the current application.
- Under Select case types, confirm that all case types are selected and click Continue.

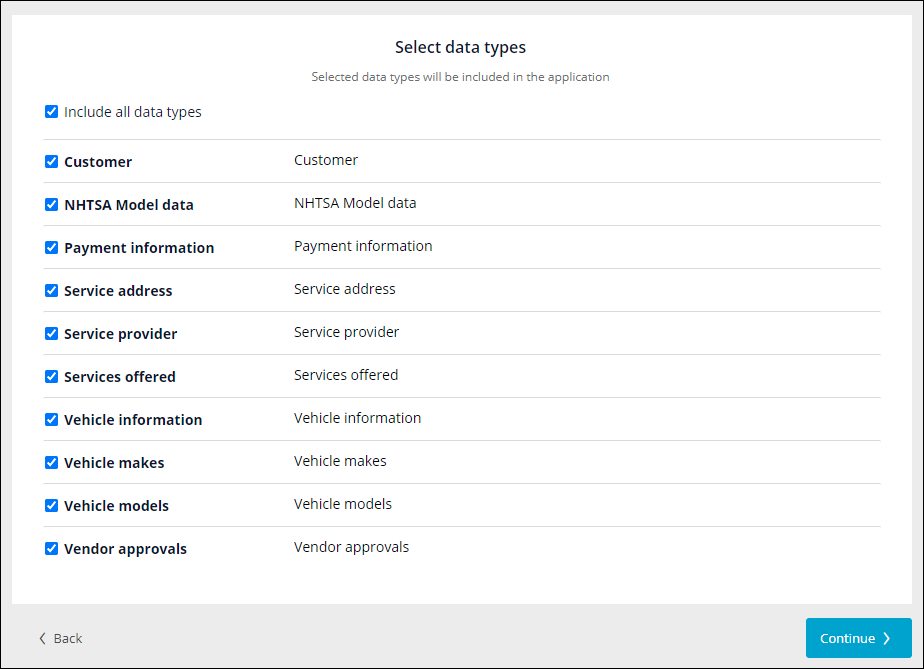
- Under Select data types, confirm that all data types are selected and click Continue.
- Name the application GoGoSelf-Service.
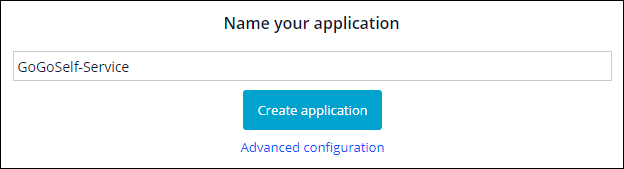
- Click Create application.
- Click Go to app.
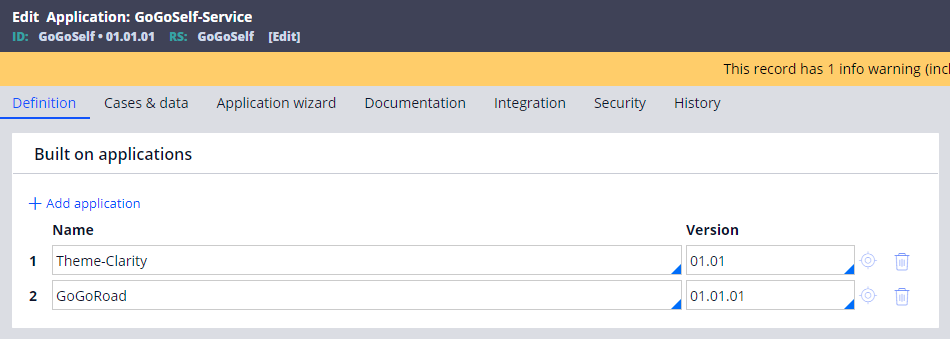
- In Dev Studio, open the GoGoSelf-Service application definition.
- In the Built on applications section, under the GoGoRoad 01.01.01 application, add the Theme-Clarity 01.01 application to override Cosmos rules and cleanly display the assistance request form in a web self-service application.
- Click and drag the second row to move the Theme-Clarity application above the GoGoRoad application so that the GoGoSelf-Service application uses the skin from the Theme-Clarity application.
 Tip: If you encounter a missing flow rule after creating the GoGoSelf-Service application, open the flow rule and save a copy into the new application using the Save As button.
2 Configure the application permissions
- In the GoGoSelf-Service application definition, click the Security tab.
- In the Mashup security section, click Add a row.
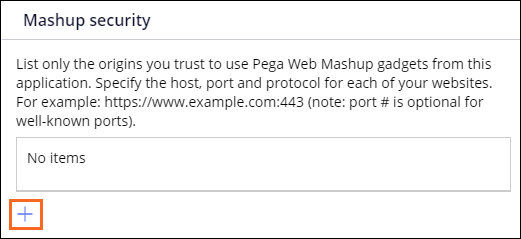
- In the Trusted origin field, enter https://pegasystems.github.io/uplus-wss/ to allow your application to accept incoming messages from the host site.
- Save the application definition.
3 Create a mashup channel in App Studio
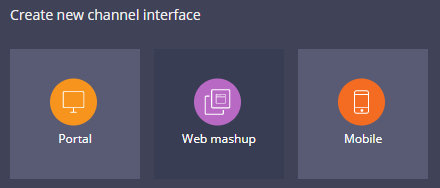
- In the navigation pane of App Studio, click Channels.
- Create a new Web mashup channel interface named Request for assistance.
- Verify that Use encryption is enabled to ensure adherence to security best practices.
- In the Configuration section, in the Action list, confirm Create a new case is selected.
- In the Case type list, select Assistance Request.
- Enable the Retain mashup state on browser refresh option.
- In the Skin list, select Clarity Theme - Deep Cerise to give the mashup an out-of-the-box skin.
- In the Initial skeleton list, confirm Default Mashup Skeleton is selected.
- Click Generate mashup code to display the Mashup code window.

- In the Mashup code window, in the Mashup code section, click Copy and paste the code into a text file to reference the parameter values.

- Close the Mashup code window, and then click Save to save the channel.
4 Deploy the mashup in the Uplus site
Note: The Uplus site allows users to enter mashup code attribute values in a user-friendly form to preview the mashup code without setting up a third-party site. If you have your own third-party site, you can add the site as a trusted origin and paste the entire mashup
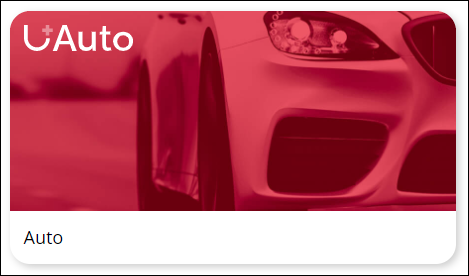
<div> code into the code of the host site to deploy the mashup on the external site.- Click https://pegasystems.github.io/uplus-wss/ to access the Uplus site in your browser.
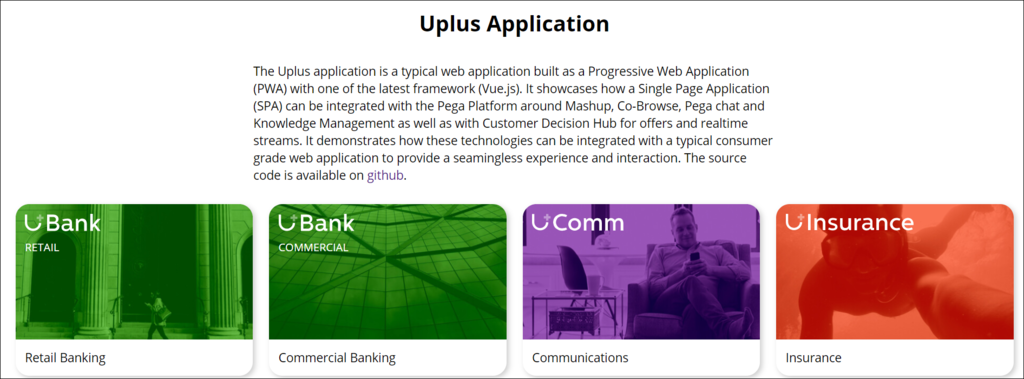
- On the Uplus site, click Auto to open the Uplus Auto application.
- In the footer of the Uplus Auto site, click Settings.

- In the navigation pane on the left, click Quick Links to configure the mashup case on the Uplus Auto site.

- Open the mashup code text file and complete the Mashup Case 1 form using the attribute values from the mashup code as shown in the following table.
Attribute name in mashup code Form field Form value data-pega-threadname Case name in 'en' Request for assistance data-pega-action Action createNewWork data-pega-URL URL Note: This value is the URL of the instance you use to generate the mashup code. data-pega-action-param-classname Classname GoGo-GoGoSelf-Work-AssistanceRequest data-pega-applicationname Application name GoGoSelf data-pega-channelID Channel ID Note: This value is a unique ID that is generated in the mashup code. Tip: The values in the form align with the attribute values in the mashup code that you created, as shown in the following image.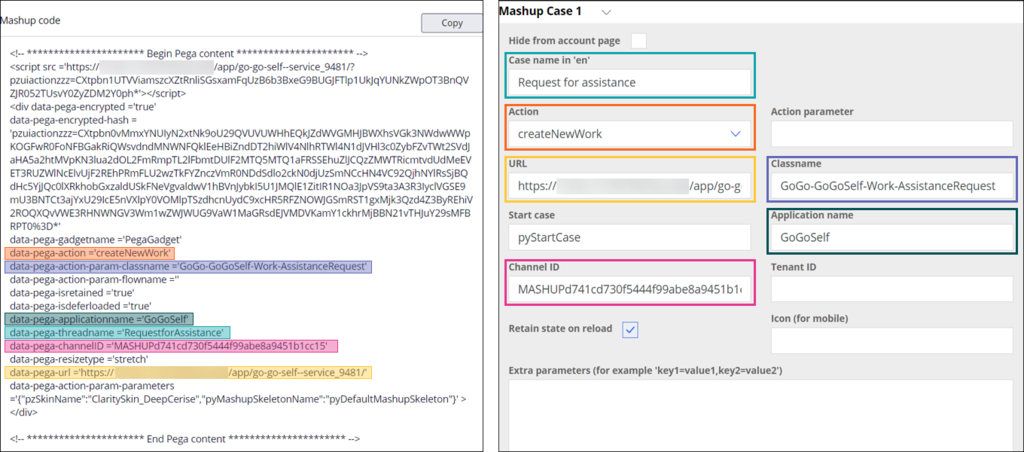
- In the navigation pane on the left, click Users.
- On the User 1 form, in the Username and Pega userid fields, enter author@gogoroad.
- In the Password and Pega password fields, enter pega123!.

- In the navigation pane on the left, click Save to save the settings.