Granting robot access and distributing work
Archived
7 Tasks
30 mins
Beginner
Robotic Process Automation
English
Scenario
To assist with providing utility services to its residents, MyTown routes all inquiries and service requests for existing customers to unattended robots to help streamline customer service.
To ensure that MyTown creates these events promptly, the MyTown developers use an application that routes the inquiries to the Inquiry work group and the services requests to the Service Request work group in Pega Robot Manager™. For the unattended robots to process the work in the correct assignment types, you must first create and configure the necessary robot registration operator IDs in Pega Platform™ and then configure decision tables in Pega Robot Manager.
Complete the following tasks for proper configuration:
- Create new robot registration operator IDs and update the passwords.
- Create a new access group for the MyTownRM application with specific roles.
- Create a new operator ID and access group for the runtime user.
- Update the work group mapping and decision tables for both robot registration operator IDs.
Note: Complete the preceding Configuring Robot Manager challenge before attempting to complete these tasks.
The following table provides the credentials you need to complete the challenge:
| Role | User name | Password |
|---|---|---|
| Robot Manager System Administrator | RMSysAdmin | myt0wn@pp1 |
Detailed Tasks
1 Create the Inquire robot registration Operator ID
- In the Pega Platform instance for the challenge, enter the following credentials:
- In the User name field, enter RMSysAdmin
- In the Password field, enter myt0wn@pp1.
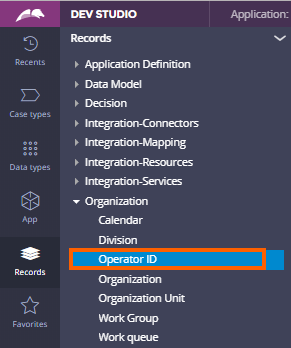
- In the navigation pane of Dev Studio , click Records > Organization > Operator ID to open the Operator ID data instances.
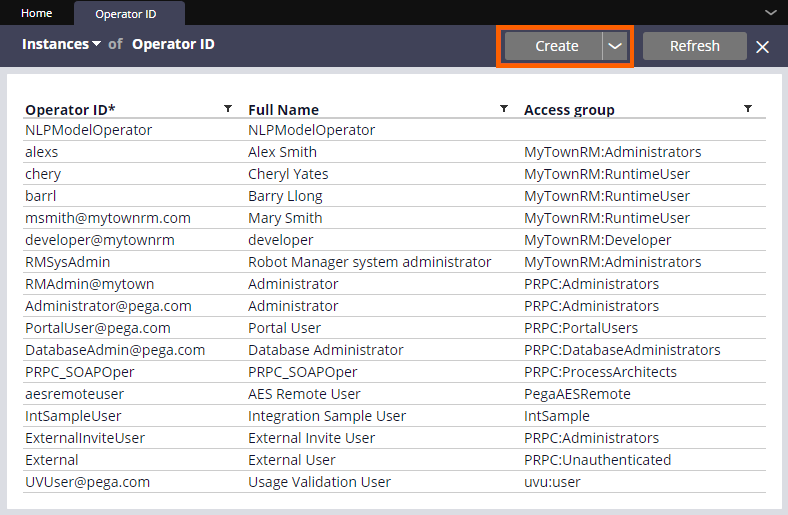
- In the list of Operator IDs, click Create to create the first robot registration Operator ID.
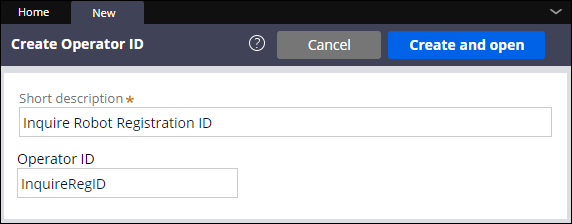
- In the Create Operator ID form, in the Short description field, enter Inquire Robot Registration ID.
- In the Operator ID field, enter InquireRegID.
- In the upper-right corner, click Create and open to display the rule form.
- On the rule form, in the Application Access section, to the right of the Access Group field, click the Open icon.
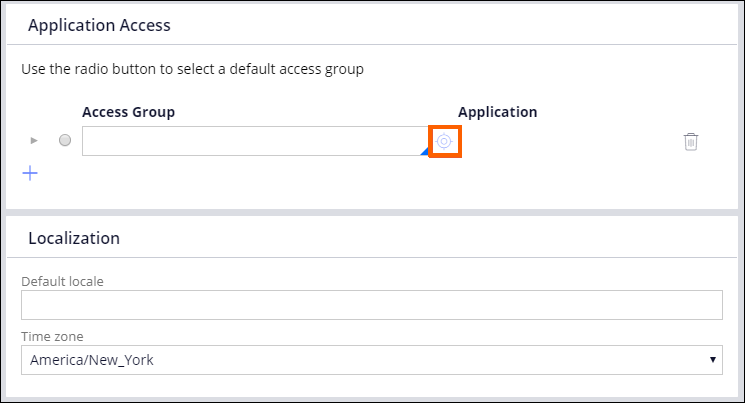 Note: If the Access Group field is empty, clicking the Open icon opens the Create Access Group form.
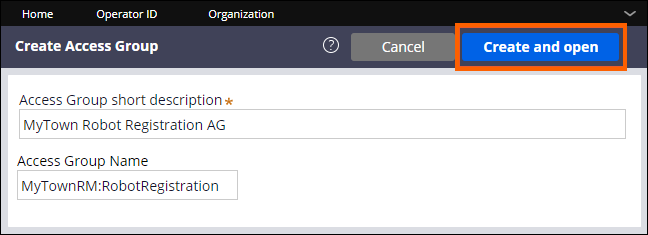
2 Create the MyTownRM:RobotRegistration access group
- On the Create Access Groupform, in the Short Description field, enter MyTown Robot Registration AG.
- In the Access Group Name field, enter MyTownRM:RobotRegistration.
- Click to open the rule form.
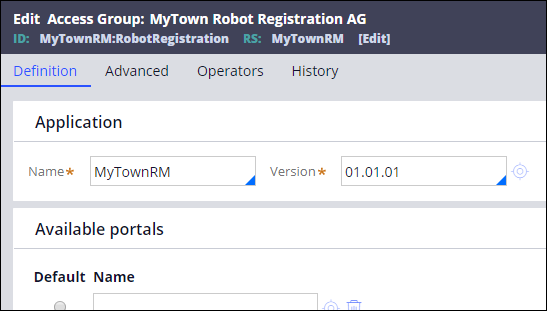
- On the MyTownRM:RobotRegistration rule form, in the Application section, in the Name field, enter or select
MyTownRM.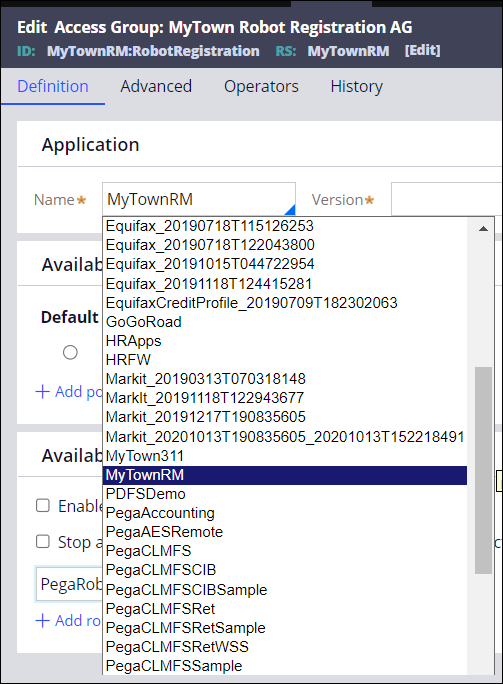
- In the field, enter 01.01.01.
- In the Available roles section, in the text box field, enter or select PegaRobotManager:RobotRegistrator.
- Below the text box, click to add a text box field.
- In the text box field, enter or select PegaRULES:PegaAPI.
- Click .
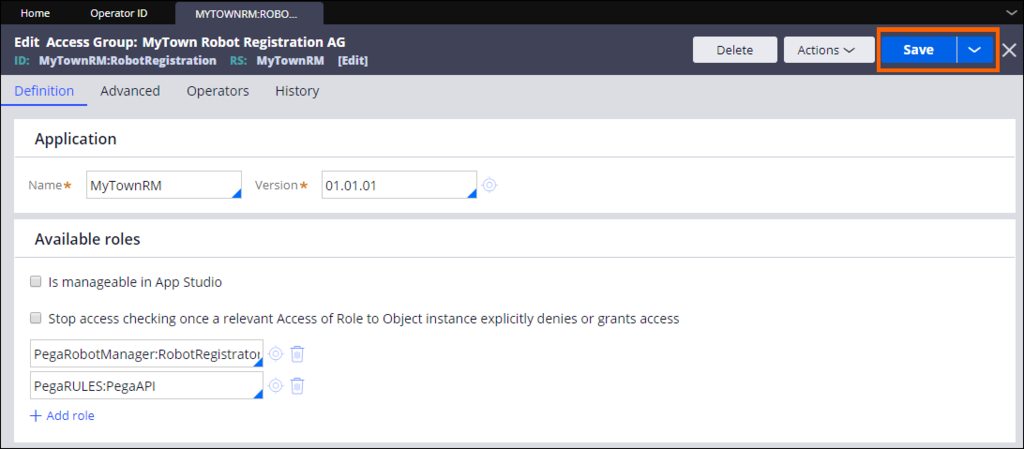
- Close the form.
3 Complete the InquireRegID Operator ID configuration
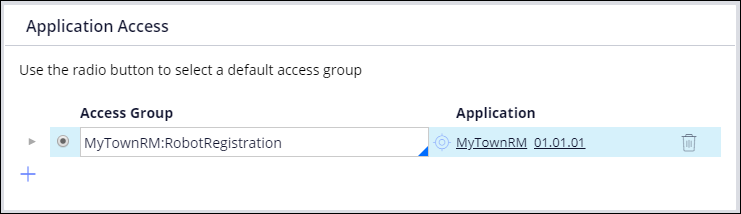
- On the InquireRegID operator rule form, in the Access Group field, enter or select MyTownRM:RobotRegistration to update the access group and application information.
- Select the radio button.
- On the InquireRegID operator rule form, click the Work tab.
- In the Routing section, click .

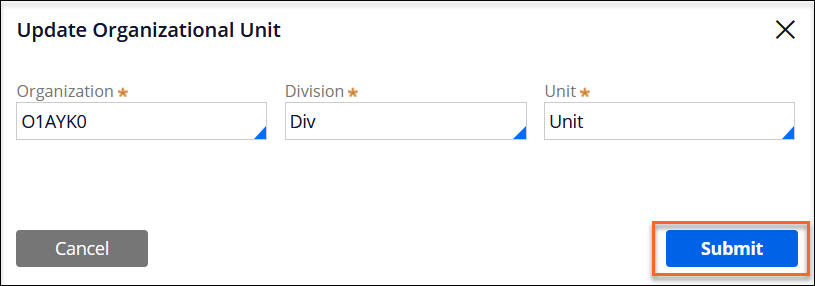
- In the Update Organizational Unit window, configure the details:
- in the Organization list, select the organization named with six alphanumeric characters.
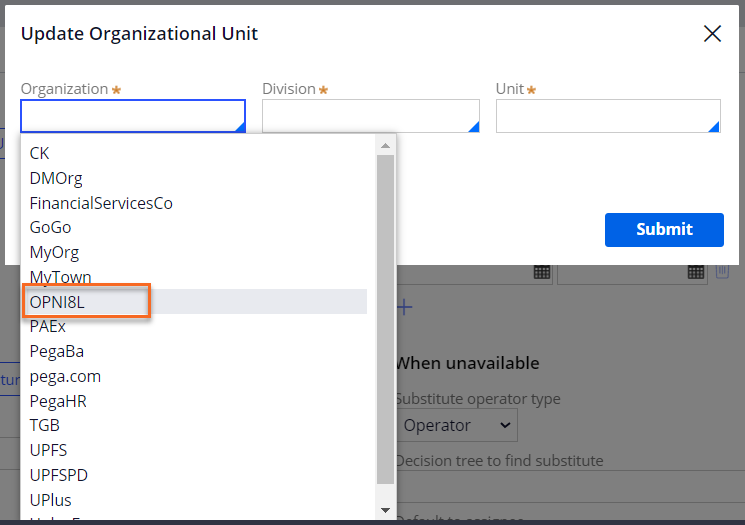 Note: The top organization item name might vary. Select the option that is under MyTown.
 - In the Division list, select Div.
- In the Unit list, select Unit.
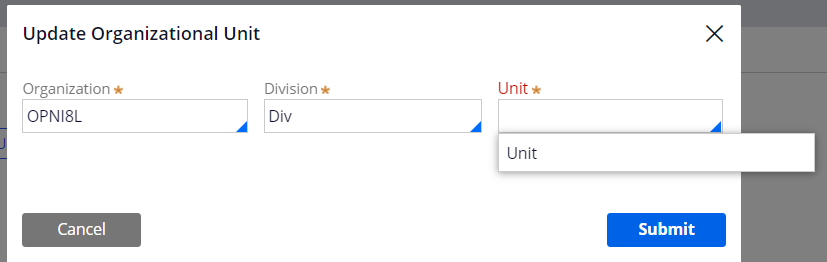
- Click Submit to close the window and return to the rule form.
- in the Organization list, select the organization named with six alphanumeric characters.
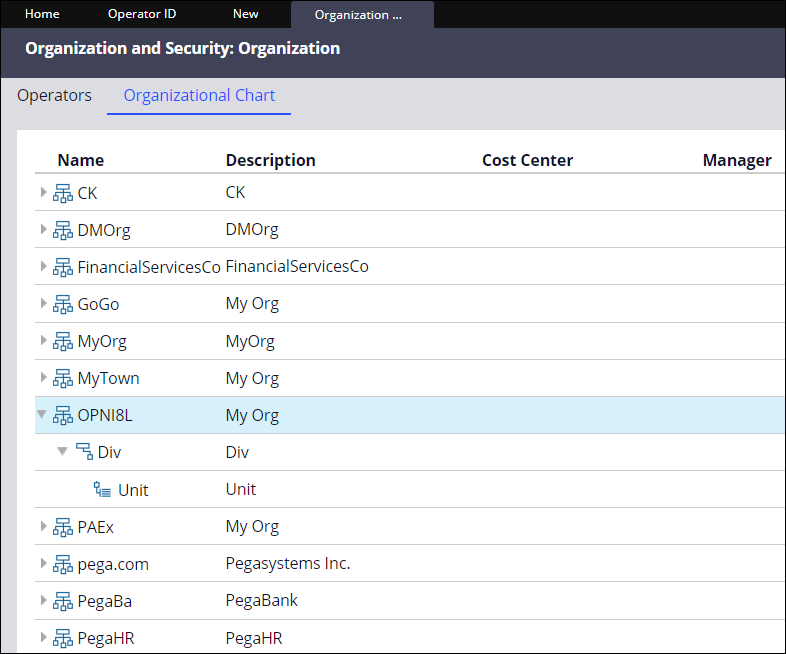
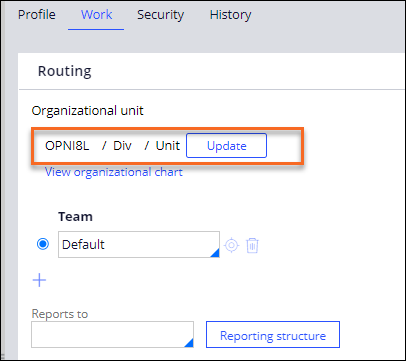
- Click to open the organizational units available.
- Click on the organizational unit and drill down to verify the structure as shown in the following image.
- On the InquireRegID rule form, click the Security tab.
- In the Access Settings section, click .
- In the New Password field, enter InqRobot1!.
- In the Confirm New Password field, enter InqRobot1!, and then click .
- In the Access Settings pane, verify that all checkboxes are cleared.
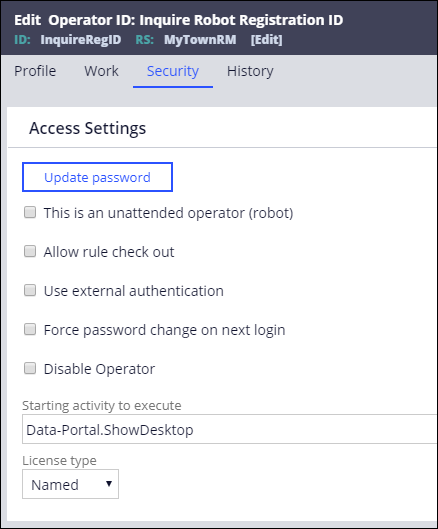
- Click .
4 Create the Service Request robot registration Operator ID
- In the InquireRegID operator rule form, click Save > Save As to create a new operator ID.

-
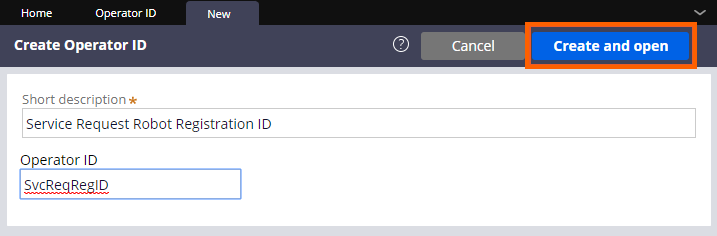
In the Short description field, enter Service Request Robot Registration ID.
- In the Operator ID field, enter SvcReqRegID.
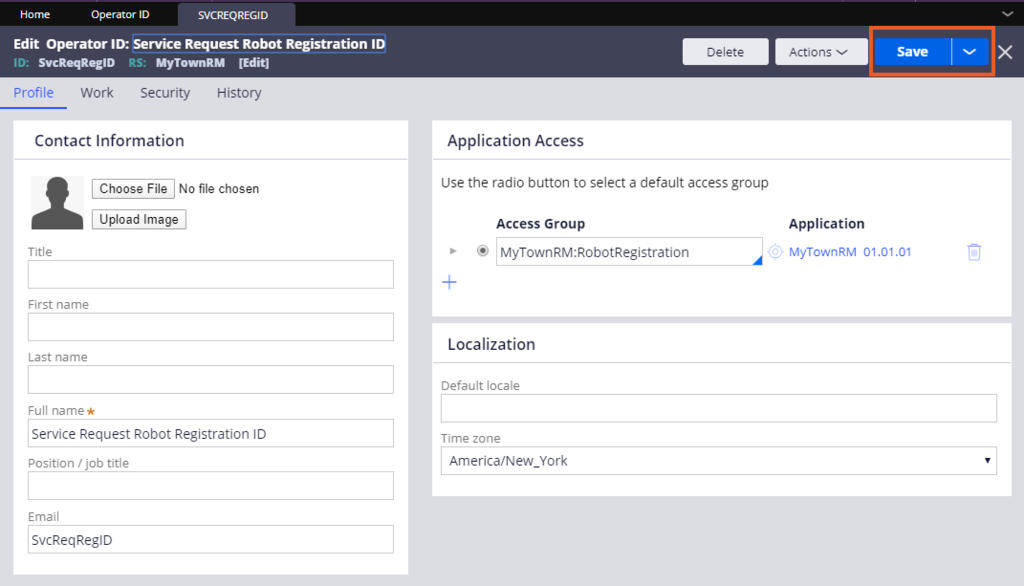
- Click Create and open to open the SvcReqRegID rule form.
- In the Contact Information section, in the Full name field, enter Service Request Robot Registration ID.
- In the Email field, enter SvcReqRegID.
- Click .
- On the SvcReqRegID rule form, click the Work tab.
- Verify the organizational unit matches the selection for the InquireRegID operator ID.
- On the SvcReqRegID rule form, click the Security tab.
- In Access Settings section, click .
- In the New Password field, enter SvcRobot1!.
- In the Confirm New Password field, enter SvcRobot1!, then click to return to the rule form.
- Click , and then close the form.
5 Create the Queue Management operator ID
- Click the Operator ID tab.
Note: If you accidentally closed the Operator ID tab, click Records > Organization > Operator ID to open the list of Operator IDs.
- In the list of Operator IDs, click Create to create the first robot registration Operator ID.
- On the Create Operator ID form, in the Short description field, enter Queue Robot Registration ID.
- In the Operator ID field, enter QueueRegID.
- Click Create and open to display the QueueRegID rule form.

- In the Application Access section, in the Access Group field, enter MyTownRM:RuntimeUser.
-
Select the radio button for the access group.
- On the QueueRegID operator rule form, click the Work tab.
- In the Routing section, click to display the Update Organizational Unit window.
- In the Update Organizational Unit window, configure the details:
- In the Organization list, select the unit that you used both InquireRegID and SvcReqRegID.
- In the Division list, select Div.
- In the Unit list, select Unit.
- Click Submit to close the window and return to the QueueRegID rule form.
- On the QueueRegID operator rule form, click the Security tab.
- In the Access Settings section, click :
- In the New Password field, enter QueRobot1!.
- In the Confirm New Password field, enter QueRobot1!, and then click .
- In the pane, verify that the selection for all checkboxes is clear.
- Click Save, and the close the form.
6 Remove the inherited application instance of the Work group and robot mapping
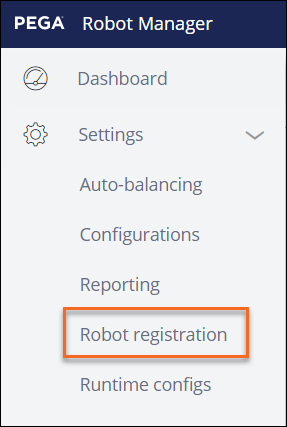
- In the header of Dev Studio, click to open the Robot Manager portal.

- In the navigation pane of Robot Manager, click Settings > Robot registration to display the decision tables.
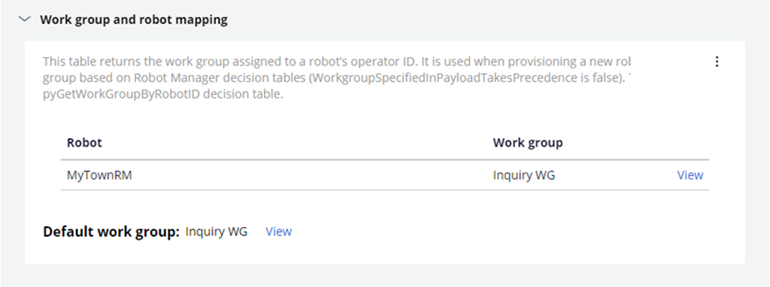
- In the list of decision table instances, expand Work group and robot mapping.
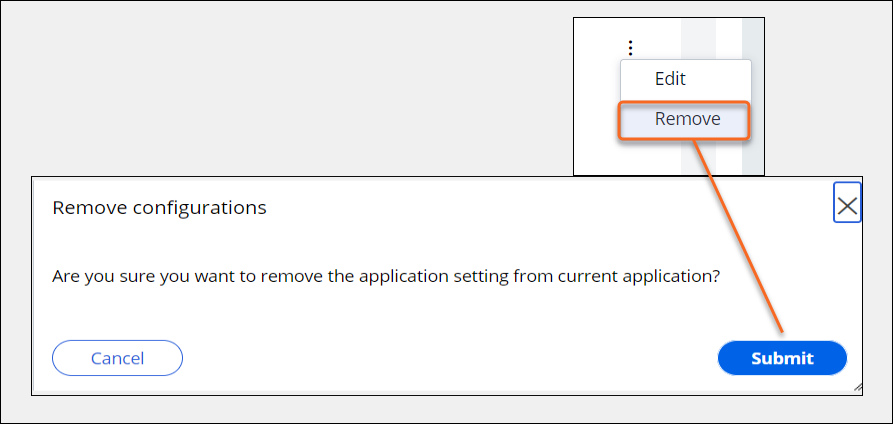
- Click More > Remove , and then in the Remove configurations window, click Submit.
MyTown RM now inherits the values from the Pega Robot Manager decision table.
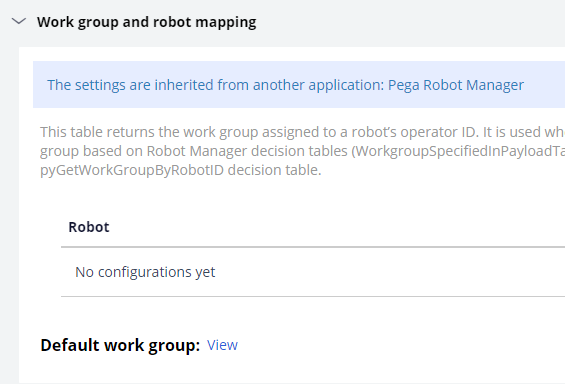
- Collapse the Work group and robot mapping section.
7 Update the work group and requestor mapping
- In the list of decision tables, expand Work group and requestor mapping, and then click More > Edit.
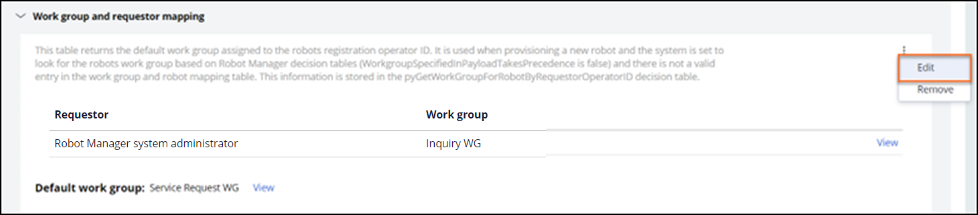
- In the Robot Manager system administrator row, click the Edit icon.
The Work group and requestor mapping window is displayed.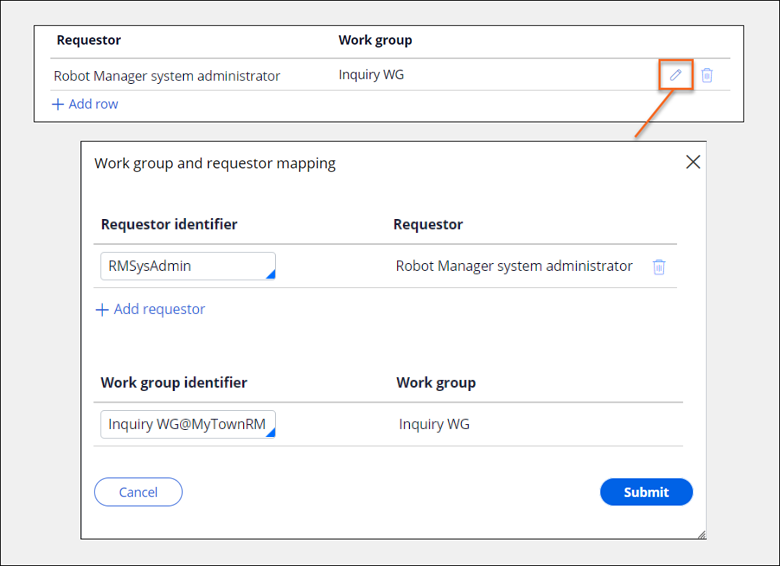
- In the field, enter InquireRegID, and then click .
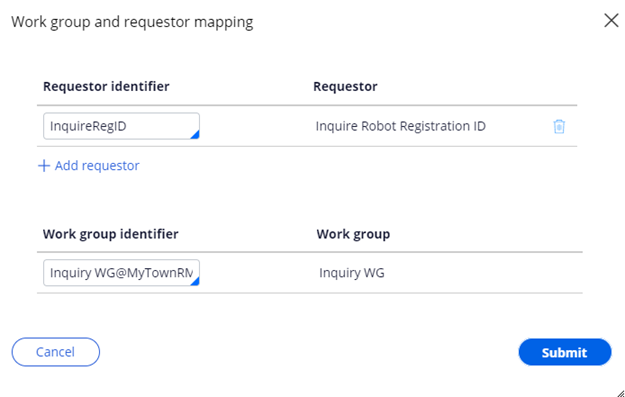
- In the Default work groupsection, click the icon.
- In the Default work group window, in the field, enter Service Request WG@MyTownRM, and then click .

- Click .