Sending emails for multiple actions in outbound
4 Tasks
20 mins
Beginner
English
Scenario
After their recent success promoting a credit card offer in an email, the marketing department at U+ Bank wants to promote multiple credit card offers by sending emails to qualified customers.
A consultant has already created the actions and email treatments in preparation.
You are now expected to configure Pega Customer Decision Hub™ to send an email to the customer that corresponds to the credit card offer for which they qualify.
Use the following credentials to log in to the exercise system:
| Role | User name | Password |
|---|---|---|
| Decisioning Architect | DecisioningArchitect | rules |
Your assignment consists of the following tasks:
Task 1: Configure the Rewards card and Premier Rewards card actions to include the action flow
In the Rewards card and Premier Rewards card action, configure the action flow to use the Email flow template as the Dynamic template.
Task 2: Configure the Rewards Plus card action for the outbound run
In the Rewards Plus card action, configure the action email treatment to use the Rewards Plus card email and action flow to use the Email flow template as the Dynamic template.
Task 3: Schedule an outbound run
On the Channels tab of Next-Best-Action Designer, configure a schedule run to send the credit card offer emails to qualified customers.
Task 4: Verify that customers receive new action emails
Confirm that each customer receives an email for one of the credit card offers.
Challenge Walkthrough
Detailed Tasks
1 Configure the Rewards card and Premier Rewards card actions to include the action flow
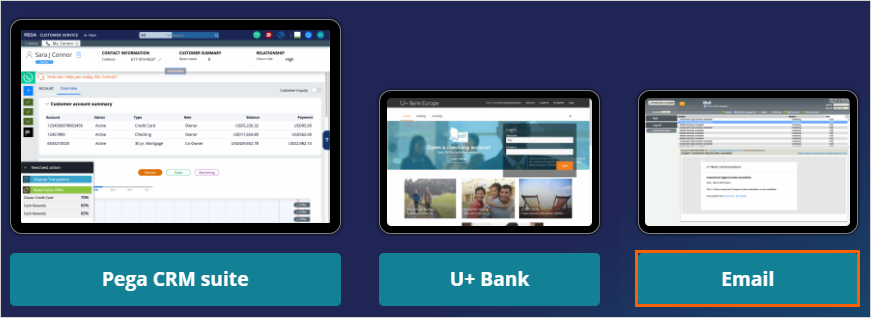
- On the exercise system landing page, click Pega CRM suite.
- Log in as the Decisioning Architect:
- In the User name field, enter DecisioningArchitect.
- In the Password field, enter rules.
- In the navigation pane of Customer Decision Hub, click Content > Actions.
- On the Actions landing pave, click Rewards card to open the action details.
- In the Rewards card details, click Check out to make changes.
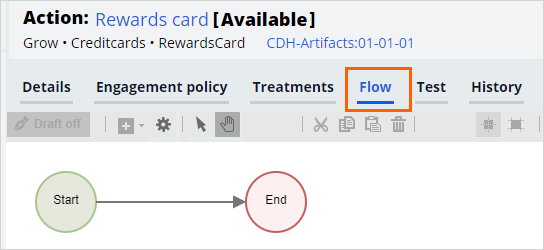
- Click the Flow tab.
- To the right of Dynamic template, click None to add an existing flow template.

- In the Configure Dynamic Template window, to the right of Email flow template, click Add to add the flow to the action.
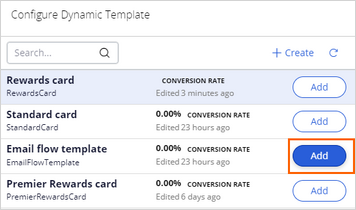
- Click Apply to confirm the action flow selection and close the window.
The action flow is now associated with the action. - Click Check in to save your changes.
- Close the Rewards card action. Repeat steps 1-10 for the Premier Rewards card. Use the following table for mapping information.
Action
Email treatment
Action flow
Premier Rewards card
Premier Rewards card email
Email flow template
2 Configure the Rewards Plus card action for the outbound run
- On the Actions landing page, click Rewards Plus card to open the action details.
- Click Check out.
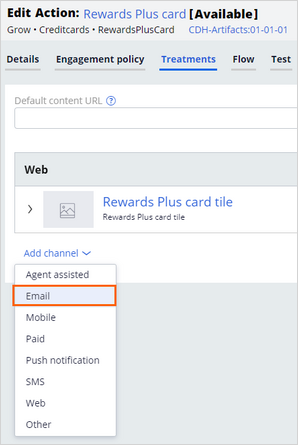
- Click the Treatments tab, and then click Add channel > Email to add a new email treatment.
- In the Configure Email Treatment window, in the Rewards Plus card email row, click Add to add the treatment to the action.
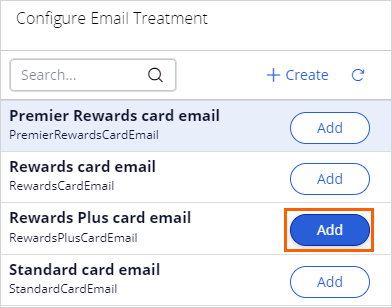
- Click Apply to confirm the treatment selection and close the window.
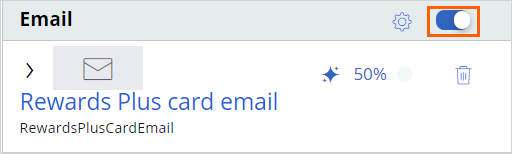
The treatment is now associated with the action. - In the Email section, ensure that the switch for the email treatment is on.
- Click the Flow tab.
- To the right of Dynamic template, click None to add an existing flow template.
- In the Configure Dynamic Template window, to the right of Email flow template, click Add to add the flow to the action.
- Click Apply to confirm the action flow selection and close the pop-up window.
The action flow is now associated with the action. - Click Check in to save the changes made.
3 Schedule an outbound run
- In the navigation pane of Customer Decision Hub, click Next-Best-Action > Designer.
- In Next-Best-Action Designer, click the Channels tab.
- In the Primary schedule section, click the More icon, and then select Suspend to suspend the currently scheduled run.
 Note: Because you scheduled an outbound run in the previous challenge, you must suspend the run to ensure that the system considers your recent modifications.
In real projects, if an outbound run is currently running, you must stop the run, and then suspend it.
If the Primary schedule is in a Draft state, you can skip step 3.
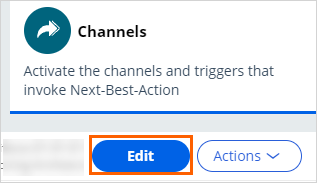
- At the top, click Edit to make changes to the Channels, Triggers, and Primary schedule.
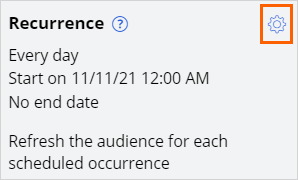
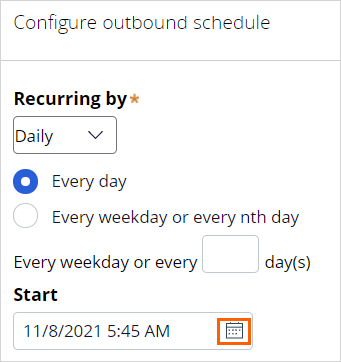
- In the Primary schedule section, in the Recurrence row, click the Gear icon to set a new start date and time for a run.
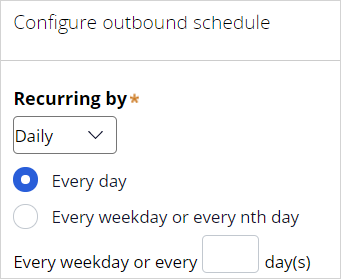
- In the Recurring by section, select Every day.
- In the Start section, click the calendar icon.
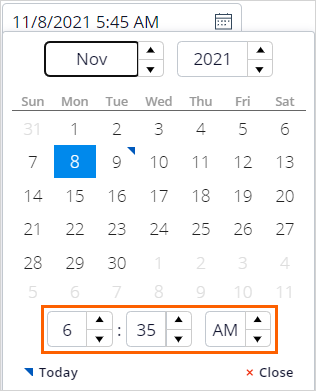
- Set the time to the current time in the US EST time zone.
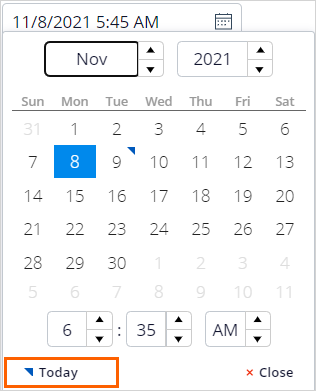
- Click Today to populate today's date as the Start date.
- In the End section, ensure that the No end date option is the default selection.
- Click Submit to save the outbound schedule and close the window.
- Ensure that the Starting population is set to All outbound customers.
- On the Channels tab, click Save to save your changes.
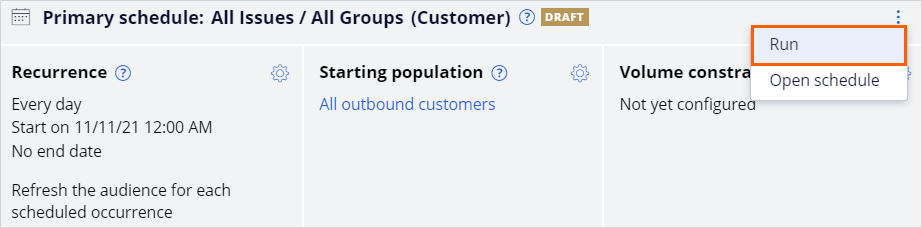
- In the Primary Schedule section, click the More icon, and then select Run to run the outbound schedule.
 Note: When you refresh the tab, the status changes to Running when processing begins. An entry for upcoming runs appears in the Run Schedule section.
- On the Channels tab, click Actions > Refresh to see the latest status of the run.
- Once the run is complete, click the COMPLETED status to view the results.
 Note: The previous run initiated only Standard card action because it was the only action enabled for the email channel. Now, you see multiple actions initiated because all the credit card actions are enabled for the email channel.
Your run results number might not match the numbers shown in the exercise steps, as the segment in the exercise system selects a random sample of customers in each run.
4 Verify that customers receive new action emails
- In the browser tab where you accessed your Pega Academy exercise system, click Email.
- Access the mail, and then open emails to simulate customer behavior and record impressions.
Note: Notice that you have offer emails corresponding to different credit cards, as all credit cards are enabled for the email channel.
- In the email, click APPLY TODAY to stimulate positive customer behavior and record clicks.
This Challenge is to practice what you learned in the following Module:
If you are having problems with your training, please review the Pega Academy Support FAQs.
Want to help us improve this content?