Configuring a data source
Archived
1 タスク
15 分
初級
Data Integration
英語
シナリオ
As a system architect, there is a requirement for the contact identifier to be used in dialogs in the Contact category. You have been tasked with updating the appropriate data source to make the property available for dialogs.
Use the following credentials to log in to the exercise system:
| Role | User name | Password |
|---|---|---|
| System Architect | casysadmin | password123! |
Your assignment consists of the following tasks:
Task 1: Update the data source to add the Contact identifier property
In App Studio access the data source and open the data source to add the Contact identifier property.
Task 2: Confirm your work
Start a service case and customize the dialog. Confirm that the property you added is available to you.
チャレンジ ウォークスルー
詳細なタスク
1 Update the data source to add the Contact identifier property
- Log in as a system architect with User name casysadmin and Password password123!.
- In the navigation pane of App Studio, click Data to open Data objects and integrations and list all data sources.
- Select the Contact data source.
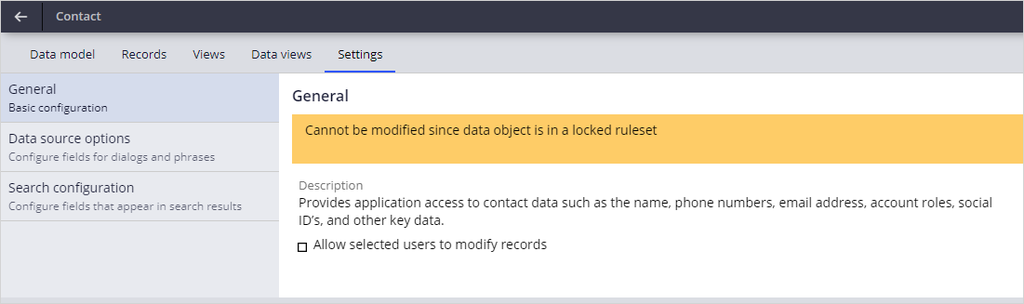
- Click the Settings tab.
- Click Data source options to access the available dialog properties.
- In the Select data source category list, select Contact.
- Click Add new, and then select Contact identifier to add that property.
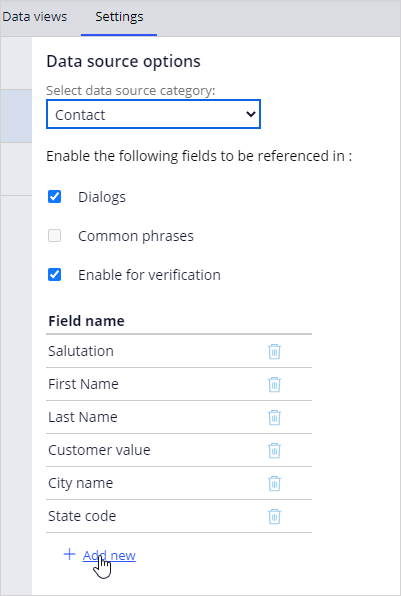
- Click Save.
- Click Close to leave the data source settings.
- Click OK.