Adding an Activity component
Adding an Activity component
Follow these steps to add and configure the Activity component.
- In the Solution Explorer, double-click a project's global container to open it in the designer window.
- In the IDE, access the Toolbox window.
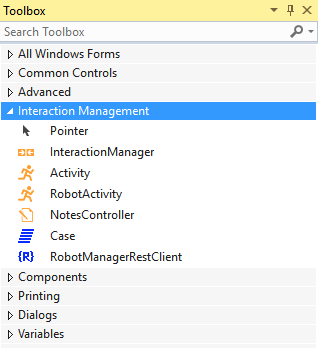
- In the Toolbox, click the Interaction Management category to expand it.
- Click the Activity component and drag it to the Global Container designer window. The Properties window refreshes to display the Activity component.
- In the Properties window, click the (Name) property field.
- Enter a name for the Activity component.
- In the Properties window, click the Activity Name field to display a drop-down list.

- From the drop-down list, select the activity. The activities listed in the drop-down come from the interaction.xml file configured with the Interaction Framework component.
- From the menu, select File > Save to store the changes.
Note: If the activities in the drop-down list are incorrect or missing, check the Configuration File property of the Interaction Manager component and confirm the path directory. If you need an activity that does not exist in the drop-down list, you must add it to the XML file used in the solution.
If you are having problems with your training, please review the Pega Academy Support FAQs.
Want to help us improve this content?