Application Assets deployment and inclusion
Application Assets are reusable, shareable components with which you can support best practices and make project governance easier. You create a versioned Asset and share it with others for use in many automation projects.
For example, a business subject matter expert (SME) uses Intelligent Recording to create simple automations for the BankerInsight application. In Robot Studio, those automations can become Application Methods that perform the basic building blocks needed to support automating an application like account search, log in, and then log out. An experienced developer takes the Application Methods and adds logic to make them more robust and to add error handling. The developer then deploys the application as an Asset to Pega Robot Manager. Anyone connected to the Robot Manager server with the appropriate user privileges can download and use the Application Asset.
Application Assets include any Application Methods created for an application and any Asset global variables, Windows forms, properties, and events created for that application.
Deployment of Assets to Robot Manager
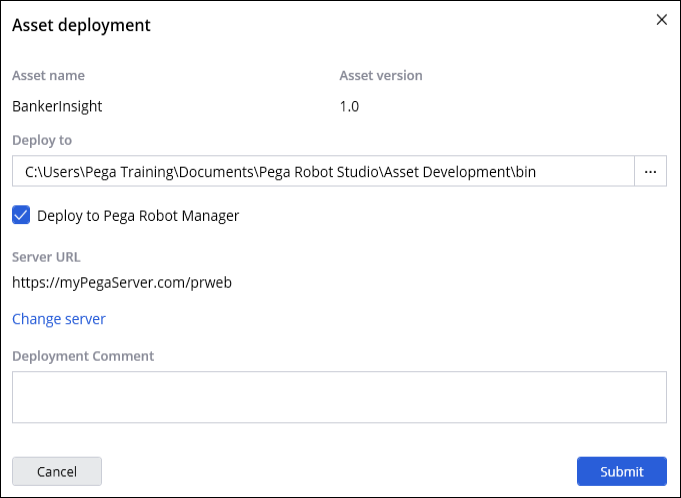
You deploy an Application Asset through Pega Robot Studio. On the Project Explorer, right-click on the application that you wish to deploy, and then select Deploy asset. The Asset deployment dialog box allows you to adjust the deployment location. The Asset version begins at 1.0 and increments by 0.1 each time you deploy. For example, the first deployment of an Asset is version 1.0, as shown in the following figure, and the fifth deployment of an asset is version 1.4:
An Asset deploys to the Robot Manager instance to which you are connected, or you can change the deployment server on the Asset deployment dialog box. You add a deployment comment to provide context to other users about the purpose and usage of the Asset you created. If you are not connected to a Robot Manager application, the system deploys your asset locally.
Once deployed, an authorized user in Robot Manager must approve the Application Asset before other users can download it. For more information about approving Assets in Robot Manager, see Approving and rejecting Assets.
Assets in a project
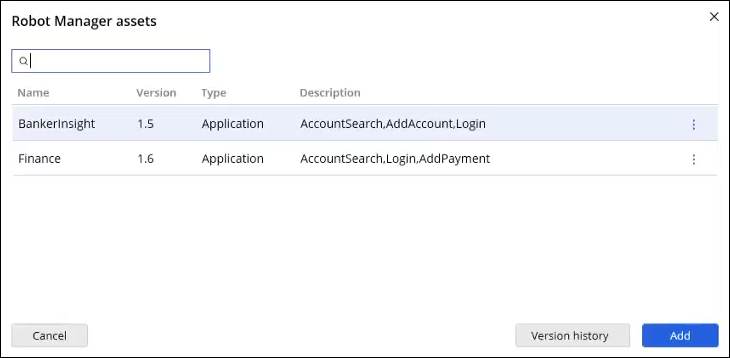
To use an Application Asset in a project, you first add it to the project using the Add menu in the Project Explorer. A list of Application Assets in the catalog of the connected Robot Manager instance is displayed. Select the Asset and click Add to include the Asset to your project in Robot Studio. Assets reside in an Assets folder; you cannot move them from that folder. If you are not connected to a Robot Manager instance, you can add Assets from your local drive by placing them in %AppData%\Pegasystems\Assets. The following figure shows a list of Robot Manager assets available to be added to a project in Robot Studio.
Once you add Assets to the project, you use the Application Asset just like any other application that is in your project. You can open an Application Method to view the source, add breakpoints, and debug as with a normal automation, but you cannot modify the Application Methods in an Application Asset.
Check your knowledge with the following interaction:
This Topic is available in the following Module:
If you are having problems with your training, please review the Pega Academy Support FAQs.
Want to help us improve this content?