Configuring the Email Manager portal
Developers can configure the Pega Email Manager portal to show the most relevant information to a triage worker.
To change the portal styles, open the Pega Email Manager channel and select the Configuration tab. You can add a custom logo, change the channel header, or select a different theme. You can also add personas to give portal access to specific users.
To edit the content views shown in the portal, open the Pega Email Manager channel, and then select the Content tab.
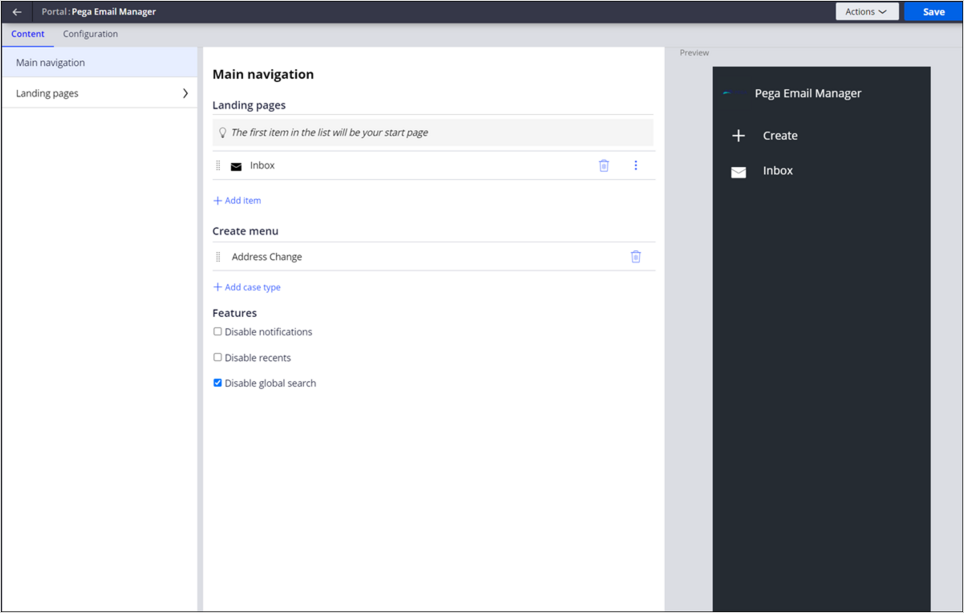
On the Main navigation tab, you can add and arrange pages and add case types to the Create menu.
The following figure shows an example of navigation setup in Pega Email Manager:
Note: For more information about configuring navigation, see Organizing the main navigation for a standard work portal.
On the Landing pages tab, you can select the layout, for example, Dashboard, One Column, Two Column. You can also add widgets to page regions.
The following figure shows the configuration of a Home landing page that uses a Wide-narrow template. The landing page preview is displayed in the right pane.
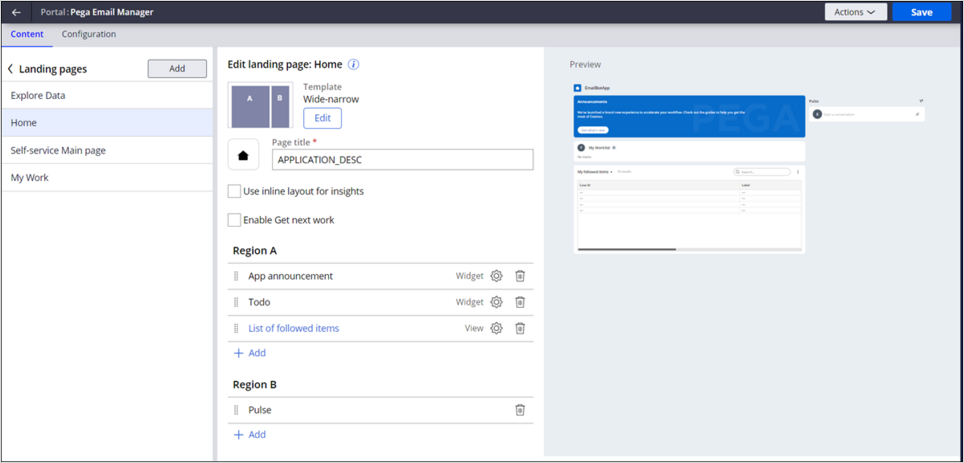
Note: For more information about working with landing pages, see Landing pages.
Constellation user interface settings
Your Pega Platform™ application might require configuration to use the Constellation-based user interface for the Pega Email Manager. Check that the following Constellation settings are in place.
- Configure the ConstellationPegaStaticURL dynamic system setting:
- In header of Dev Studio, in the Search field, enter Pega-UIEngine
- Select Pega-UIEngine Constellation ConstellationPegaStaticURL.
- In the Value field, enter: https://release.constellation.pega.io
- Click Save.
- Configure the ConstellationSvcURL dynamic system setting :
- In header of Dev Studio, in the Search field, enter Pega-UIEngine
- Select Pega-UIEngine Constellation ConstellationSvcURL.
- In the Value field, enter https://community.constellation.pega.io/c11n-appstatic
- Click Save.
- In the EmailBot application settings, configure the Constellation-based user interface:
- In the header of Dev Studio, click the name of the application (for example, Emailbot), and then click Definition.
- In the Advanced node, in the UI Runtime section, select Pega Platform (Constellation UI).
- Click Generate routing table.
- Click Save.
This Topic is available in the following Module:
If you are having problems with your training, please review the Pega Academy Support FAQs.
Want to help us improve this content?