Configuring a service case
Service request options
In Pega Customer Service™ applications, most service cases belong to one of two categories: Account or Contact. This module will show you how to use App Studio to add a service case to a category.
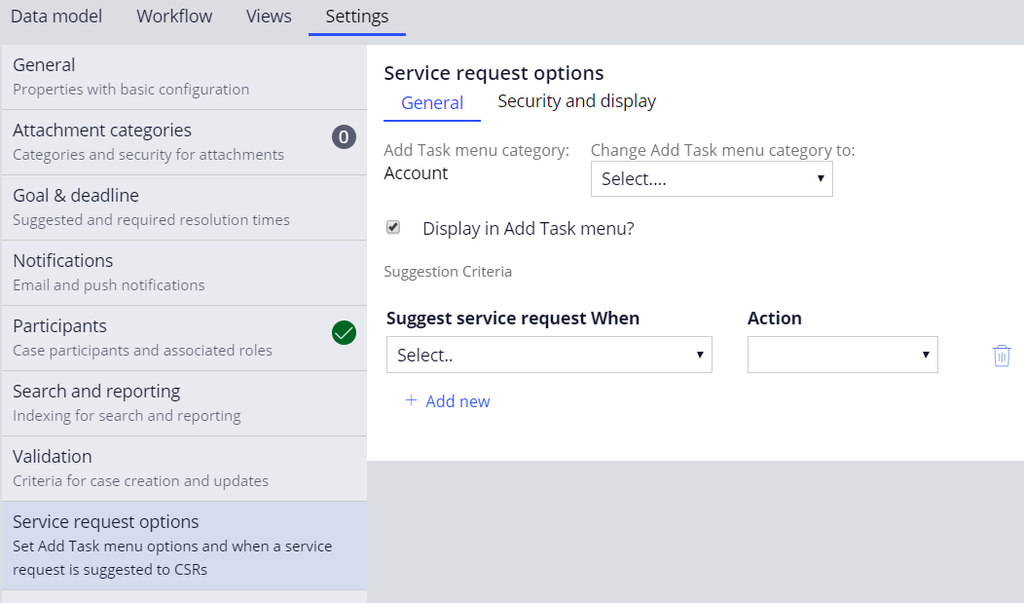
To configure a service case, open the case in App Studio. You then click the Settings tab to access the settings of the case. The panel to the left has service request options.
The Service request options allow you to:
- Set Add Task menu options
- Set service case suggestion criteria
You can see the Add Task menu category to which this service case belongs. In this case, the category is Account. You can also change this category by selecting it from the Change Add Task menu category to: drop-down. Selecting Display in Add Task menu?, you can see the service case in the Add Task menu in the Interaction Portal.
Setting service case suggestion criteria
To have a service case automatically suggested to an agent, you can select an Intent when rule and an action that should occur when the Intent When is true. You can use the Suggest service request When drop-down to select a when rule. This determines when the service request is suggested to the agent.
The Action drop-down provides three actions:
- Suggested
- Queue
- Auto-Launch
If Suggested is selected, the service case appears in the Next Best Action panel of the Interaction Portal during the interaction.
With the Queue option, the service case appears under Add Task during the interaction.
With the Auto-Launch action, the service case is launched upon interaction.
If you are having problems with your training, please review the Pega Academy Support FAQs.
Want to help us improve this content?