Personalizing a dashboard
Overview
Customize your dashboard to personalize the workspace in your application. Dashboards are supported by a template with a set of widgets.
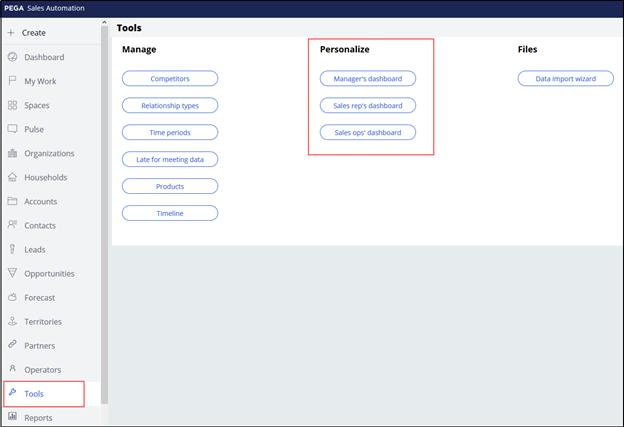
Users with the sales operations role can update the default dashboards for the sales managers, sales representatives, and sales operations using the Tools icon in the left navigation panel.
Sales managers and sales representatives can personalize their own dashboards but are not able to share changes to their dashboard with other users. Once a user personalizes their dashboard, that user no longer sees any changes to the default dashboard.
To personalize your dashboard, follow these steps:
- Switch template
- Add widgets to each slot of the template
- Configure widgets
- Publish changes
Personalize dashboards
Switch template
- On the left, from the Explorer panel, select Dashboard
- From the top right, click the Gear icon to edit the dashboard.
- From the Edit dashboard panel, click Switch template to change the template.

- Select the template you want to use.

Note: Each template includes a preview of the number, size, and relative position of slots that it contains. Some templates are for use only by the Sales Automation (SA), Customer Service Representative (CSR), and Customer Service (CS) roles.
Add widgets to the slots in your template
- From Edit dashboard panel, click Add widget(s) to add a widget to a slot.
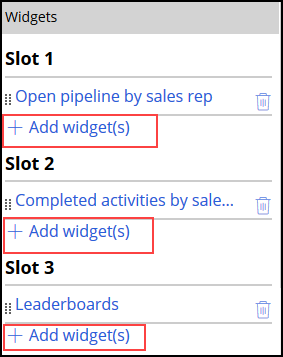
- From the Add widgets to slot form, select the image of the widget you want to use.
- Click Add selected to save your selection.

- Drag and drop the widget to position it in the desired slot. Orange guide markers show you where the widget can be dropped.
Note: You cannot drag a widget from your dashboard to the Edit dashboard panel or vice versa.
- To add more widgets, repeat steps 1-4.
Tip: To remove a widget from a slot, click the Trash can icon.
Configure widgets
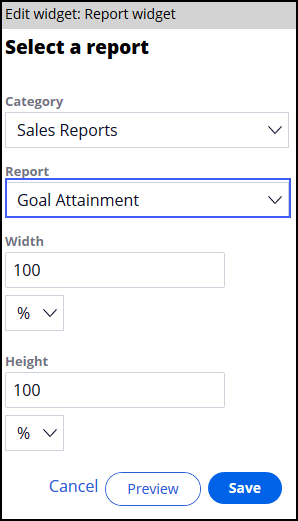
- Select the widget to determine if there are additional options to configure. When configuration options are available, the options are displayed in the Edit widget area. For example, you can select the report to display in the Report widget.
- From the bottom of the Edit widget form, click Preview to preview your changes or Save to persist the changes.
Publish your changes
- Click Publish to access group to publish the dashboard to the intended audience. This option is only available to Sales Operations users.
Note: Only users who have not yet personalized their dashboard can see changes. You cannot use the Publish to access group option to reset a dashboard for all managers.
This Topic is available in the following Module:
If you are having problems with your training, please review the Pega Academy Support FAQs.
Want to help us improve this content?