Configuring intelligent routing
Archived
2 Tasks
10 mins
Beginner
English
Scenario
The U+ Bank email bot is set up. You are now expected to configure the email bot to react to customer requests, route work, and automatically respond to emails by creating intelligent email routing conditions.
Use the following credentials to log in to the exercise system:
|
Role |
User name |
Password |
|---|---|---|
|
System Architect |
EmailBotDev |
rules |
Caution: To reuse the exercise system from a previous challenge, first complete the Training the email bot to understand topics challenge. Otherwise, click Initialize Pega or Reset Instance in this challenge.
Your assignment consists of the following tasks:
Task 1: Configuring intelligent routing
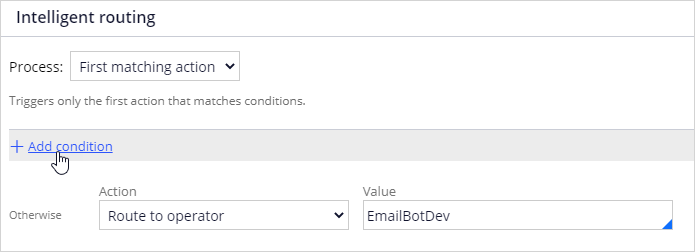
In the Intelligent routing section, click Add condition to add a new action for the email bot.
Task 2: Use the Test console
At the top of the channel, click Test to create a test email where the user wants to update their address.
Challenge Walkthrough
Detailed Tasks
1 Configuring intelligent routing
- Log in to App Studio as the System Architect with user name EmailBotDev using password rules
- In the navigation pane of App Studio, click Channels.
- Click My Email Bot.
- Click Behavior tab and scroll to the Intelligent routing section.
- In the Intelligent routing section, click Add condition to add a new action for the email bot.
- In the Action list, select Create Case.
- In the Value field, enter or select Address Change.
- When Topic is equal to Address Change – This condition ensures that this action is invoked only when the natural language processing (NLP) analysis of the email returns the Address Change topic.
- Click the Add icon to add the following condition:
When #Address is not empty – This condition ensures that an address entity value is detected within the email or attachment body.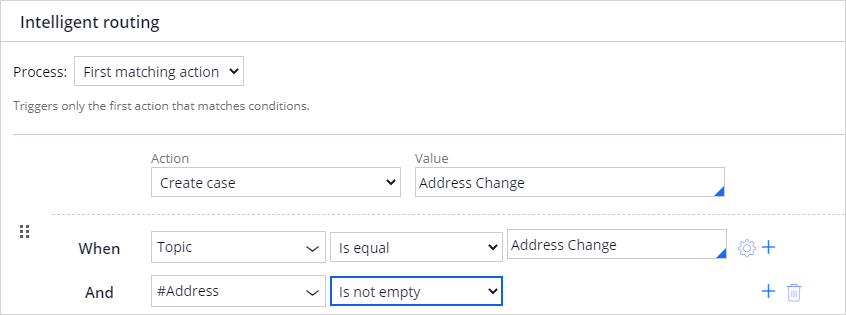
- In the Intelligent routing section, click Add condition to add another action for the email bot.
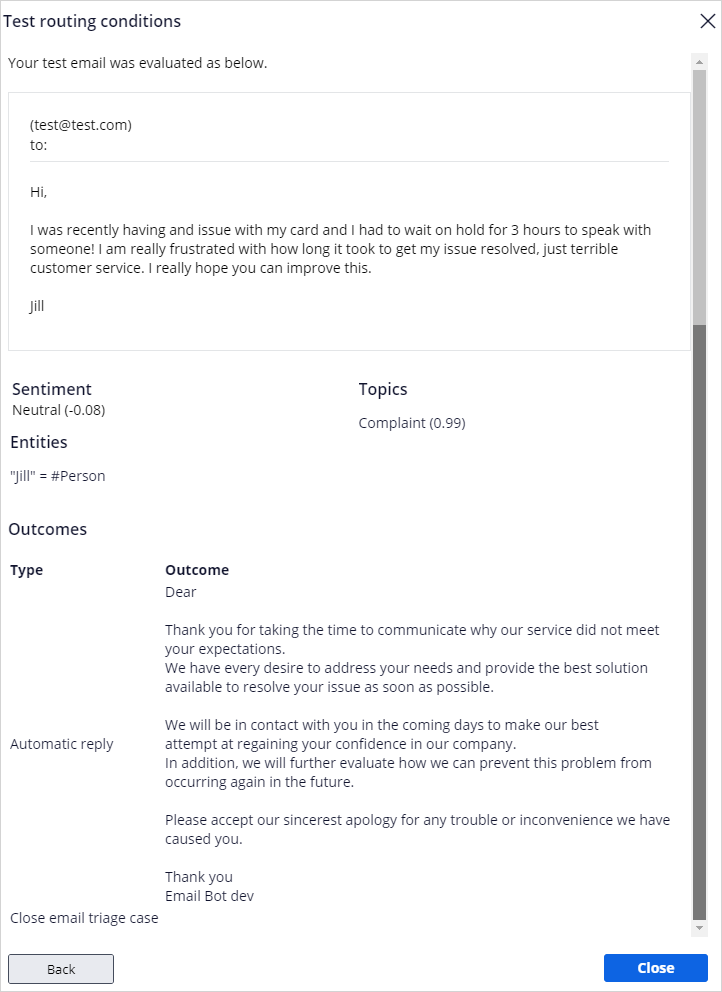
- In the Action list, select Automatic reply.
- In the Email template field, enter or select Apology.
- When Topic is equal to Complaint – This condition ensures that this action is invoked only when the NLP analysis of the email returns the Complaint topic.
- Click the Add icon to add the following condition:
When Sentiment is not equal to Positive – This condition ensures that the sentiment value of the email analysis is either negative or neutral.
-
Save your channel.

2 Use the Test console
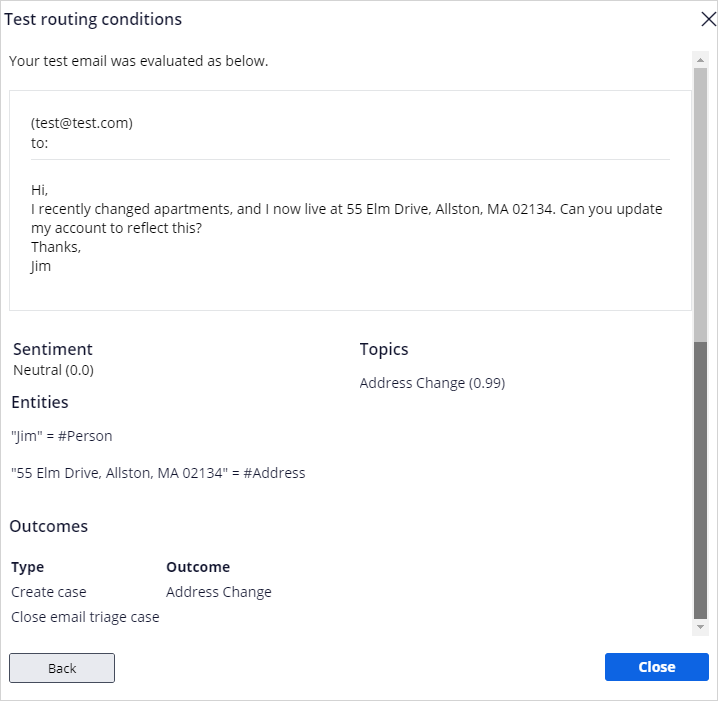
- In the header of the channel, click Test to create a test email in which the user wants to update their address.

- In the From (email), Type [email protected], and include a message as follows:
Hi,
I recently changed apartments, and I now live at 55 Elm Drive, Allston, MA 02134. Can you update my account to reflect this?
Thanks,
Jim
- Click Test to test this sample email. The outcome of the test is displayed at the bottom of the dialog box.
- Click Close.
- Repeat the steps from 1-4 for the following message:
Hi,
I was recently having and issue with my card and I had to wait on hold for 3 hours to speak with someone! I am really frustrated with how long it took to get my issue resolved, just terrible customer service. I really hope you can improve this.
Jill
-
Click Save.