Creating a Data Model
3 Aufgaben
10 Min.
Anfänger
Data Integration
Constellation
Englisch
Szenario
Hinweis: The framework of this challenge uses the view-based Constellation architecture of Pega Platform. To practice this challenge on the traditional UI-based architecture Theme Cosmos, see the Creating a data model version 8.7 challenge.
When creating an application, consider the data model. The data model defines how users store and retrieve the data in your application. In the MyTown application, you need the following data objects:
- A data object for a person that submits a request
- A data object with the details of the request type
Create a data object for the person submitting the request, which contains First name, Last name, Address, and Phone number.
Create a data object for the request type, which contains records for Type, Description, and Department.
Hinweis: A Request data object has been modeled for the MyTown311 application. The Request data object contains fields applicable to more than the business needs of the Service Request case type. As a best practice, the Request data object should be configured to be reusable across case types and applications.
The following table provides the credentials you need to complete the challenge.
| Role | User name | Password |
|---|---|---|
| Application Developer | author@mytown | pega123! |
Hinweis: Your practice environment may support the completion of multiple challenges. As a result, the configuration shown in the challenge walkthrough may not match your environment exactly.
Challenge-Schritte
Genaue Übungsschritte
1 Create a Person data object
- In the Pega instance for the challenge, enter the following credentials:
- In the User name field, enter author@mytown.
- In the Password field, enter pega123!.
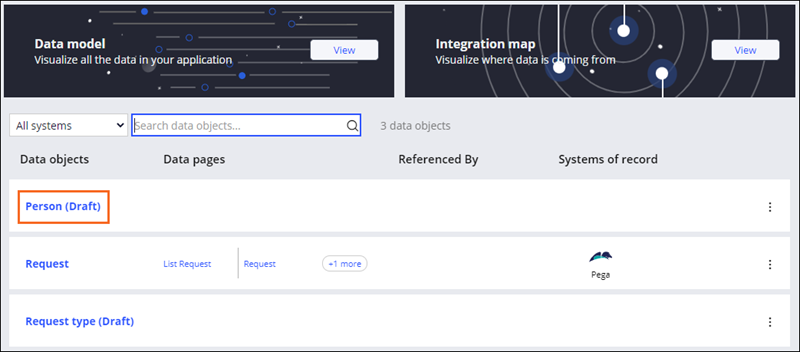
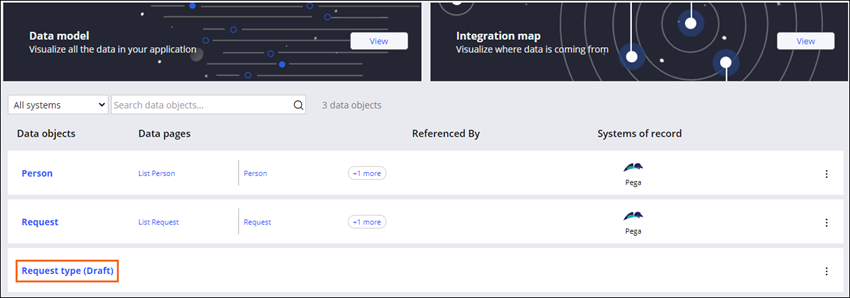
- In the navigation pane of App Studio, click Data to display a list of data objects in the application.
- Click Person (Draft) to open the Person data model.
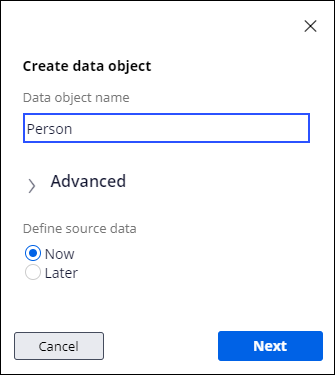
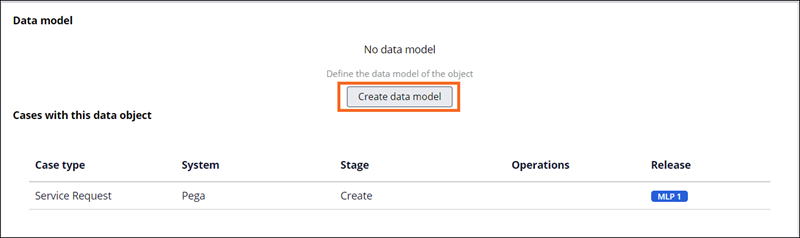
- Click Create data model to open the Create data object dialog box.

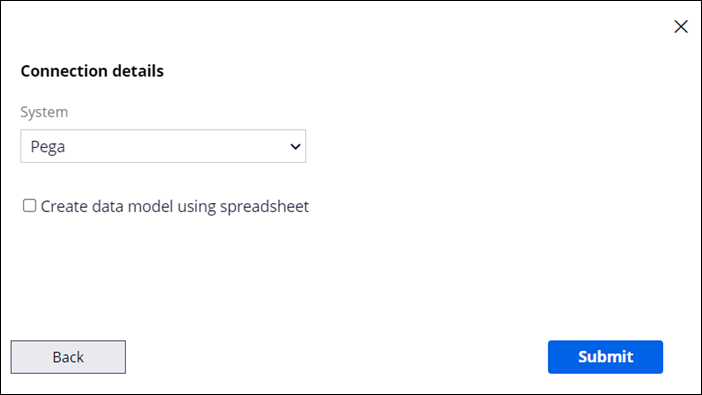
- Click Next to display the data object connection details.
- In the System list, keep the default value of Pega, and then click Submit.
- On the Data model tab, click Add field to create a new field for the Person data object.
- In the Field name field, enter First name to name the field.
- Verify that Type defaults to Text (single line).
- Click Submit & add another to create a new field.
Tipp: When multiple fields are added to a data object or step, use the Submit & add another option. Click Submit after adding the last field.
- Repeat steps 8-10 to add the following additional fields:
Field name Type Last name Text (single line) Address Address Phone Phone 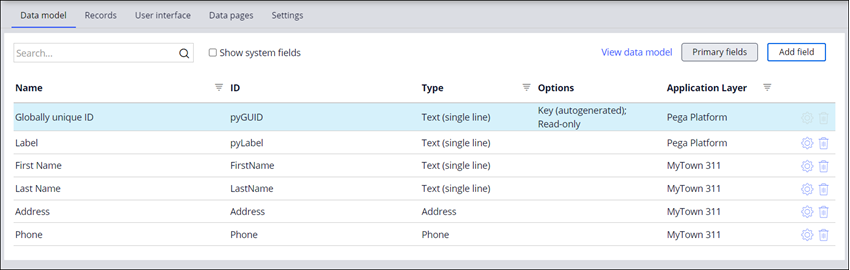
- In the upper right, click Save to commit the fields to the data object.
2 Create a Request type data object
- In the upper left, click Back to previous page.

- Click Request type (Draft) to open the Request type data model.
- Click Create data model to open the Create data object dialogue box.
- Click Next to display the data object connection details.

- In the System list, keep the default value of Pega, and then click Submit.
- On the Data model tab, click Add field to create a new field for the Request type data object.
- In the Field name field, enter Type.
- Verify that Type defaults to Text (single line).
- Click Submit & add another to create a new field.
- Repeat steps 7-9 to add two additional fields:
Field name
Type Description Text (paragraph) Department Text (single line) 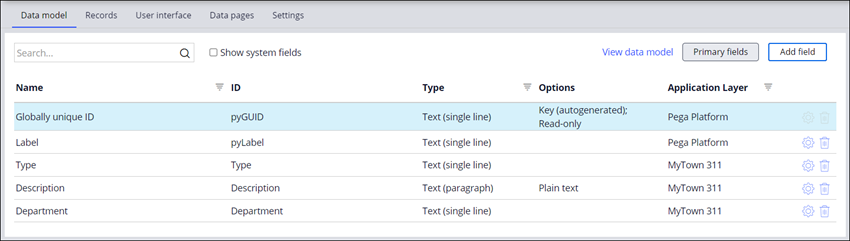
- In the upper right, click Save to commit the fields to the data object.
3 Add records to the Request type data object
-
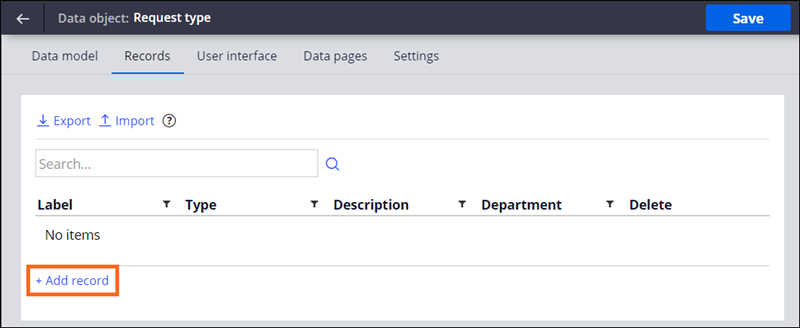
In the Request type data object, click the Records tab to display a table that uses the Request type fields (Type, Description, and Department) as the table headers.
- Click Add record to add a new record to the data object.
- In the Type field, enter Park maintenance.
- In the Description field, enter Damaged or broken park or playground equipment.
- In the Department field, enter Parks and Recreation.
- Repeat steps 2-5 to add three more records to the data object by using the information from the following table.
Type Description Department Pothole Pothole in a public parking lot or road Public Works Road debris Downed trees, power lines, or other traffic impediments Public Works Traffic signal Traffic signal not working properly Traffic Management - Click Save.
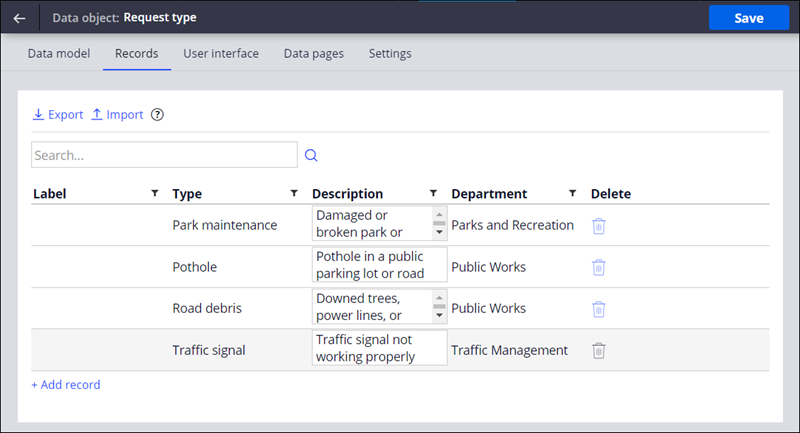 Hinweis: For each record, the Label field will default to the unique value assigned by the system.
Wenn Probleme mit den Lerninhalten auftreten, lesen Sie bitte die Pega Academy Support FAQs.
Möchten Sie uns dabei helfen, diesen Inhalt zu verbessern?