
Submitting a branch to the Merge pipeline

In a branch-based development environment, you can submit a branch into a pipeline in the Merge Branches wizard to start a deployment.

The seamless integration of the Merge wizard with Deployment Manager updates you regarding the status of your merge request in the Dev Studio.

Prerequisites to merge a branch

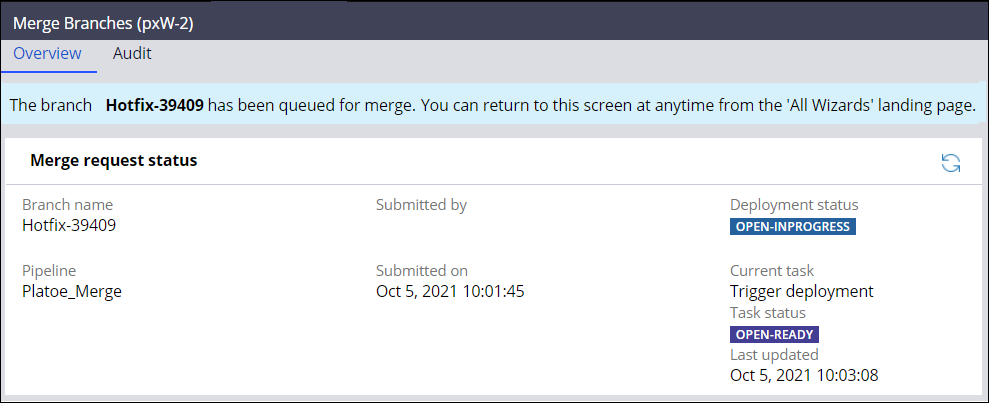
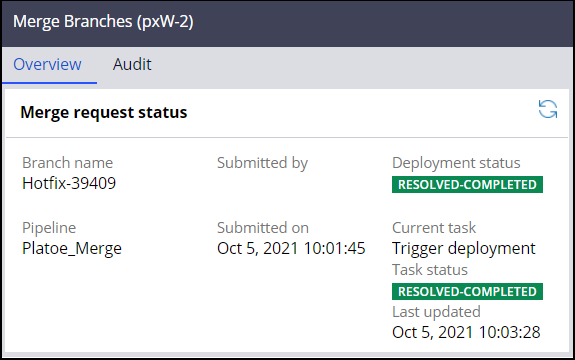
In either a branch-based or distributed, branch-based environment, you can immediately start a deployment by submitting a branch into a pipeline in the Merge Branches wizard. The wizard displays the merge status of branches so that you do not need to open Deployment Manager to view it.

If you are using a separate product rule for a test application, after you start a deployment either by using the Merge Branches wizard, the branches of both the target and test applications are merged in the pipeline.

You can submit a branch to your application and start the continuous integration portion of the pipeline when the following criteria is met:

  • You have created a pipeline for your application in Deployment Manager.
  • You are merging a single branch.
  • The OrchestratorURL dynamic system setting, which defines the URL of orchestration server, is configured on the system.
  • All the rulesets in your branch belong to a single application that is associated with your pipeline. Therefore, your branch cannot contain rulesets that belong to different application layers.

Check your knowledge with the following interaction.

Configure settings before using the Merge Branches wizard

In the Merge Branches wizard, you can submit a branch into an application to start a branch merge that triggers a deployment. When you use the wizard to start the merge, you can start a deployment without any additional configuration.

Before starting a branch merge, perform the following tasks:

  1. Check rules into their base rulesets before you merge them.
  2. Check for potential conflicts to address before you merge branches. For more information, see Viewing branch quality and branch contents.
Note: As a best practice, lock a branch after development is complete so that no one can modify it further. For more information, see Locking a branch.

Check your knowledge with the following interaction.

Submitting a rule branch for merge

You can start a branch merge, which triggers a deployment, by submitting a branch into an application in the Merge Branches wizard. By using the wizard to start merges, you can start a deployment without additional configuration.

To submit a branch into an application by using the Merge Branches wizard, perform the following steps:
  1. In the navigation pane of Dev Studio,, click App, and then click Branches.
  2. Right-click the branch and click Merge.
  3. Click Proceed. Result: The wizard displays a message in the following scenarios:
    • If there are no pipelines that are configured for your application or there are no branches in the target application.
    • If the value for the OrchestratorURL dynamic system setting is not valid.
  4. Click Switch to standard merge to switch to the Merge Branches wizard that you can use to merge branches into target rulesets. For more information, see Merging branches into target rulesets .
  5. In the Application pipelines section, from the Pipeline list, select the application for which the pipeline is configured into which you want to merge branches.
  6. In the Merge Description field, enter information that you want to capture about the merge.

    This information appears when you view deployment details.

  7. In the Associated User stories/bugs field, press the Down arrow key, and then select the Agile Workbench user story or bug that you want to associate with this branch merge.
  8. Click Merge.
Result:

The system queues the branch for merging, generates a case ID for the merge, and runs the continuous integration criteria that you specified.

If there are errors, and the merge is not successful, an email is sent to the operator ID of the release manager that is specified on the orchestration server.

The branch is stored in the development repository and, after the merge is completed, Deployment Manager deletes the branch from the development system. By storing branches in the development repository, Deployment Manager keeps a history, which you can view, of the branches in a centralized location.

If your development system is appropriately configured, you can rebase your development application to obtain the most recently committed rulesets after you merge your branches. For more information, see Rebasing rules to obtain latest versions.

Tracking the progress of Merge

The merge request once submitted to a merge pipeline is tracked from the Merge Branches screen. You as a developer can track the merge status without interacting with the Deployment Manager Studio. 

The following image shows the status of the Merge request. The screen shows the current task (Trigger deployment) status (open-ready) to indicate the progress of the merge pipeline (Platoe_Merge).

Image depicts how you can track the overall status of the merge using the Merge wizard after submitting a branch for merge.
Track the progress of the merge from the Merge Branches wizard.

When the Merge finishes, the Merge Branches wizard reflects the status, which you can see in the following image:

Image depicts how the Merge branches wizard reflects the status when the Merge completes successfully.
Review the merge status from the Merge Branches wizard.


This Topic is available in the following Module:

If you are having problems with your training, please review the Pega Academy Support FAQs.

Did you find this content helpful?

Want to help us improve this content?

We'd prefer it if you saw us at our best.

Pega Academy has detected you are using a browser which may prevent you from experiencing the site as intended. To improve your experience, please update your browser.

Close Deprecation Notice