Grouping fields in Views
3 Tasks
15 mins
Beginner
User Experience
English
Scenario
Based on feedback, GoGoRoad's customers are unable to double-check details before submitting an Assistance Request, leading to confusion and additional time spent correcting details. The GoGoRoad management team has decided to implement a final read-only confirmation screen after customers enter all the relevant information. This confirmation screen presents all the information to the customer before allowing them to submit their Assistance Request.
The following table provides the credentials you need to complete the challenge.
| Role | User name | Password |
|---|---|---|
| Application Developer | author@gogoroad | pega123! |
Note: Your practice environment may support the completion of multiple challenges. As a result, the configuration shown in the challenge walkthrough may not match your environment exactly.
Challenge Walkthrough
Detailed Tasks
1 Add a Collect information step to the Enter payment information process
- In the navigation pane of App Studio, click Case types > Assistance Request to open the Assistance Request case type.
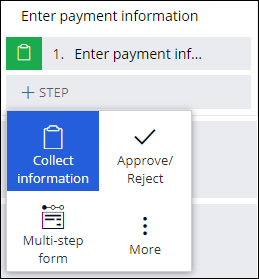
- In the Enter payment information process, click Step > Collect information to add a collect information step.
- Rename the step Review assistance request.
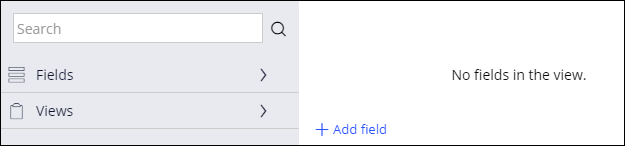
- In the properties pane, click Configure view to open the form editor.
- In the left pane, click Views to see the list of views.
- From the list of views, hover over Enter customer information and then click the Add icon to add the existing view to the Review assistance request step.
- Repeat step 6 to add the Identify location, Identify vehicle, and Enter payment information views.
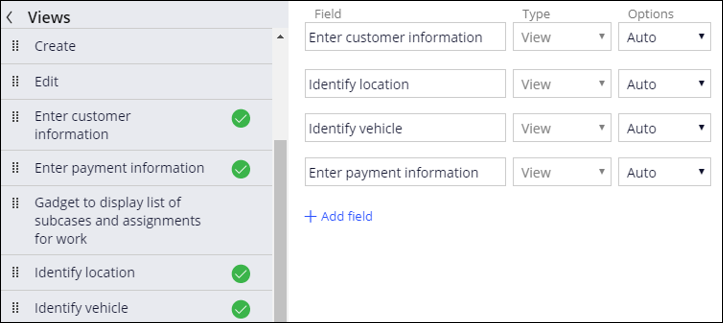
- In the Options list, select Read-only for all the views added.
- Click Submit.
- Click Save to save the changes to the Assistance Request case type.
2 Add layout groups
- Create a new Assistance Request case.
- Advance the case to the Enter customer information step.
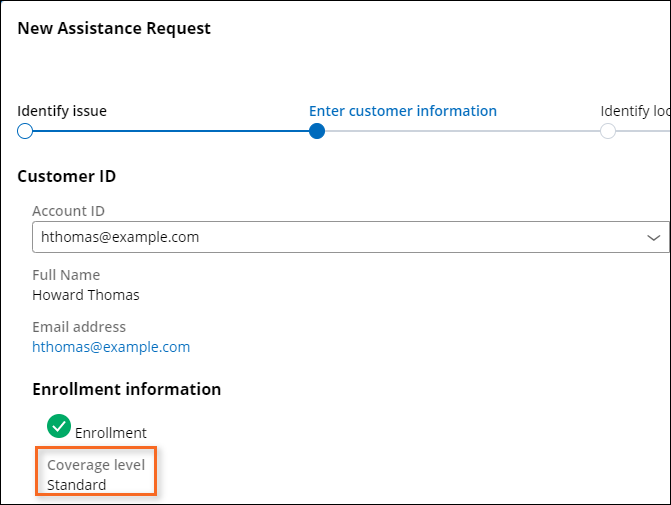
- In the Enter customer information screen, select the Account ID for a user with the Standard coverage level.
Note: Selecting a user with Gold coverage does not display the Enter Payment Information view during case processing.
- Advance the case to the Review assistance request view.
Note: If the view name does not display, you can verify where you are in the case life cycle by clicking on the stage header.
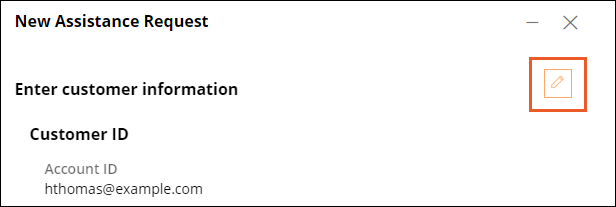
- Hover over the section, and then click the Configure this view icon.
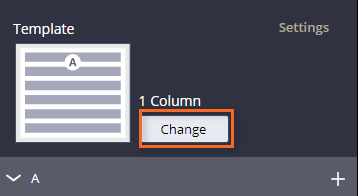
- In the right pane, click Change to change the template. The Select a template window is displayed.
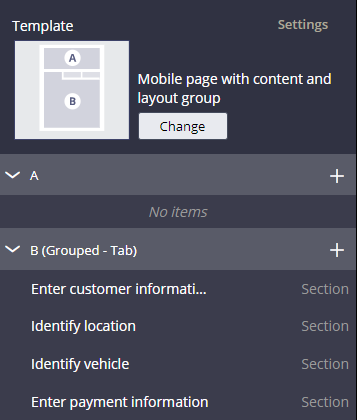
- In the Select a template window, click Mobile page with content and layout group.
Note: The Mobile page with content and layout group template can be used to implement the view with a layout group from App Studio.
- Drag and drop all the sections to the B (Grouped - Tab) region.
3 Change the section labels
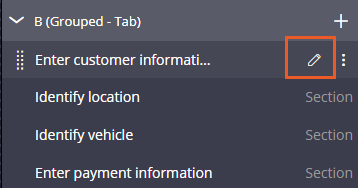
- In the B (Grouped - Tab) region, click the edit icon for the Enter customer information section.
- In the right pane, click Settings.
- In the Container settings section, in the Title field, enter Customer information.
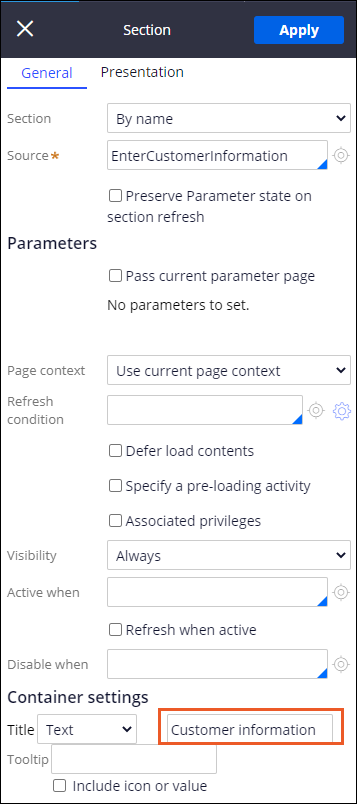
- Click Apply, and then click Close.
- Repeat steps 1 through 4 to change the labels for the remaining sections:
Section Title Identify Location Service address Identify Vehicle Vehicle information Enter Payment Information Payment information
If you are having problems with your training, please review the Pega Academy Support FAQs.
Want to help us improve this content?