Listendaten in Ansichten anzeigen
4 Aufgaben
10 Min.
Szenario
Die GoGoRoad-Anwendung zeigt eine Liste aller verfügbaren Dienstleister in einer Tabelle an. Der UI-Berater möchte, dass Sie folgende Änderungen an der Benutzeroberfläche vornehmen: Es sollen nur relevante Dienstleister-Informationen angezeigt werden und der Bildschirminhalt soll passend für mehrere Bildschirmgrößen konfiguriert werden. Formatieren Sie die Anbieterliste ohne Verwendung eines Tabellenformulars mit einem Layout, das einen einzigen Eintrag anzeigt und dann den Abschnitt in ein sich wiederholendes dynamisches Layout einbettet.
In der folgenden Tabelle finden Sie die Anmeldedaten, die Sie zur Durchführung der Challenge benötigen.
| Rolle | Benutzername | Kennwort |
| Application Developer | author@gogoroad | pega123! |
Challenge-Schritte
Genaue Übungsschritte
1 Create the Providers list view
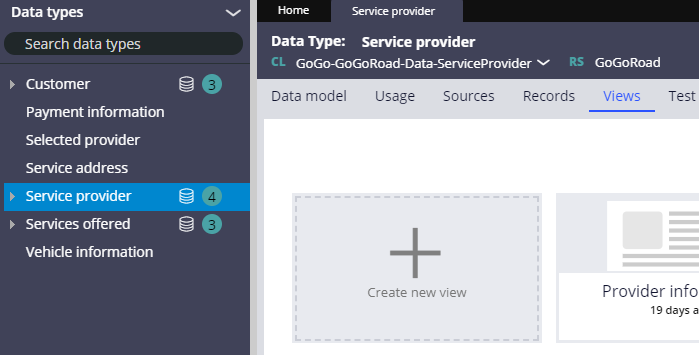
- In the navigation pane of Dev Studio, click Data types > Service provider to open the Service provider data type.
- Click the Views tab.
- Click Create new view to create a new view.
- In the upper left of the New View window, click New View to edit the view name.
- Rename the view Providers list.
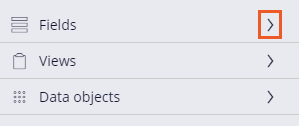
- In the left pane of the window, expand Fields.
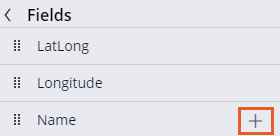
- Hover over the Name field, and then click Add to view.
- From the Options drop-down, select Read-only.
- Repeat step 7 to add the Address and LatLong fields.
- To the right of the empty row, click the trash icon to delete the empty field.
- Click Submit, and then click Save.
2 Create a responsive view
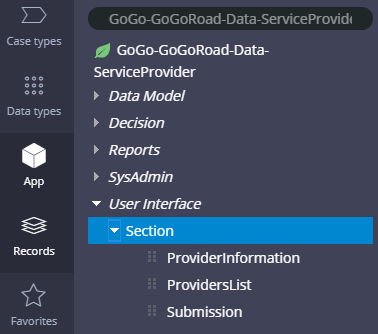
- From the navigation pane, click App to open the App Explorer.
- In the search field, enter or select GoGo-GoGoRoad-Data-ServiceProvider and press the Enter key. The rules within the specified class are displayed.
- Expand User Interface > Section.
- Right-click Section, and then click Create. The Create Section form is displayed.
- In the Label field, enter Providers List Responsive to name the section.
- Click Create and open to create the section. The Providers List Responsive section is displayed.
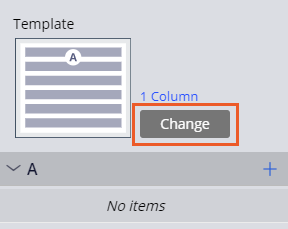
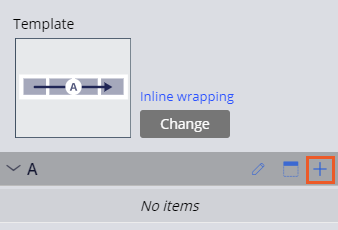
- In the right pane, click Change to change the template. The Select a template window is displayed.
- In the Select a template window, click Inline wrapping.
- In the right pane, click Add to add a control. A dialog box is displayed.
- In the dialog box, expand Action, and then click Button.
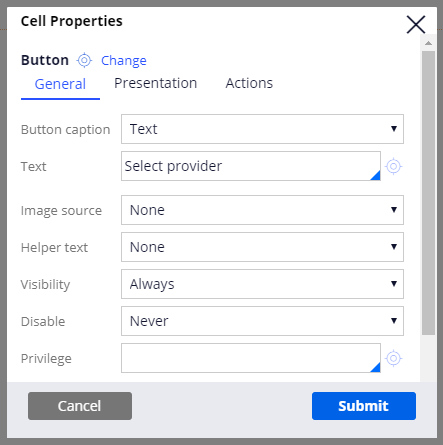
- Hover over the Button control, and then click Edit. The Cell Properties window is displayed.
- In the Cell Properties window, in the Text field, enter Select provider.
- Click Submit to dismiss the window.
- In the right pane, click Add.
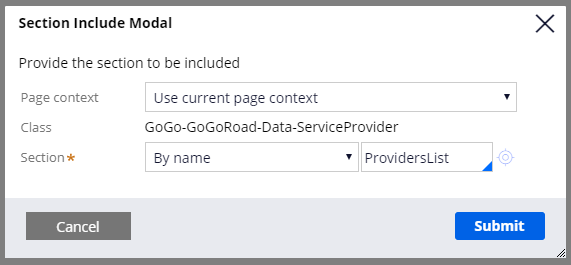
- Expand Data display, and then click Embedded section. The Section Include Modal window is displayed.
- In the Section Include Modal window, in the Section field, enter or select ProvidersList.
- Click Submit, and then click Save.
3 Use the newly-created view in your application
- Create a new Assistance Request case, and advance to the Select service provider step.
- In the Developer Toolbar, click Live UI, and then click the Service provider section.
Tipp: You can open UI section rules by using the Live UI tool or from the App or Data Explorer. Live UI is best applied for sections that are actively used in the case type.
- Click Open in Dev Studio to open the section rule in Dev Studio.
- Click Structural, and then click and drag a Repeating dynamic layout to the Service provider section.
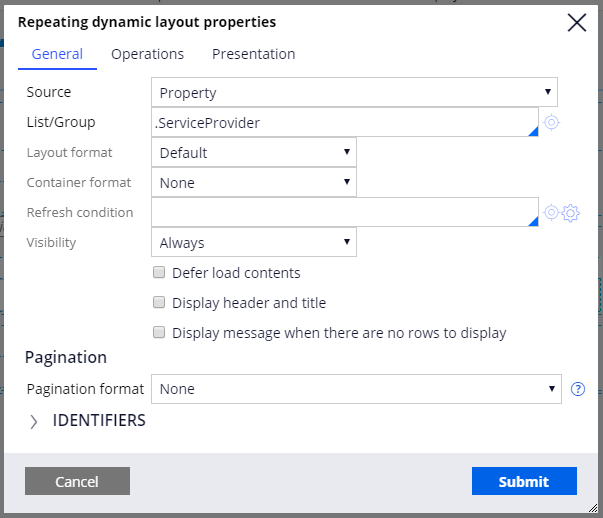
- Click View properties. The Repeating dynamic layout properties window is displayed.
- In the Repeating dynamic layout properties window, in the List/Group field, enter or select .ServiceProvider.
- Click Submit.
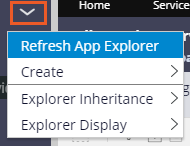
- From the App Explorer, click Options > Refresh App Explorer.
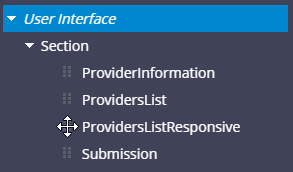
- Expand User Interface > Section.
- Drag and drop the ProvidersListResponsive section from the App Explorer to the Repeating Dynamic Layout.
- Click Save.
Hinweis: Only the repeating dynamic layout or the table is needed to show providers. Leave both for the purposes of comparison.
4 Confirm your work
- Return to the Assistance Request case instance you created.
- Click Actions > Refresh.
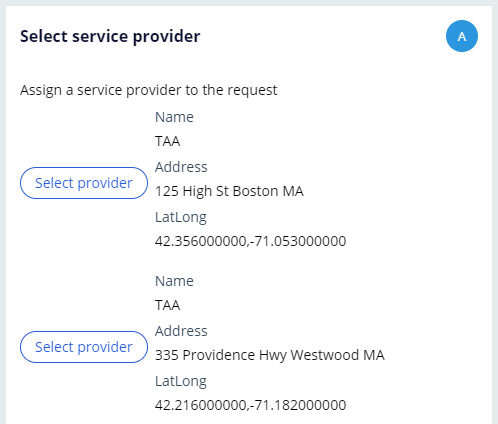
- Verify that the updated section is displayed.
In der folgenden Mission verfügbar:
If you are having problems with your training, please review the Pega Academy Support FAQs.
Möchten Sie uns dabei helfen, diesen Inhalt zu verbessern?

