Displaying list data in Views
3 Tasks
10 mins
Scenario
The GoGoRoad application presents a list in a table of all available service providers for roadside assistance. The UI consultant wants you to make the following changes to the UI: give the relevant service provider information only, and then configure the on-screen content to accommodate multiple screen sizes. Format the list of providers to display in a non-tabular form by using a layout to organize the presentation of a single item and then embedding the section in a repeating dynamic layout.
The following table provides the credentials you need to complete the challenge:
| Role | User name | Password |
|---|---|---|
| Application Developer | author@gogoroad | pega123! |
Note: Your practice environment may support the completion of multiple challenges. As a result, the configuration shown in the challenge walkthrough may not match your environment exactly.
Challenge Walkthrough
Detailed Tasks
1 Create the Providers list view
- In the Pega instance for the challenge, enter the following credentials:
- In the User name field, enter author@gogoroad.
- In the Password field, enter pega123!.
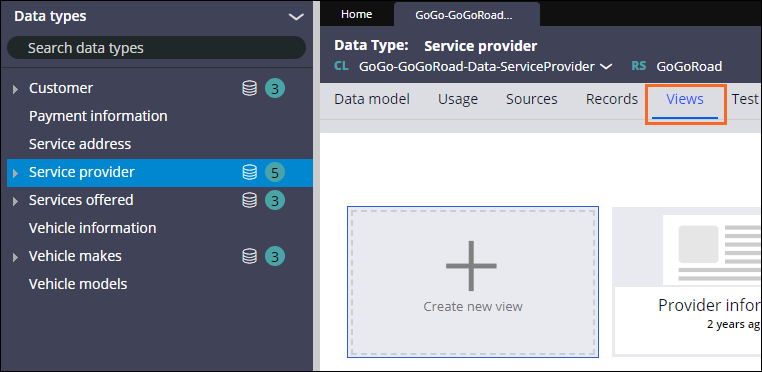
- In the navigation pane of Dev Studio, click Data types > Service provider to open the Service provider data type.
- Click the Views tab.
- Click Create new view to create a new view.
- In the upper left of the New View window, click New View to edit the view name.
- Enter Providers list to rename the view.
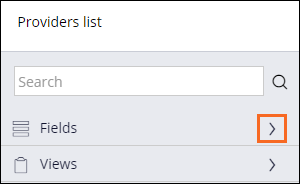
- In the left pane of the window, click Fields.
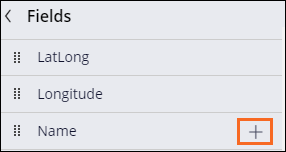
- Hover over the Name field, and then click Add to view.
- In the Options list, select Read-only.
- Repeat step 8 to add the Address field.
- Click Submit to close the window.
- In the upper-right corner, click Save to save the Providers list view.
2 Create a responsive view
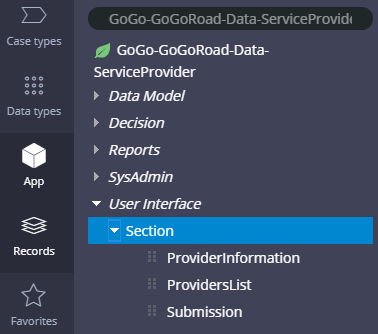
- In the navigation pane of Dev Studio, click App to open App Explorer.
- In the search field, enter or select GoGo-GoGoRoad-Data-ServiceProvider, and then press the Enter key to display the rules within the specified class.
- Expand User Interface > Section.
- Right-click Section, and then click Create.
- In the Create Section form, in the Label field, enter Providers List Responsive to name the section.
- In the upper-right corner, click Create and open to create the section.
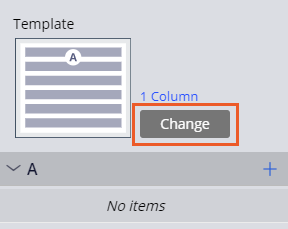
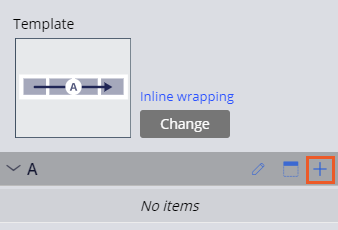
- In the Providers List Responsive section, in the right pane, click Change to change the template.
- In the Select a template window, click Inline wrapping.
- In the right pane, click the Add icon to add a control.
- In the Add list, click Action > Button to add the button control.
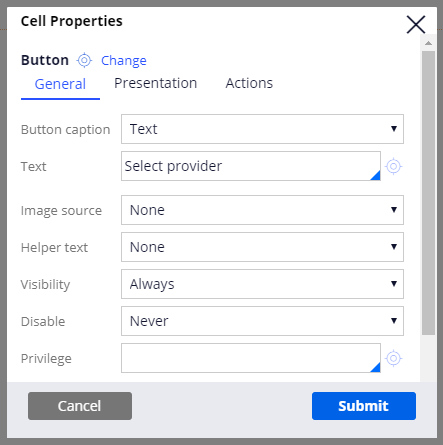
- In the right pane, hover over the Button control, and then click Edit this "Button".
- In the Cell Properties window, in the Text field, enter Select provider.
- Click Submit to dismiss the window.
- In the right pane, click the Add icon.
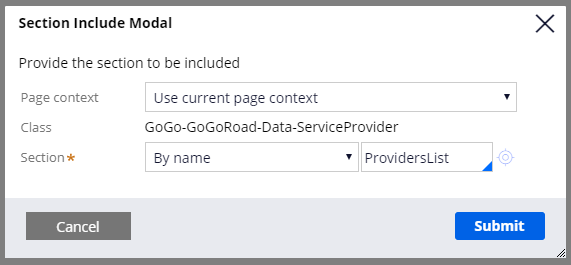
- In the Add list, click Data display > Embedded section. The Section Include Modal dialog box is displayed.
- In the Section Include Modal dialog box, in the Section field, enter or select ProvidersList.
- Click Submit to dismiss the dialog box.
- In the upper-right corner, click Save to save the responsive view.
3 Add the newly-created view to your application
- Create a new Assistance Request case, and then advance to the Select service provider step.
Tip: Not all locations have nearby service providers. In the Identify location step, in the State field, enter MA to display a list of service providers in Massachusetts, USA.
- On the Developer Toolbar, click Live UI.
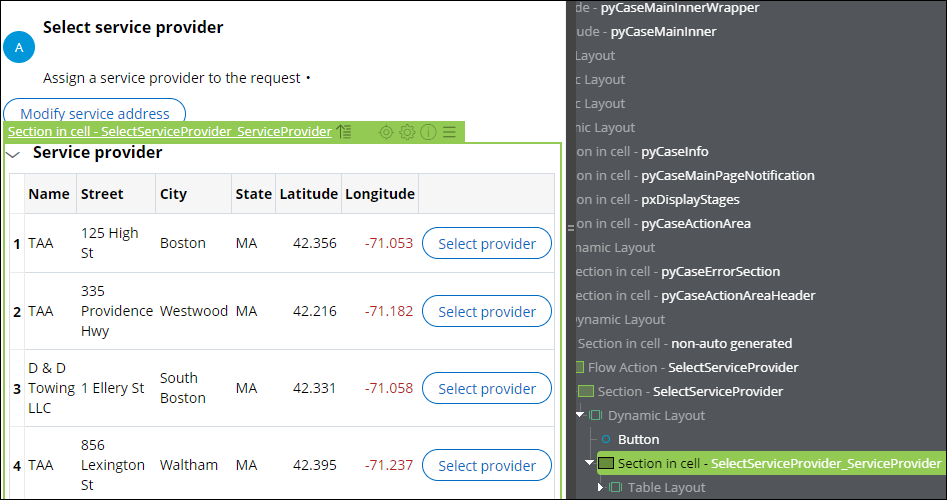
- In the Assistance Request case, click the Service provider section.
Tip: You can open UI section rules by using the Live UI tool or from the App or Data Explorer. Live UI is best applied for sections that are actively used in the case type.
- In the right pane, to the right of SelectServiceProvider_ServiceProvider, click Open in Dev Studio to open the section rule in Dev Studio.
- In the section rule, click Structural, and then click and drag a Repeating dynamic layout to the Service provider section.
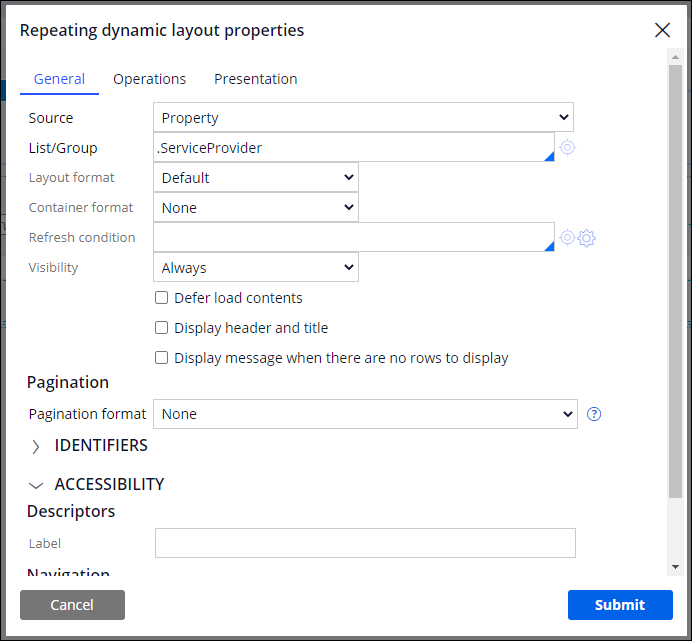
- In the Repeating dynamic layout header, click View properties.
- In the Repeating dynamic layout properties window, in the List/Group field, enter or select .ServiceProvider.
- Click Submit to dismiss the window.
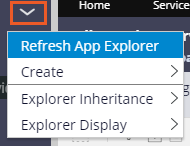
- In App Explorer , click Options > Refresh App Explorer.
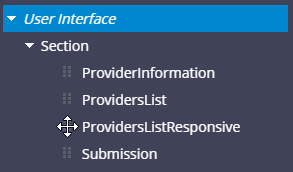
- Expand User Interface > Section.
- Drag and drop the ProvidersListResponsive section from App Explorer to the Repeating Dynamic Layout.
- In the upper-right corner, click Save to save the changes to the section.
Note: Only the repeating dynamic layout or the table is needed to show providers. Leave both for the purposes of comparison.
Confirm your work
- Return to the Assistance Request case instance that you created.
- In the upper-right corner, click Actions > Refresh.
- In the To do section, click Go to return to the Select service provider view.
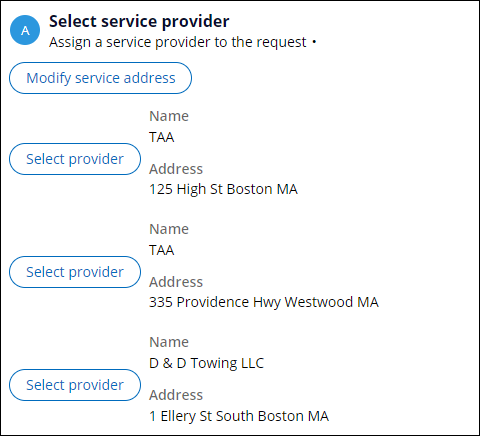
- Confirm that the updated section is displayed.
This Challenge is to practice what you learned in the following Module:
Available in the following missions:
If you are having problems with your training, please review the Pega Academy Support FAQs.
Want to help us improve this content?

