
Customizing a View at run time
3 Tasks
5 mins
Beginner
User Experience
English
Scenario
GoGoRoad stakeholders want the Enter customer information view and Identify Location view to be streamlined to display the relevant information with proper validations. To achieve this request, change the coverage information of Enter customer information view to a two-column layout and add the ZIP code property to the Identify Location view with required validations.
The following table provides the credentials you need to complete the challenge.
| Role | User name | Password |
|---|---|---|
| Application Developer | author@gogoroad | pega123! |
Note: Your practice environment may support the completion of multiple challenges. As a result, the configuration shown in the challenge walkthrough may not match your environment exactly.
Challenge Walkthrough
Detailed Tasks
1 Add a property to a data type
- In the navigation pane of App Studio, click Data.
- In the Data objects and integrations landing page, click Service address to open the Service address data object.
- Click Add field to add a new field to the Service address data object.
- In the Field name field, enter Zip.
- In the Type list, select Text (single line).
- Click Advanced to expand the options
- In the Max length field, enter 5.

- Click Submit and save the changes.
2 Change the template to a two-column layout
- In the navigation pane of App Studio, click Case types > Assistance Request to open the Assistance Request case type.
- Click Save and run to create a case instance.
- Advance past the Identify issue step.
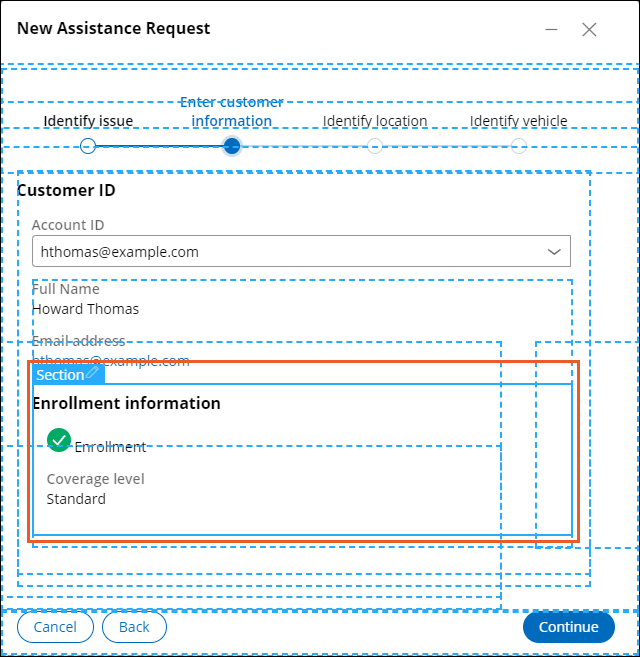
- In the Enter customer information view, toggle the Design mode.

- Hover over the Enrollment information section, and then click Edit this section to open the Enrollment information pane.
- In the Enrollment information pane, to the right of Template, click Change to change the template.
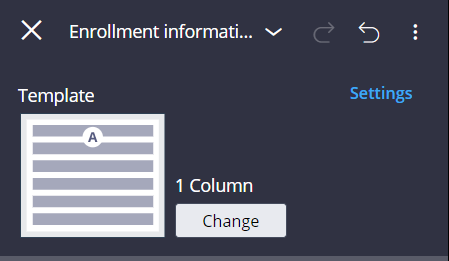
- In the Select a template window, click 2 Column.
- In the Enrollment information pane, hover over Coverage level, and then click and drag the item to Column B.

- Click Close to close the Enrollment information pane.
- Toggle the Design mode.
3 Configure the control settings
- Click Continue to advance the case to the Identify location step.
- Toggle the Design mode.
- Hover over the Service address section, and then click Edit this section.
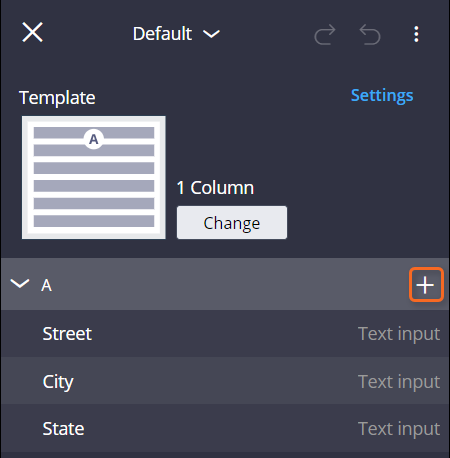
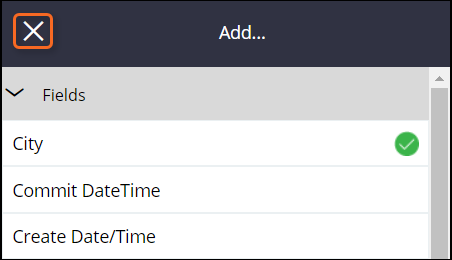
- In the pane on the right, click Add.
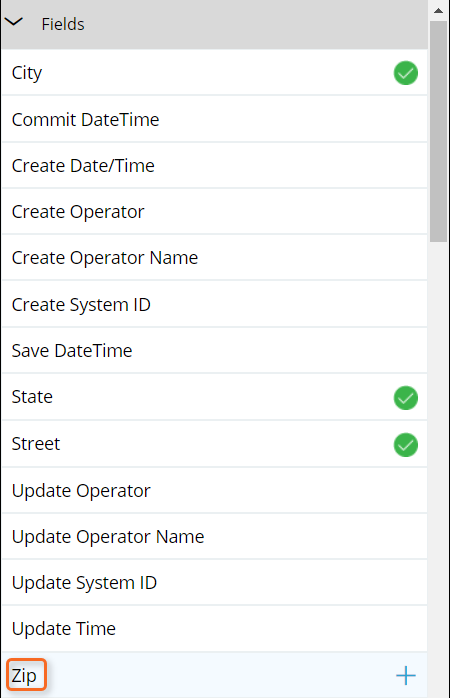
- In the Fields section, hover over the Zip field and click Add to view.
- Click Close to return to the previous pane.
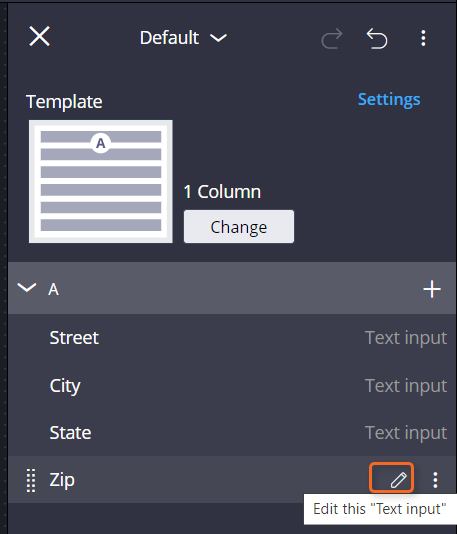
- In the pane on the right, hover over Zip, and then click Edit this "Text input".
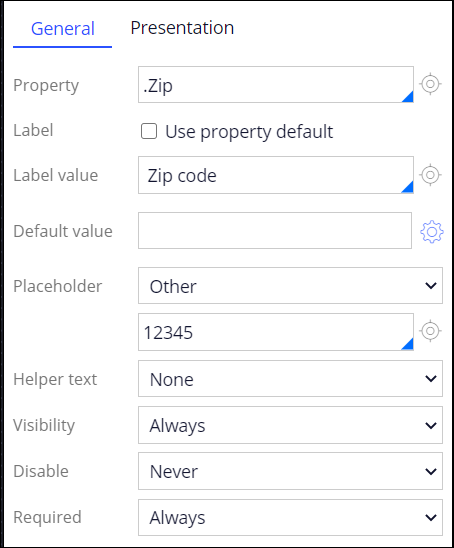
- Clear the Use property default check box.
- In the Label value field, enter Zip code.
- In the Placeholder list, select Other.
- In the field under the Placeholder list, enter 12345 as the placeholder value.
- In the Required list, select Always.
- Click the Presentation tab.
- In the Editable Settings section, in the Min characters field, enter 5.
- Repeat step 14 for Max characters field.
- In the Editable Format section, in the Type list, select Number.
- In the Text alignment list, select Left.
- Clear the Display value using read-only formatting check box.

- Click Apply to save your changes.
- Click Close to return to the previous pane.
- Click Close to close the section pane.
- Toggle Design mode.
If you are having problems with your training, please review the Pega Academy Support FAQs.
Want to help us improve this content?