
Creating and managing teams of users
Archived
4 Tasks
15 mins
Beginner
Dev/Designer Studio
English
Scenario
In Roadside Assistance cases, a customer service representative (CSR) must assign a service provider to the case, review the summary of the services provided, and submit the request. Create a team named CSR@GoGo for customer service representatives and route the Select service provider and Review service summary steps to the work queue for the team.
Note: For the CSR@GoGo work queue to be searchable in App Studio, you must associate the operator with the same workgroup as the work queue.
Tip: To help you confirm your configuration, add a widget to the dashboard to display the worklist for the CSR@GoGo team.
The following table provides the credentials you need to complete the challenge.
| Role | User name | Password |
| Application Developer | author@gogoroad | pega123! |
Note: Your practice environment may support the completion of multiple challenges. As a result, the configuration shown in the challenge walkthrough may not match your environment exactly.
Challenge Walkthrough
Detailed Tasks
1 Create the CSR@GoGo team
- In the header of App Studio, click Preview to open the User Portal.
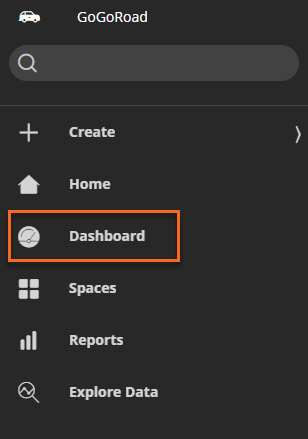
- In the navigation pane, click Dashboard.
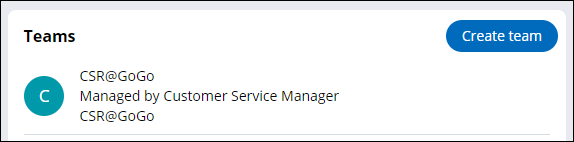
- In the upper-right corner, click Create team. The Create team window is displayed.
- In the Create team window, in the Name field, enter CSR@GoGo.
- In the Manager field, enter or select Customer service manager.

- Click Submit. The Dashboard view displays the CSR@GoGo team.
- Click CSR@GoGo to open the team. The team details are displayed.
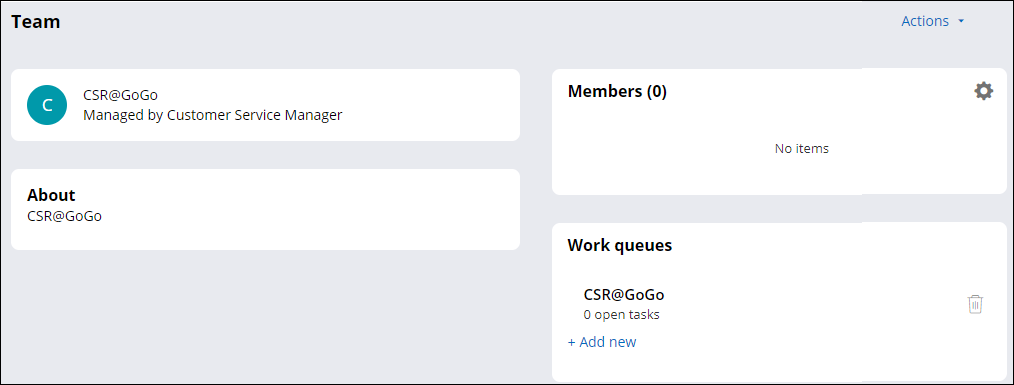
- In the Work queues section, verify that Pega Platform™ created the CSR@GoGo work queue by default.
2 Update the work group on the operator record
- In the header of App Studio, click App Studio > Dev Studio to switch workspaces.
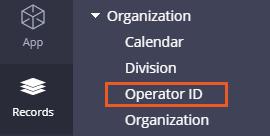
- From the navigation pane, click Records, expand Organization, and then click Operator ID. The list of operator IDs are displayed.
- From the list, click author@gogoroad to open the operator record.
- In the operator record, click the Work tab.
- In the Team field, enter or select CSR_GoGo@gogo, which is the name assigned to the team due to the use of the @ character in the name.
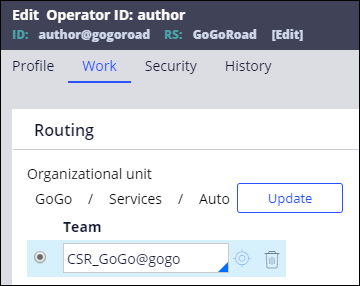
- Click Save.
- In the lower-left corner, click author > Log off to apply the changes to the author@gogoroad operator record.
3 Route steps to the work queue
- Log in using the author@gogoroad operator ID.
- In the navigation pane, click Case types > Assistance Request.
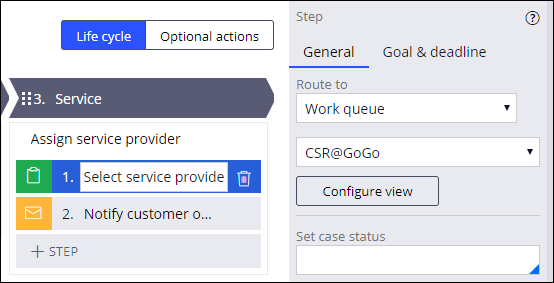
- Click the Select service provider step.
- In the properties pane on the right, in the Route to drop-down, select Work queue. A drop-down list is displayed below.
- In the second drop-down list, confirm that CSR@GoGo is selected.
- Click the Review service summary step.
- Repeat steps 4-5 to route the step to the CSR@GoGo work queue.
- Click Save to save your changes to the Assistance Request case type.
4 Add a dashboard widget to display the CSR@GoGo work queue
- In the header of App Studio, click Preview to open the User Portal.
- In the navigation pane, click Dashboard.
- In the upper right, click the Gear icon to personalize the dashboard.
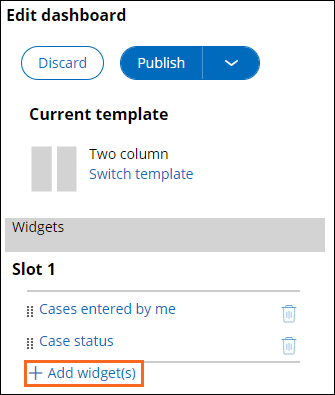
- On the right, in the Edit dashboard pane, under Slot 1, click Add widget(s) to display the Add widgets to slot window.
- In the Add widgets to slot window, in the Case Management section, select Worklist.

- Click Add selected to add the widget to the dashboard.
- In the Edit dashboard pane, to the left of the Worklist widget, click the selection handle and drag the widget to the top position in Slot 1.
- Click the Worklist widget to display the widget configuration section.
- In the Display work from drop-down, select Other Work queue's Work. The display updates with additional fields.
- In the Work queue field, enter or select CSR_GoGo@gogo.
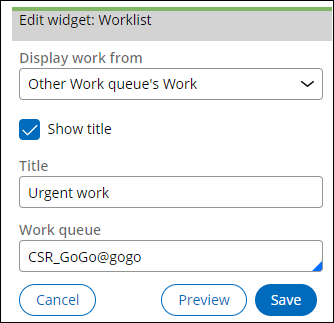
- Click Save to complete the widget configuration.
- At the top of the configuration pane, click Publish > Publish to default to finish personalizing the dashboard. The Worklist widget is displayed at the top of the left column of the dashboard.