
Creating and managing teams of users
Archived
4 Tasks
10 mins
Beginner
Case Management
English
Scenario
In Roadside Assistance cases, a customer service representative (CSR) must assign a service provider to the case, review the summary of the services provided, and submit the request. Create a team named CSR@GoGo for customer service representatives and route the Select service provider and Review service summary steps to the CSR work queue.
Note: For the CSR@GoGo work queue to be searchable in App Studio, you must associate the operator with the same work group as the work queue.
The following table provides the credentials you need to complete the challenge.
| Role | User name | Password |
| Application Developer | author@gogoroad | pega123! |
Challenge Walkthrough
Detailed Tasks
1 Create the CSR@GoGo team
- In the header of App Studio, click Preview application. The Case Manager portal is displayed.
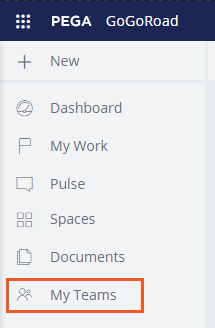
- In the navigation pane, click My Teams.
- In the upper-right corner, click Create team. The Create team window is displayed.
- In the Create team window, in the Name field, enter CSR@GoGo.
- In the Manager field, enter or select Customer service manager.
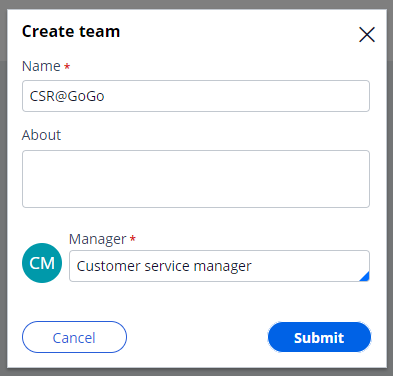
- Click Submit. The My Teams view displays the CSR@GoGo team.
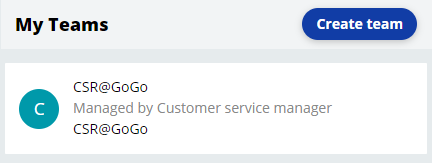
- Click CSR@GoGo to open the team. The team details are displayed.

- In the Work queues section, verify that Pega Platform™ created the CSR@GoGo work queue by default.
2 Update the work group on the operator record
- In the header of App Studio, click App Studio > Dev Studio to switch workspaces.
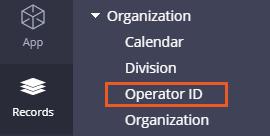
- From the navigation pane, click Records, expand Organization, and then click Operator ID. The list of operator IDs are displayed.
- From the list, click author@gogoroad to open the operator record.
- In the operator record, click the Work tab.
- In the Team field, enter or select CSR_GoGo@gogo.
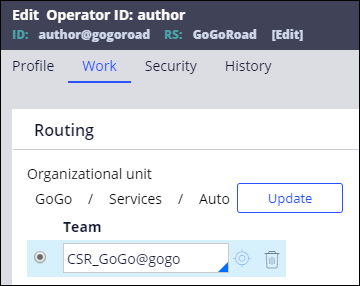
- Click Save.
- In the lower-left corner, click author > Log off to apply the changes to the author@gogoroad operator record.
3 Route steps to the work queue
- Log in using the author@gogoroad operator ID.
- In the navigation pane, click Case types > Assistance Request.
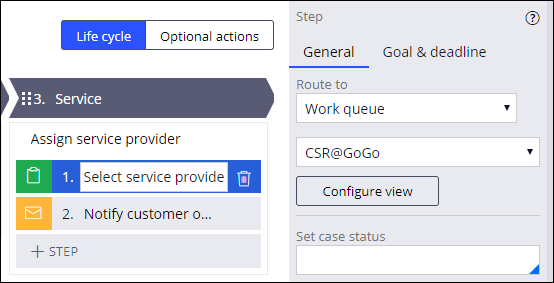
- Click the Select service provider step.
- In the properties pane on the right, in the Route to drop-down, select Work queue. A drop-down list is displayed below.
- In the second drop-down list, confirm that CSR@GoGo is selected.
- Click the Review service summary step.
- Repeat steps 4-5 to route the step to the CSR@GoGo work queue.
- Click Save to save your changes to the Assistance Request case type.
4 Confirm your work
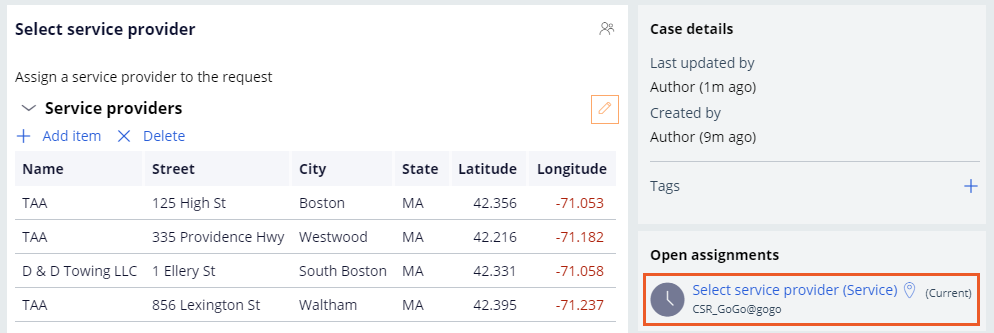
- Click Save and run, and then advance the Assistance Request case to the Select service provider step.
- Confirm that the assignment is routed to the CSR_GoGo@gogo work queue.
- Advance the case to the Review service summary step.
- Confirm that the assignment is routed to the CSR_GoGo@gogo work queue.